Zabbix
Zabbix acts as the SAML Service Provider (SP) and Casdoor as the Identity Provider (IdP). They use SAML 2.0 for single sign-on (SSO) into Zabbix.
Step 1: Deploy Casdoor and Zabbix
Deploy Casdoor and Zabbix. Ensure both are running and you can sign in to each.
Step 2: Adding Certificates
To ensure the security of communication, certificates need to be configured between Zabbix and Casdoor. Private keys and certificates should be stored in the /etc/zabbix/conf/certs/ directory, unless a custom path is provided in zabbix.conf.php.
By default, the zabbix - web - nginx - mysql Docker container looks for the following locations:
/etc/zabbix/conf/certs/sp.key- SP private key file/etc/zabbix/conf/certs/sp.crt- SP certificate file/etc/zabbix/conf/certs/idp.crt- IDP certificate file
Creating certificates in Casdoor: Log in to the Casdoor management interface and follow the system prompts to create two certificates. These two certificates will be used for communication encryption between Zabbix and Casdoor.
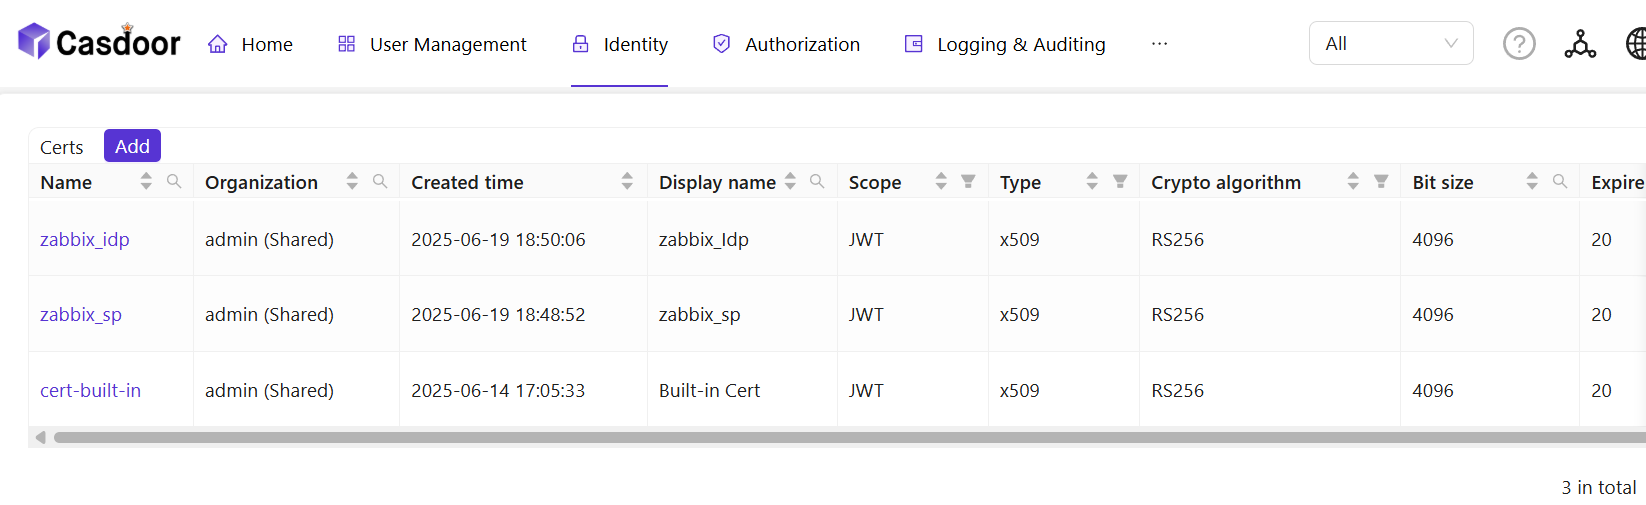
Copying certificates and private keys: Copy the certificate and private key to /etc/zabbix/conf/certs. With Docker, mount the local certificate files into the container.
Step 3:Configuring Zabbix
For SAML configuration in Zabbix, three required fields need to be set: Single Sign - On, Issuer, and Public Certificate.
Log in to the Zabbix management interface, click User -> authentication -> SAML settings.
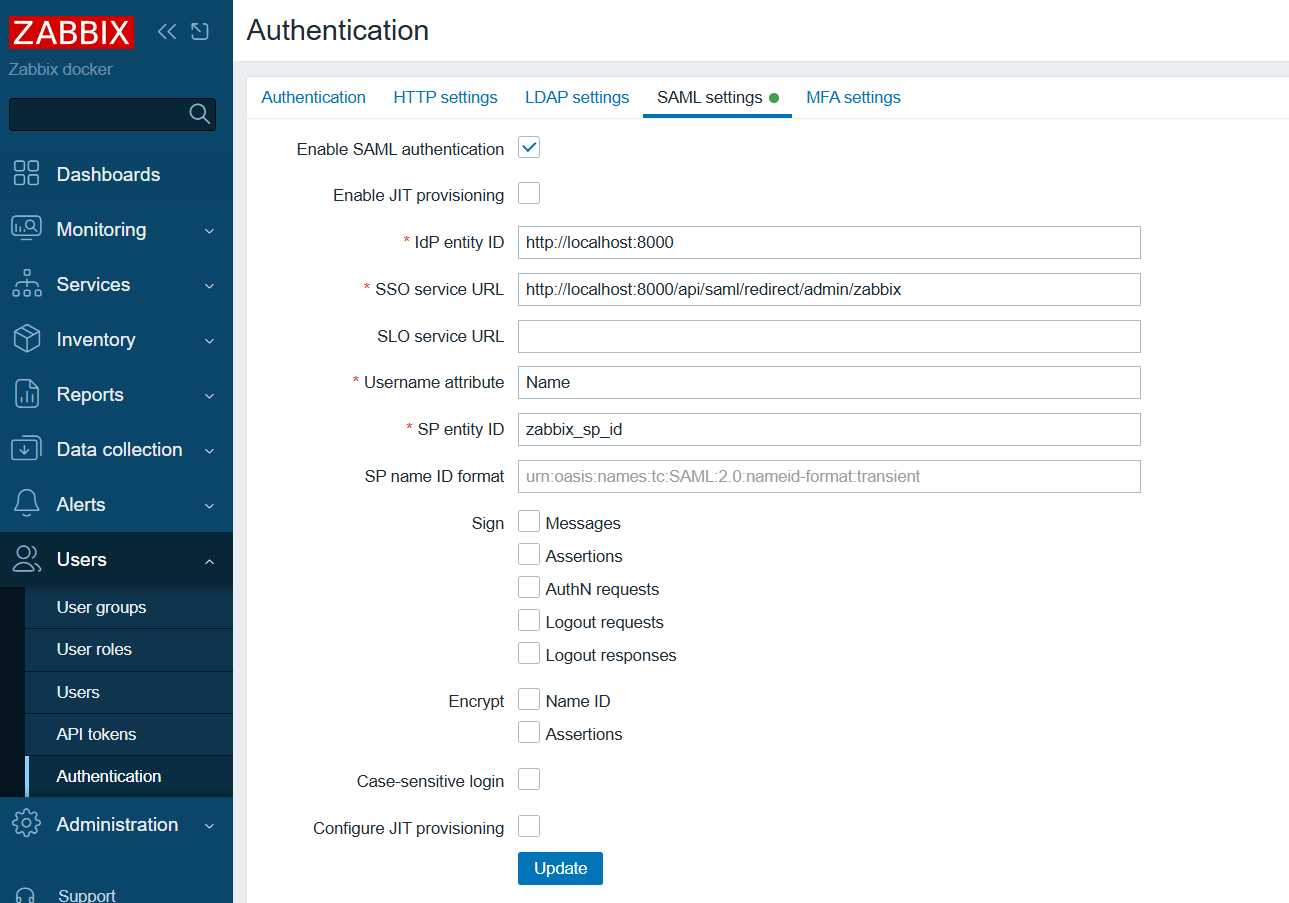
Configure Zabbix according to the SAML metadata in the Casdoor configuration:
- idP entity ID (Issuer): Corresponds to
entityID="http://localhost:8000". This value identifies the entity ID of Casdoor, and Zabbix will communicate with Casdoor based on this ID. - SSO service URL: Corresponds to
Location="http://localhost:8000/api/saml/redirect/admin/zabbix". This is the URL of the SSO service provided by Casdoor. When a user initiates an SSO request in Zabbix, they will be redirected to this URL for authentication. - username attribute: The SAML attribute used as the username when logging in to Zabbix. Here,
Nameis used, indicating that Zabbix will use theNameattribute in the SAML assertion as the user's login name. - SP entity ID: A unique SP ID that can be set arbitrarily. This ID is used to identify the Zabbix service provider and needs to be consistent with the configuration in Casdoor.
Step 4: Configuring Casdoor
Some necessary configurations need to be made in Casdoor to ensure the normal operation of the integration with Zabbix.
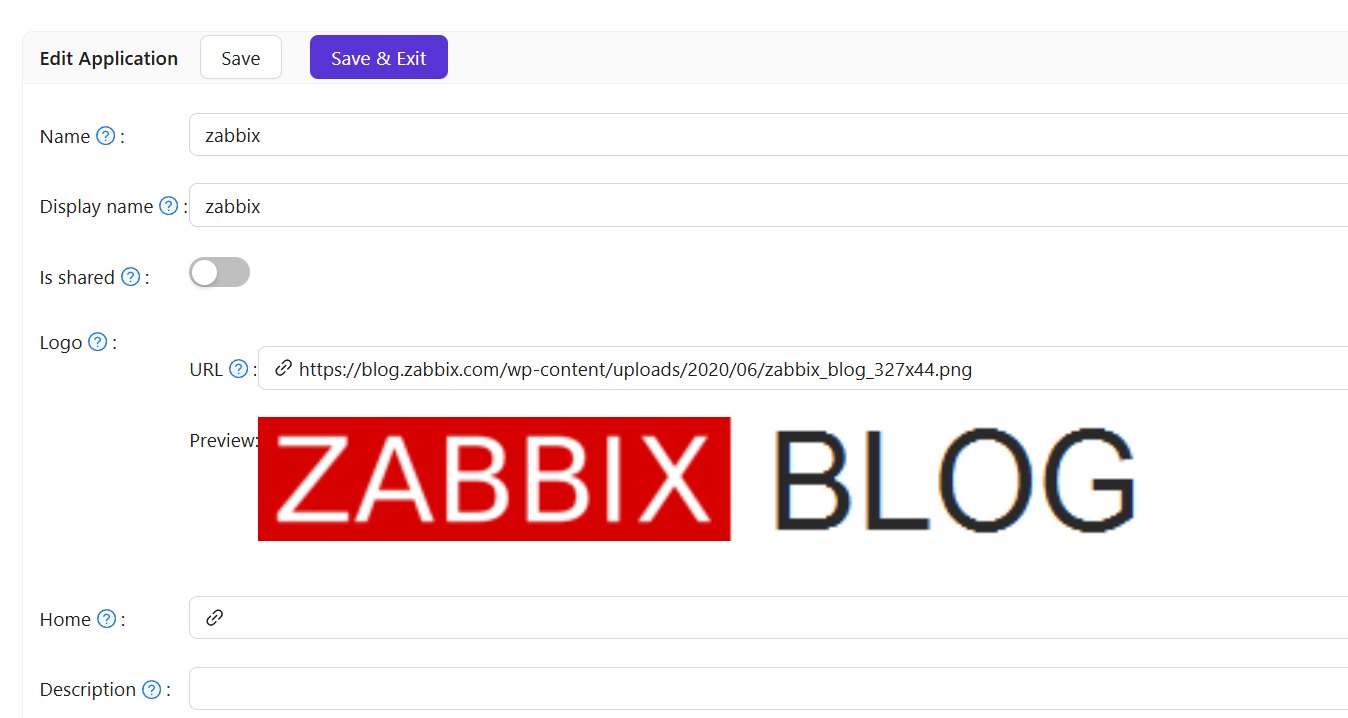
Editing Name and Logo: Log in to the Casdoor management interface, find the relevant settings, and edit the application's name and logo for better presentation to users.
Selecting a Certificate: In Casdoor, select zabbix_idp as the certificate for signing and encrypting SAML messages to ensure communication security.

Redirect URL: Enter the value that identifies your SP (Zabbix). In Zabbix this may be called Audience or Entity ID. It must match the SP entity ID in Zabbix or SSO will fail.

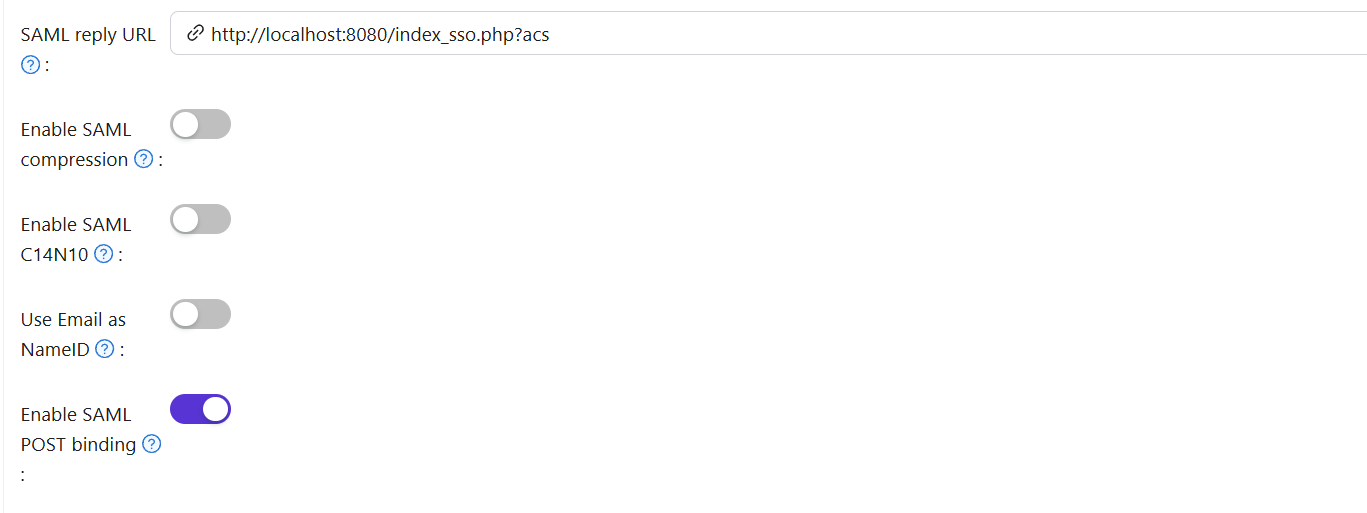
Reply URL: Enter the URL of the ACS (Assertion Consumer Service) for validating SAML responses. This URL is the address where Zabbix receives SAML assertions sent by Casdoor.
Step 5: Creating a Zabbix User
Create a test user in Zabbix to verify SSO.
- Log in to the Zabbix management interface and find the user management module.
- Create a user (e.g. username
test).

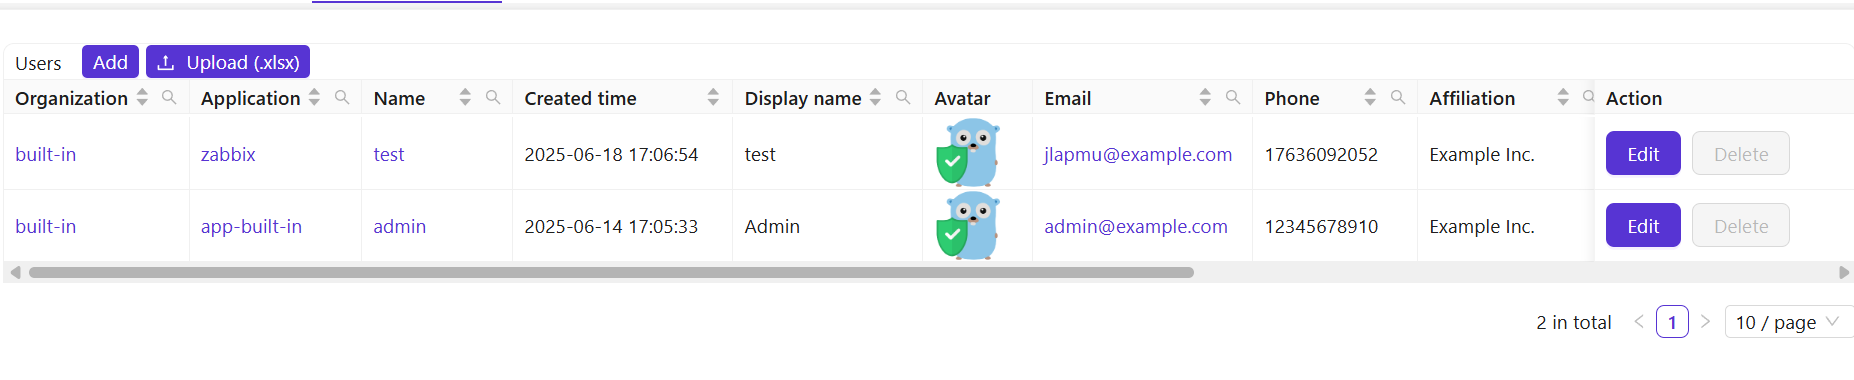
Step 6: Creating a Casdoor User
Add a user in Casdoor with the same username as the one set in Zabbix.
- Log in to the Casdoor management interface and find the user management module.
- Add a new user with the same username as the one created in Zabbix.
- Select Zabbix and enter the user's email address.
Step 7: Zabbix Login Process
After completing the above steps, test SSO.
Open a browser and visit localhost/index.php.
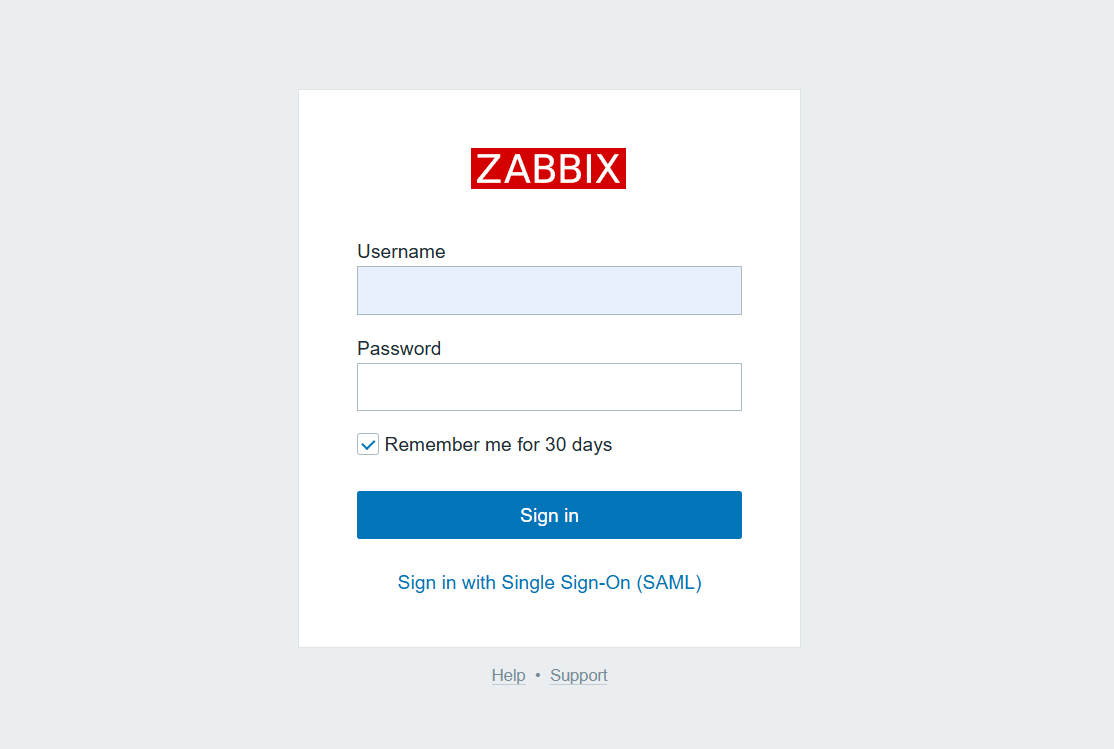
Click Sign in with Single Sign - On(SAML).
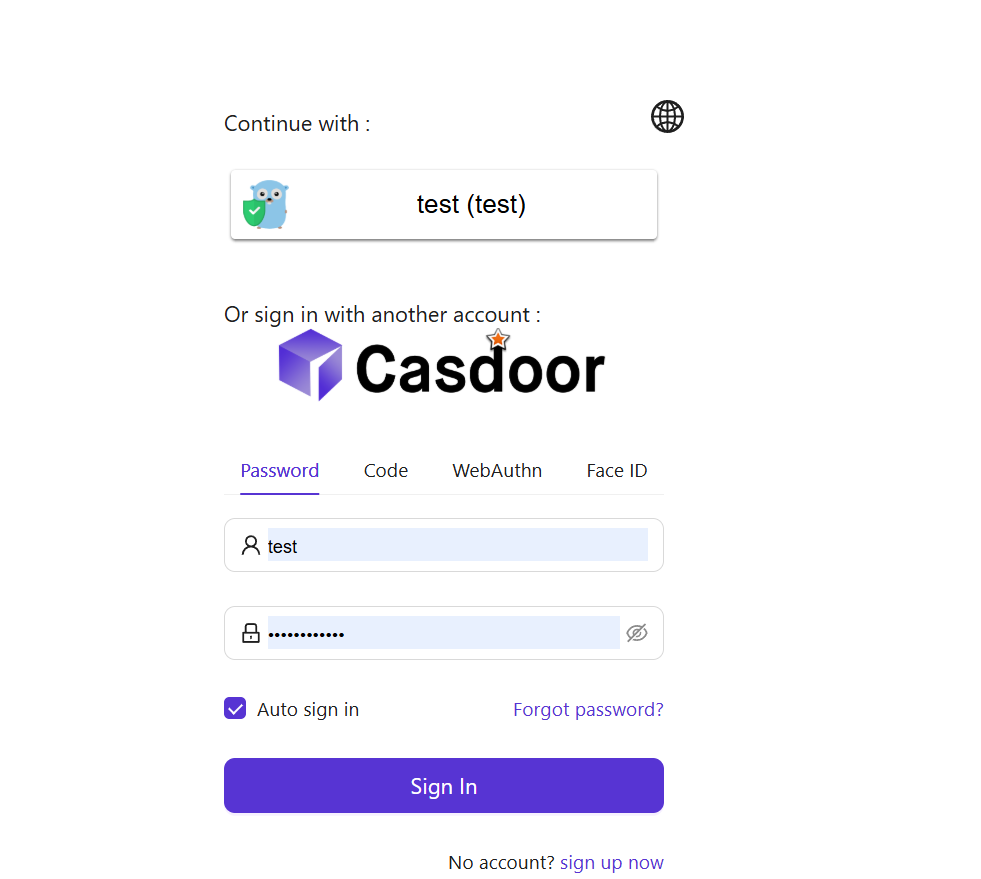
You are redirected to Casdoor; enter username and password to log in.
On successful login, you are redirected back to https://localhost:8080/zabbix.index.php; SSO is then confirmed.
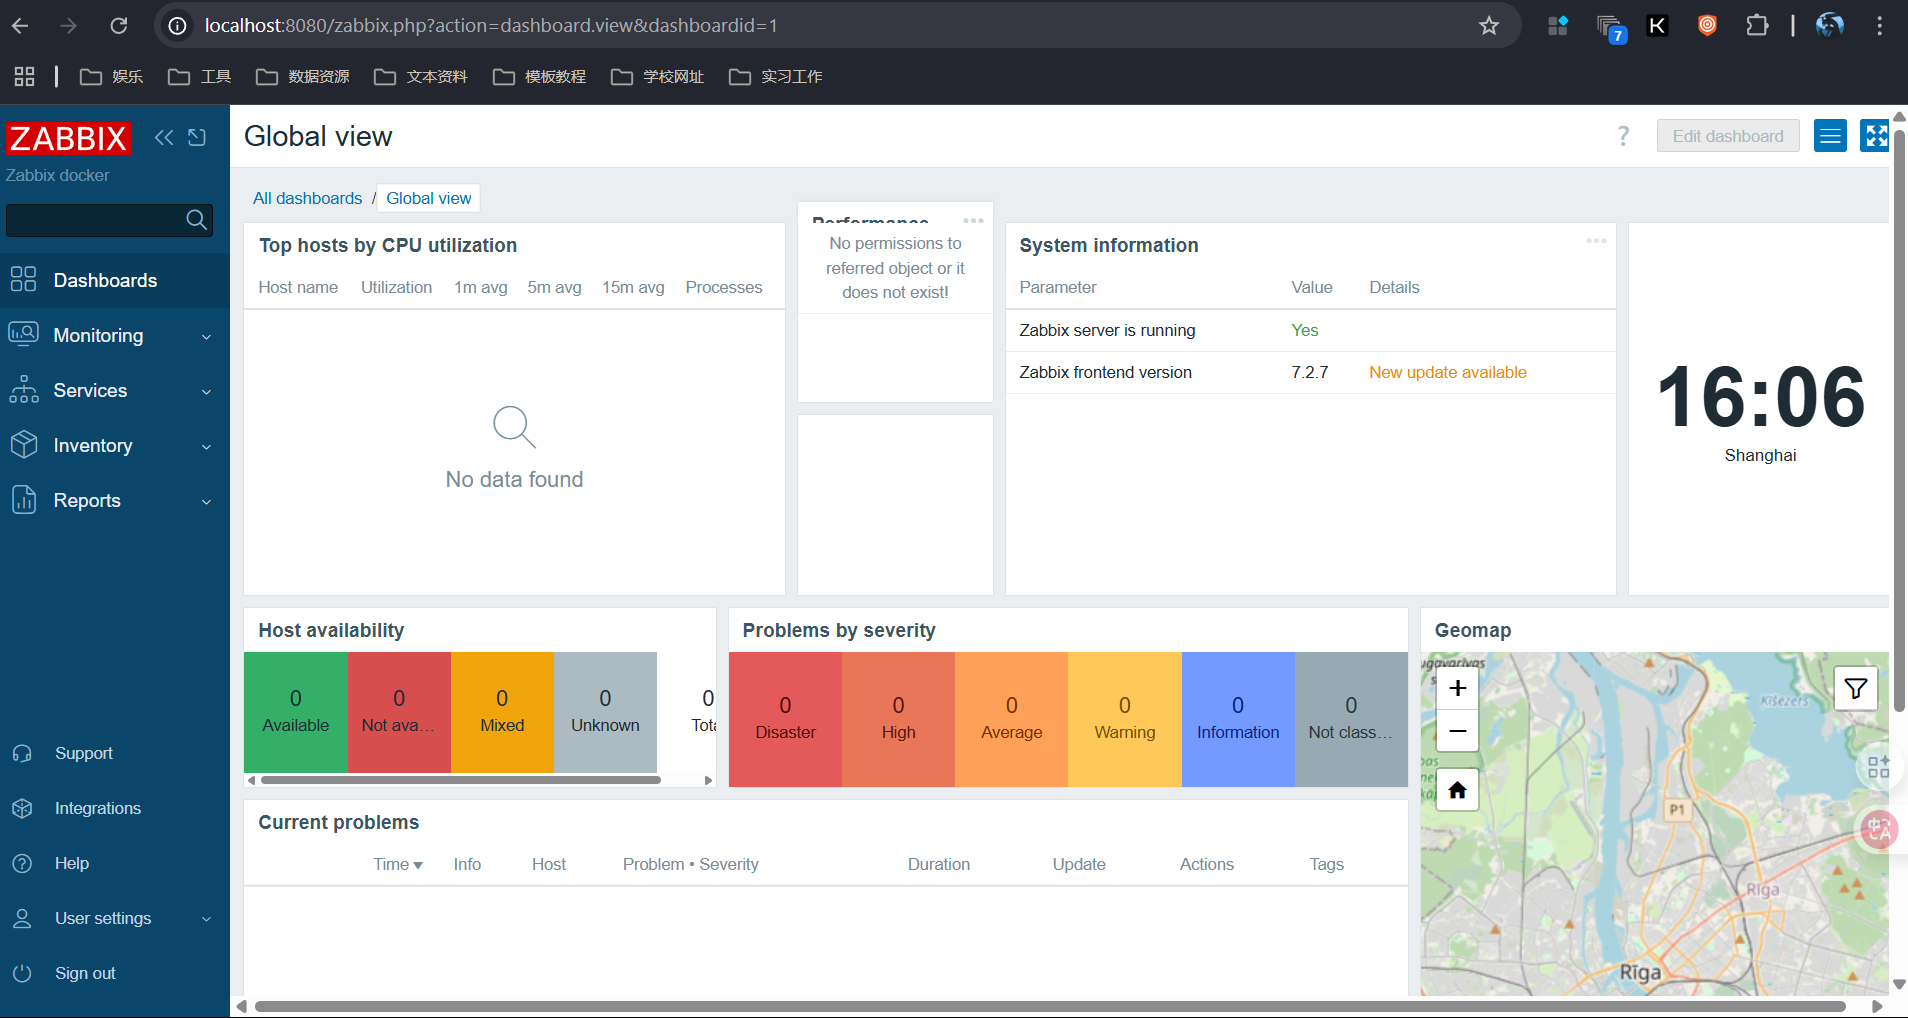
After completing these steps, Zabbix and Casdoor are integrated for SSO. For issues, see the relevant docs or community forums.