SendGrid email
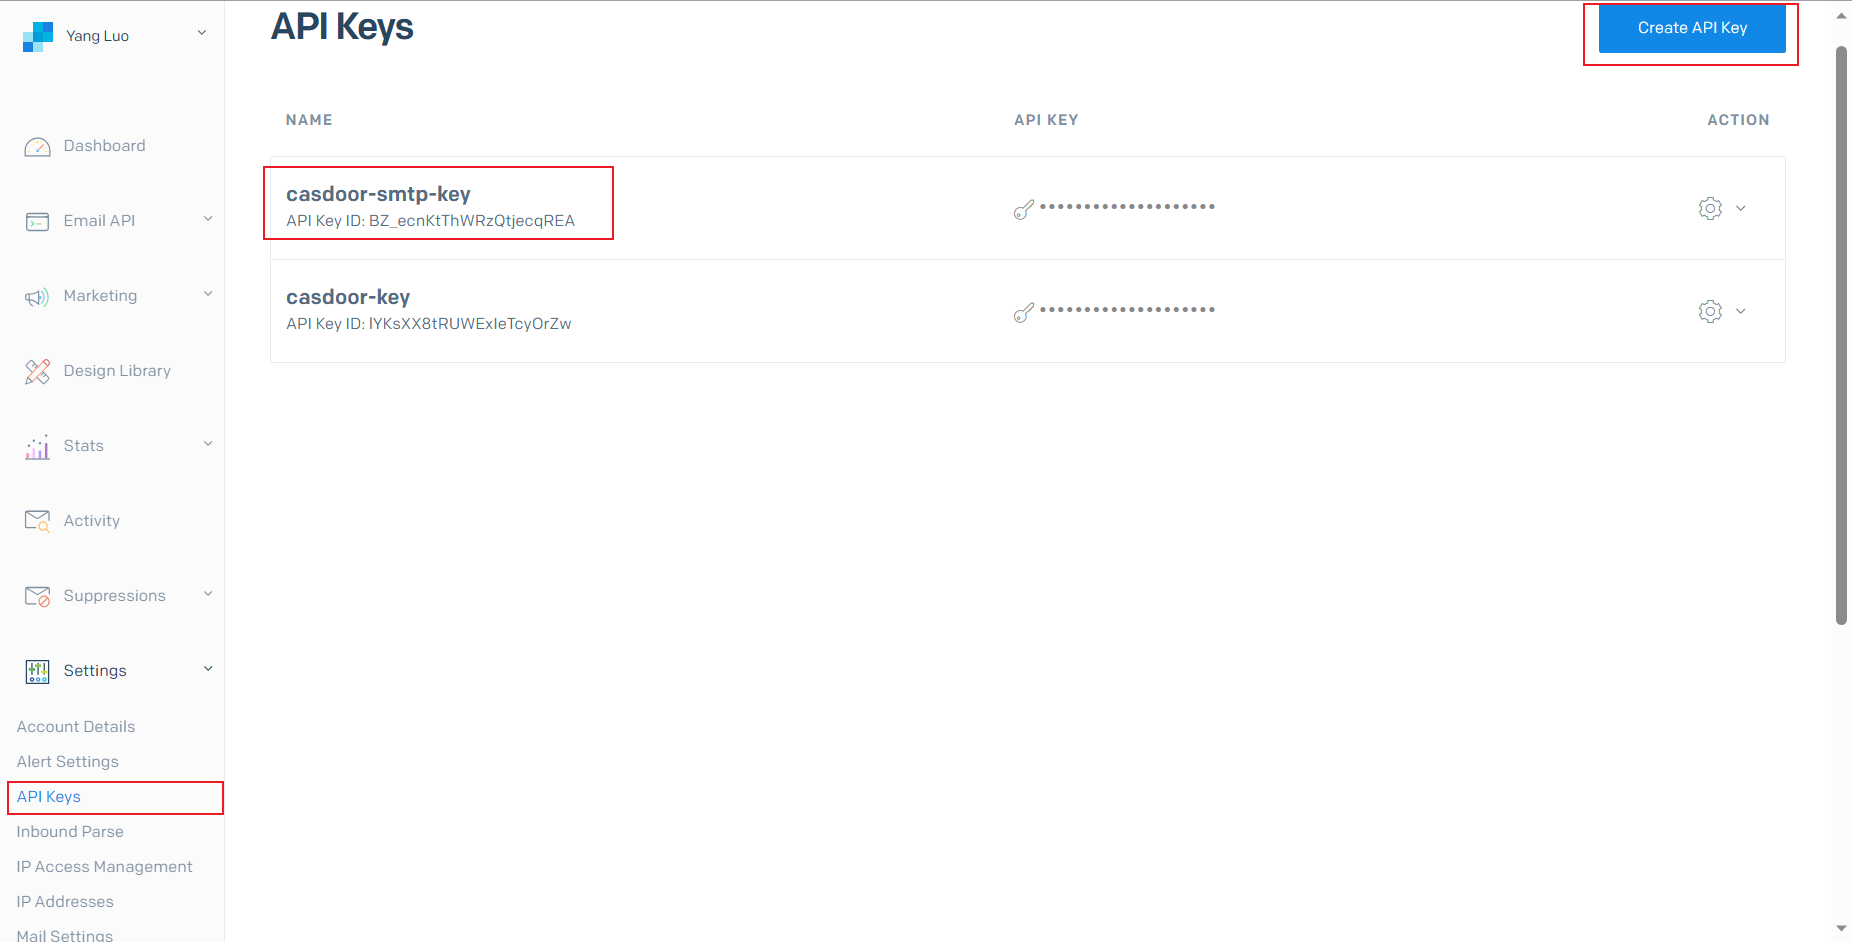
1. Create an API key
In the SendGrid dashboard, go to Settings → API Keys. Click Create API Key and set the permissions you need.
2. Verify sender
Verify your sender via Single Sender Verification or Domain Authentication. See Sender Identity.
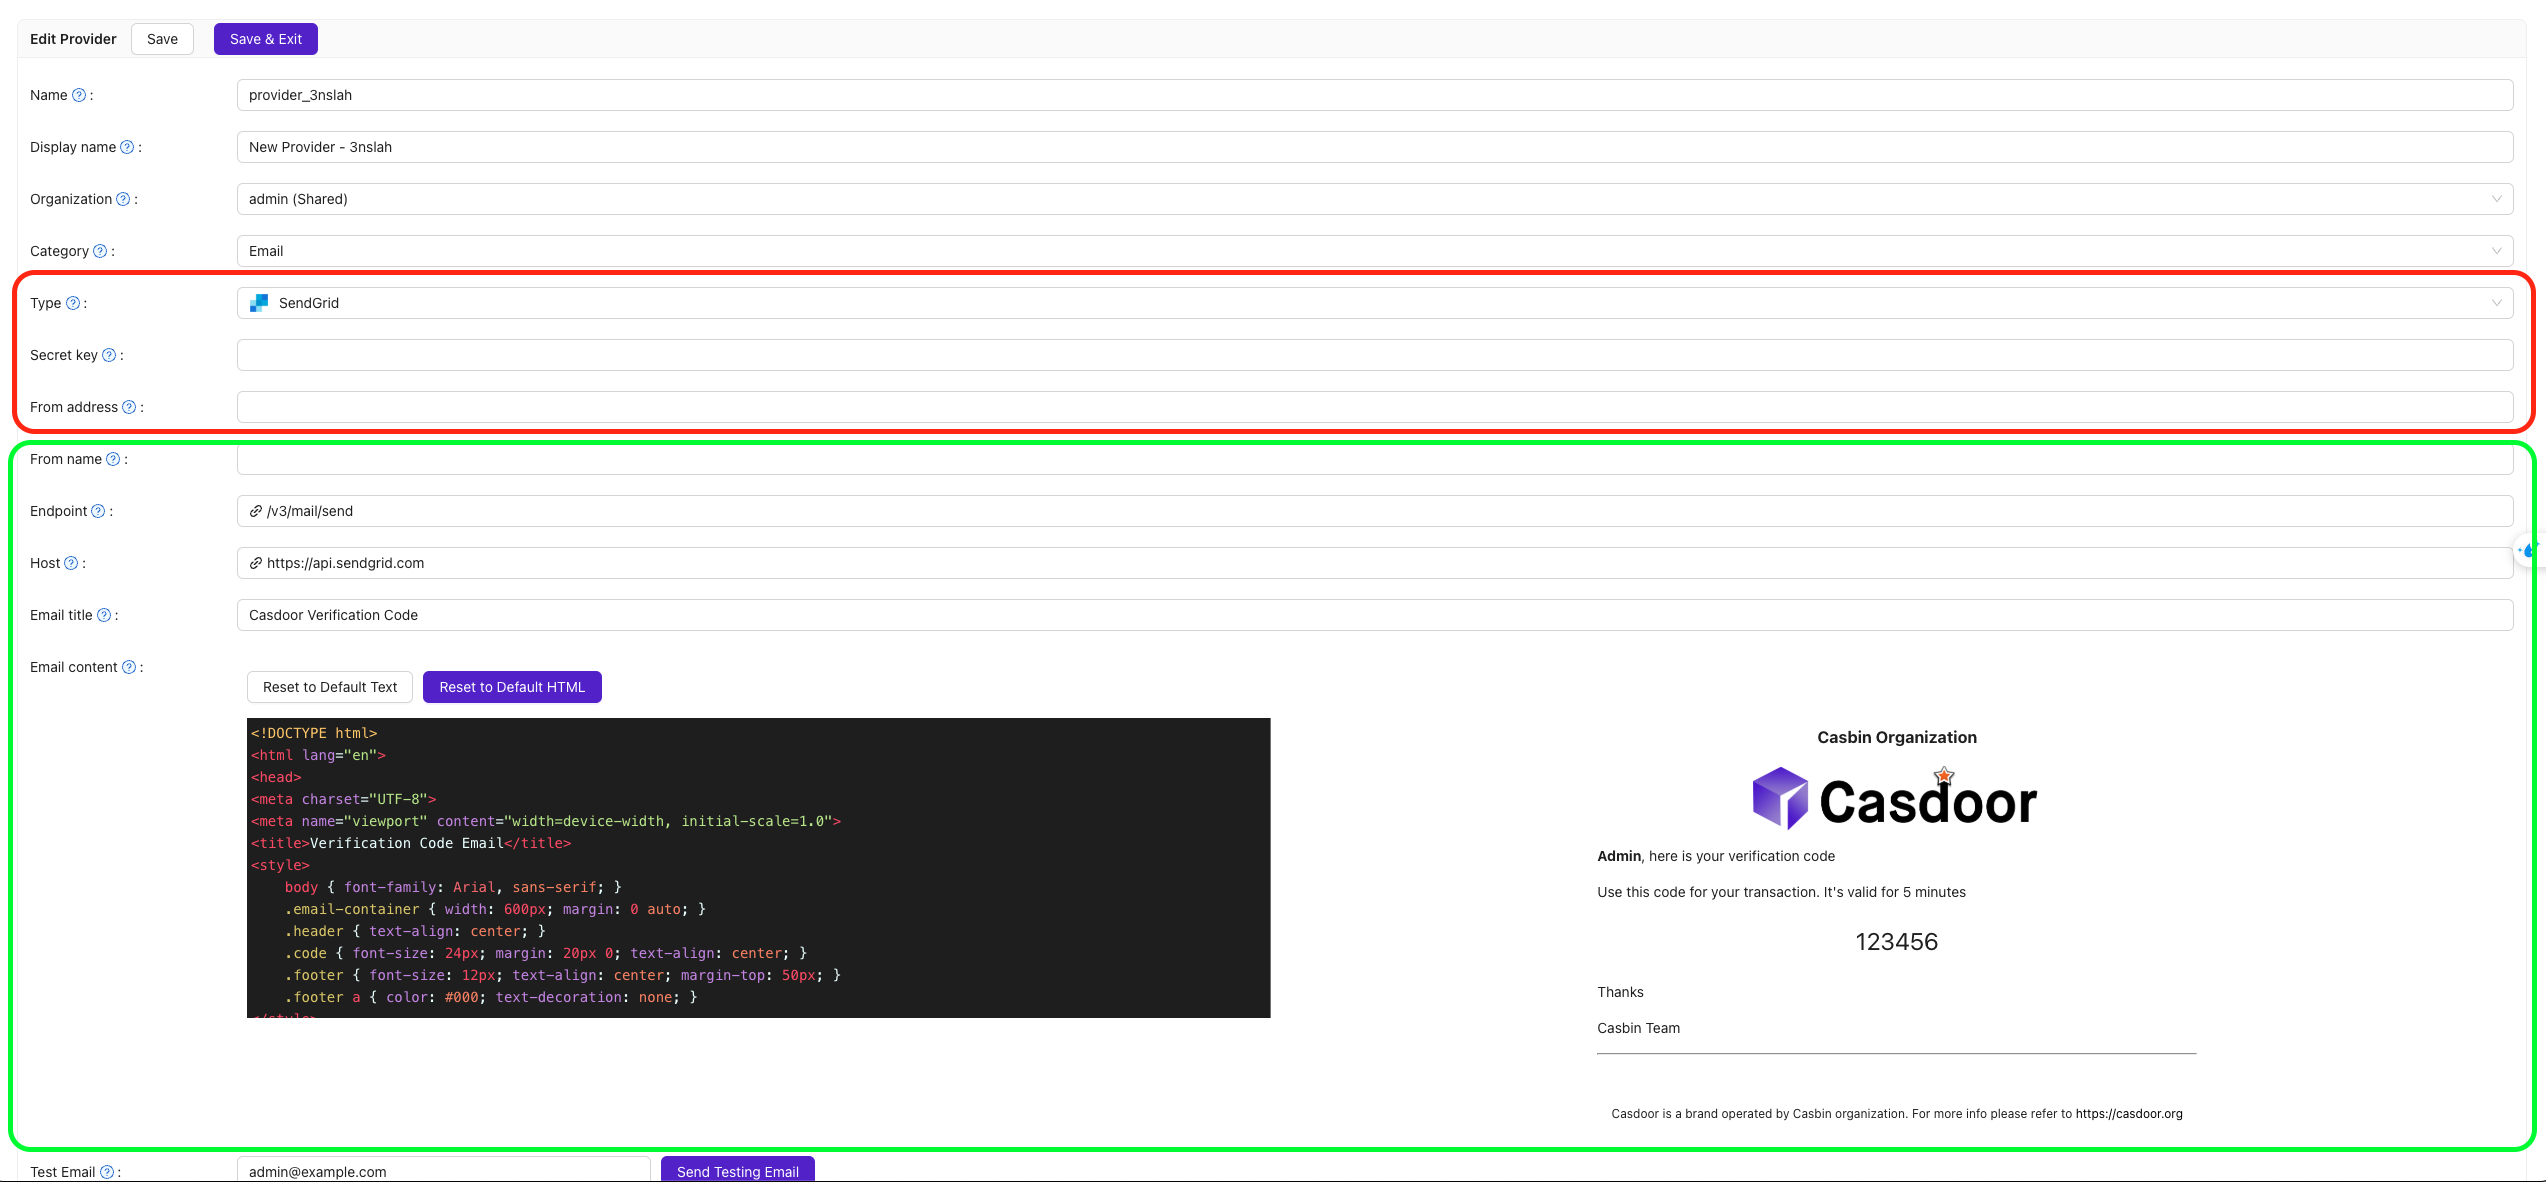
3. Configure the provider in Casdoor
Create an Email provider, set Type to SendGrid, and fill in:
Required
| Field | Description |
|---|---|
| Secret Key | Your SendGrid API key |
| Dirección del Remitente | Verified sender email or domain |
Defaults (can override)
| Field | Default |
|---|---|
| Endpoint | /v3/mail/send |
| Host | https://api.sendgrid.com |
Optional
| Field | Description |
|---|---|
| From Name | Sender display name |
| Email Title | Subject |
| Email Content | Body (HTML supported) |
| Test Email | Recipient for Send Testing Email |
Use Send Testing Email and check the Test Email inbox to confirm delivery.