Server installation
安装要求
Operating system
Windows, Linux, and macOS are supported.
Build environment
https://goproxy.cn/). :::数据库
Casdoor uses XORM and supports these databases (Xorm drivers):
MySQLMariaDBPostgreSQLCockroachDBSQL ServerOracleSQLite 3TiDB
下载
Pre-built binaries
GitHub Releases provide binaries for Linux (x86_64, arm64), macOS (x86_64, arm64), and Windows (x86_64, arm64). Extract the archive and run the casdoor binary. It includes the web frontend and a sample conf/app.conf; set the database connection before first run (see Configure database).
# Linux/macOS example
tar -xzf casdoor_Linux_x86_64.tar.gz
cd casdoor_Linux_x86_64
# Edit conf/app.conf with your database settings
./casdoor
Build from source
Repository: https://github.com/casdoor/casdoor (backend and frontend in one repo).
| Part | 描述 | Stack |
|---|---|---|
| 前端 | Web UI | JavaScript + React |
| 后端 | REST API | Go + Beego + XORM |
Clone the repo (Go Modules are used):
cd /文件夹路径/
git clone https://github.com/casdoor/casdoor
配置
Configure database
Casdoor supports MySQL, MariaDB, PostgreSQL, CockroachDB, SQL Server, Oracle, SQLite3, and TiDB. Default config uses MySQL.
MySQL
Create a database named casdoor if it does not exist. Set the connection in conf/app.conf (see app.conf):
driverName = mysql
dataSourceName = root:123456@tcp(localhost:3306)/
dbName = casdoor
PostgreSQL
Create a database (e.g. casdoor) before running; xorm requires it in the connection string. Example app.conf:
driverName = postgres
dataSourceName = user=postgres password=postgres host=localhost port=5432 sslmode=disable dbname=casdoor
dbName = casdoor
CockroachDB
CockroachDB也可以与PostgreSQL驱动程序一起使用,并且配置与PostgreSQL相同。
driverName = postgres
dataSourceName = user=postgres password=postgres host=localhost port=5432 sslmode=disable dbname=casdoor serial_normalization=virtual_sequence
dbName = casdoor
serial_normalization=virtual_sequence添加到dataSourceName。 否则,每当服务启动或重启时,您都会收到有关现有数据库的错误。 请注意,必须在创建数据库之前添加这个。 :::SQLite3
要配置SQLite3,您应该像这样指定app.conf:
driverName = sqlite
dataSourceName = file:casdoor.db?cache=shared
dbName = casdoor
Config files
Backend and frontend options are documented in Configuration. For a minimal setup, set driverName and dataSourceName in conf/app.conf (see Configure database).
运行
Development mode
后端
Start the Go backend (default port 8000):
go run main.go
Then start the frontend.
Frontend
The frontend is a Create React App project and runs on port 7001 by default:
cd web
yarn install
yarn start
Open http://localhost:7001 and sign in as built-in/admin / 123.
Production mode
后端
Build and run the binary:
对于Linux:
go build
./casdoor
适用于Windows:
go build
casdoor.exe
前端
Build static assets:
cd web
yarn install
yarn build
Open http://localhost:8000 and sign in as built-in/admin / 123.
httpport in conf/app.conf and restart the backend. :::- Dev: Frontend runs on port 7001 (
yarn start). Point apps at http://localhost:7001 for the Casdoor login page. - Prod: Frontend is built and served by the backend on port 8000. Use https://your-casdoor-domain (or your reverse proxy URL). :::
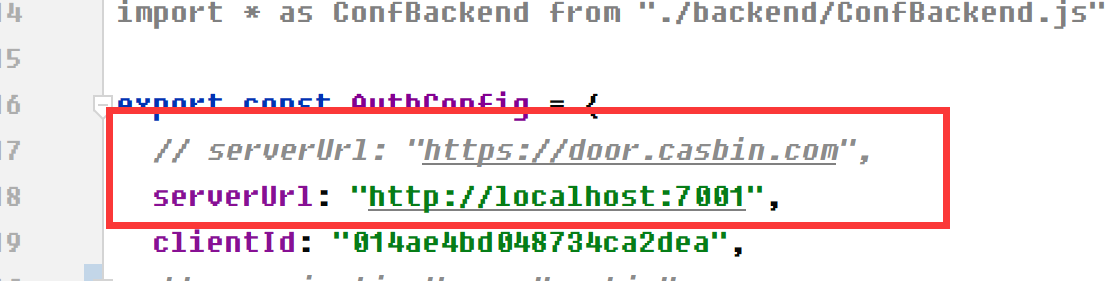
Example: Casnode uses Casdoor. In dev, set serverUrl to http://localhost:7001; in prod, set it to https://door.casdoor.com.