.NET MAUI app
The casdoor-dotnet-maui-example includes a .NET MAUI app and library for Casdoor authentication via OpenID Connect.
Demo
Android
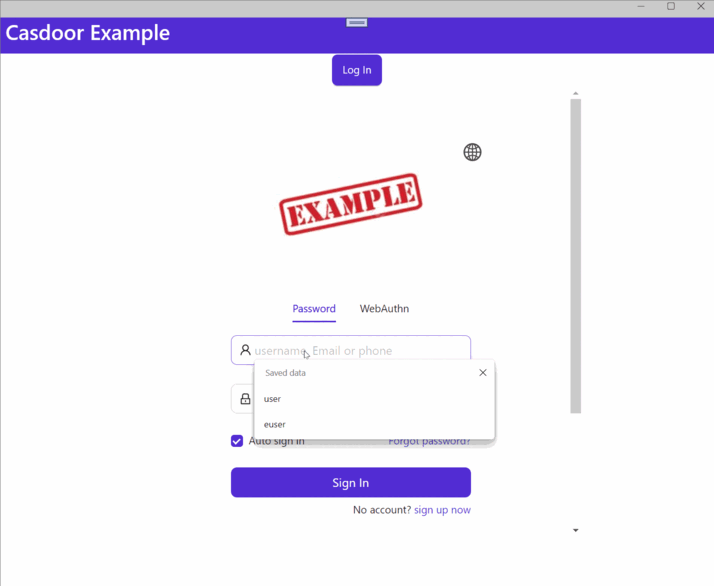
Windows
Exigences
- .NET 7 SDK
- Target platform assets — see MAUI first app
- Visual Studio 2022 (Windows 17.3 or Mac 17.4) optional
Get started
1. Create a MAUI app
Create a MAUI application.
2. Add reference
Add a reference to Casdoor.MauiOidcClient.
3. Register the Casdoor client
Ajoutez CasdoorClient en tant que singleton dans les services.
builder.Services.AddSingleton(new CasdoorClient(new()
{
    Domain = "<your domain>",
    ClientId = "<your client>",
    Scope = "openid profile email",

#if WINDOWS
    RedirectUri = "http://localhost/callback"
#else
    RedirectUri = "casdoor://callback"
#endif
}));
4. UI (MainPage)
MainPage.xaml
<?xml version="1.0" encoding="utf-8" ?>
<ContentPage xmlns="http://schemas.microsoft.com/dotnet/2021/maui"
             xmlns:x="http://schemas.microsoft.com/winfx/2009/xaml"
             x:Class="Casdoor.MauiOidcClient.Example.MainPage">

    <ScrollView>
        <VerticalStackLayout>

            <StackLayout
                x:Name="LoginView">
                <Button
                    x:Name="LoginBtn"
                    Text="Log In"
                    SemanticProperties.Hint="Click to log in"
                    Clicked="OnLoginClicked"
                    HorizontalOptions="Center" />

                <WebView x:Name="WebViewInstance" />
            </StackLayout>

            <StackLayout
                x:Name="HomeView"
                IsVisible="false">

                <Label
                Text="Welcome to .NET Multi-platform App UI"
                SemanticProperties.HeadingLevel="Level2"
                SemanticProperties.Description="Welcome to dot net Multi-platform App UI"
                FontSize="18"
                HorizontalOptions="Center" />

                <Button
                x:Name="CounterBtn"
                Text="Click me"
                SemanticProperties.Hint="Counts the number of times you click"
                Clicked="OnCounterClicked"
                HorizontalOptions="Center" />

                <Label
                x:Name="NameLabel"
                Text=""
                SemanticProperties.HeadingLevel="Level2"
                SemanticProperties.Description="User's name"
                FontSize="18"
                HorizontalOptions="Center" />

                <Label
                x:Name="EmailLabel"
                Text=""
                SemanticProperties.HeadingLevel="Level2"
                SemanticProperties.Description="User's email"
                FontSize="18"
                HorizontalOptions="Center" />

                <Button
                x:Name="LogoutBtn"
                Text="Log Out"
                SemanticProperties.Hint="Click to log out"
                Clicked="OnLogoutClicked"
                HorizontalOptions="Center" />

            </StackLayout>
        </VerticalStackLayout>
    </ScrollView>

</ContentPage>
MainPage.cs
namespace Casdoor.MauiOidcClient.Example
{
    public partial class MainPage : ContentPage
    {
        int count = 0;
        private readonly CasdoorClient client;
        private string accessToken;
        public MainPage(CasdoorClient client)
        {
            InitializeComponent();
            this.client = client;

#if WINDOWS
    client.Browser = new WebViewBrowserAuthenticator(WebViewInstance);
#endif
        }

        private void OnCounterClicked(object sender, EventArgs e)
        {
            count++;

            if (count == 1)
                CounterBtn.Text = $"Clicked {count} time";
            else
                CounterBtn.Text = $"Clicked {count} times";

            SemanticScreenReader.Announce(CounterBtn.Text);
        }

        private async void OnLoginClicked(object sender, EventArgs e)
        {
            var loginResult = await client.LoginAsync();
            accessToken = loginResult.AccessToken;
            if (!loginResult.IsError)
            {
                NameLabel.Text = loginResult.User.Identity.Name;
                EmailLabel.Text = loginResult.User.Claims.FirstOrDefault(c => c.Type == "email")?.Value;

                LoginView.IsVisible = false;
                HomeView.IsVisible = true;
            }
            else
            {
                await DisplayAlert("Error", loginResult.ErrorDescription, "OK");
            }
        }

        private async void OnLogoutClicked(object sender, EventArgs e)
        {
            var logoutResult = await client.LogoutAsync(accessToken);


            if (!logoutResult.IsError)
            {
                HomeView.IsVisible = false;
                LoginView.IsVisible = true;
                this.Focus();
            }
            else
            {
                await DisplayAlert("Error", logoutResult.ErrorDescription, "OK");
            }
        }
    }
}
Étape 5 : Prendre en charge la plateforme Android
Modifiez le fichier AndroidManifest.xml.
<?xml version="1.0" encoding="utf-8"?>
<manifest xmlns:android="http://schemas.android.com/apk/res/android">
    <application android:allowBackup="true" android:icon="@mipmap/appicon" android:roundIcon="@mipmap/appicon_round" android:supportsRtl="true"></application>
    <uses-permission android:name="android.permission.ACCESS_NETWORK_STATE" />
    <uses-permission android:name="android.permission.INTERNET" />
    <queries>
        <intent>
            <action android:name="android.support.customtabs.action.CustomTabsService" />
        </intent>
    </queries>
</manifest>
Étape 6 : Lancer l'Application
Visual Studio : Appuyez sur Ctrl + F5 pour démarrer.