Cloud Foundry
Deploy Casdoor first (see Server installation). Then configure the application and Cloud Foundry as below.
Étape 1 : Configurer l'application Casdoor
- Créez ou utilisez une application Casdoor existante.
- Ajoutez une URL de redirection :
http://CASDOOR_HOSTNAME/login
- Copiez l'ID client ; nous en aurons besoin dans les étapes suivantes.
Étape 2 : Ajoutez un utilisateur dans Casdoor
Create a user and assign a role to the application.
Go to the "Users" page and click on "Add user" in the top-right corner. This opens the new-user page.
Save the user after adding a username and the organization "Cloud Foundry" (other details are optional).
Set a password via "Manage your password".
Choose a password for your user and confirm it.
Étape 3 : Construire l'application Cloud Foundry
Start the Cloud Foundry by following these steps.
- $ git clone git://github.com/cloudfoundry/uaa.git
- $ cd uaa
- $ ./gradlew run
Étape 4 : Intégrer Casdoor
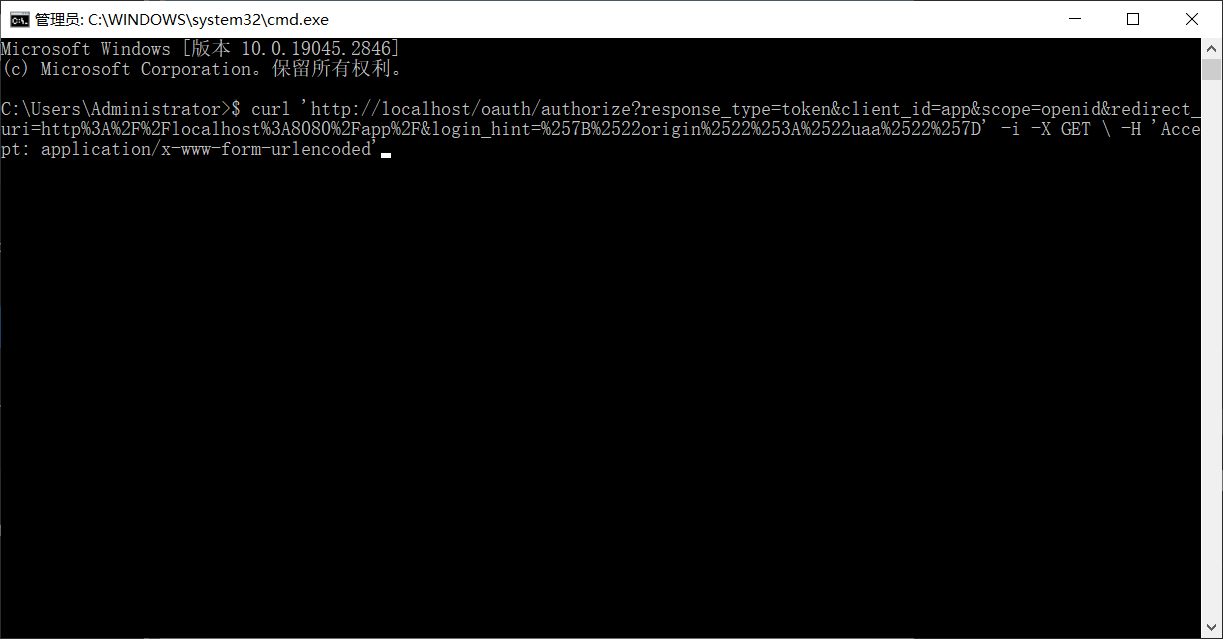
Now open another command line and input:
curl '`http://localhost/oauth/authorize?response_type=token&client_id=app&scope=openid&redirect_uri=http%3A%2F%2Flocalhost%3A8080%2Fapp%2F`' -i -X GET \
  -H 'Accept: application/x-www-form-urlencoded'
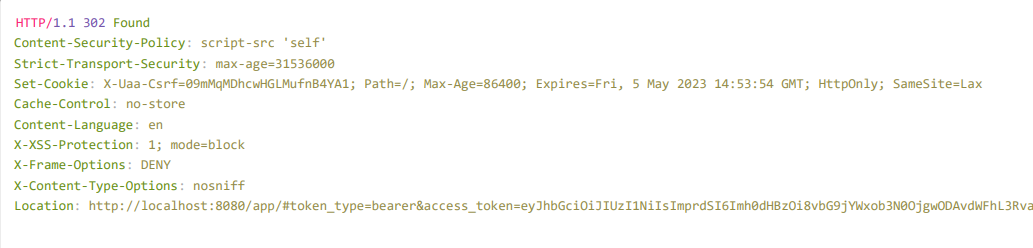
We have already obtained the client ID and redirect URI before; we input these parameters. 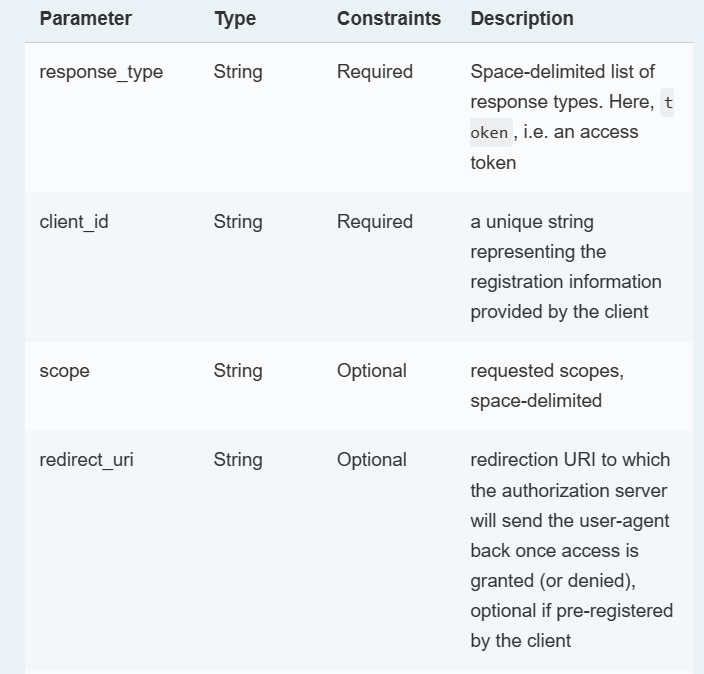
Execute the command, and we can get the result below, which means that we have successfully integrated Casdoor with Cloud Foundry.