Nginx
使用Casdoor作为身份提供者(IdP)为NGINX Plus代理的应用程序启用基于OpenID Connect的单点登录。
本指南解释了如何为NGINX Plus代理的应用程序启用单点登录(SSO)。 该解决方案使用OpenID Connect作为身份验证机制,以Casdoor作为身份提供者(IdP),以及NGINX Plus作为依赖方。
See also: NGINX Plus OpenID Connect on GitHub.
先决条件
说明假定您具有以下内容:
-
一个正在运行的Casdoor服务器。 See Server installation and Try with Docker.
-
一个NGINX Plus订阅和NGINX Plus R15或更高版本。 有关安装说明,请参阅NGINX Plus管理员指南。
-
NGINX JavaScript模块,用于处理NGINX Plus和IdP之间的交互。 安装NGINX Plus后,使用适合您的操作系统的命令安装模块。
对于Debian和Ubuntu:
sudo apt install nginx-plus-module-njs对于CentOS,RHEL和Oracle Linux:
sudo yum install nginx-plus-module-njs -
以下指令应包含在顶级(“主”)配置上下文中的**/etc/nginx/nginx.conf**中,以便加载NGINX JavaScript模块:
load_module modules/ngx_http_js_module.so;
配置Casdoor
**注意:**以下过程反映了出版时的Casdoor GUI,但GUI可能会发生变化。 使用此指南作为参考,并根据当前的Casdoor GUI进行调整。
要在Casdoor GUI中为NGINX Plus创建一个Casdoor客户端,请按照以下步骤操作:
-
Log in to your Casdoor account at
http://your-casdoor-url.com/login/. -
在顶部导航栏中,点击应用程序。 在打开的应用程序页面上,点击左上角的添加按钮。

-
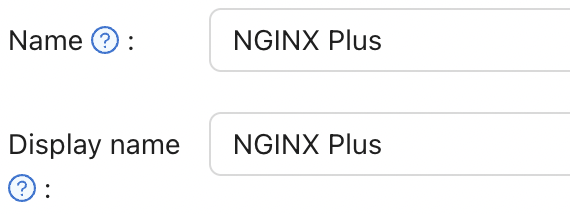
在打开的编辑应用程序页面上,将名称和显示名称字段的值更改为您要启用SSO的应用程序的名称。 在这里,我们使用的是NGINX Plus。
在重定��向URL字段中,输入NGINX Plus实例的URL,包括端口号,并以**/_codexch**结尾(在本指南中,它是https://your-site-url.com:443/_codexch)。
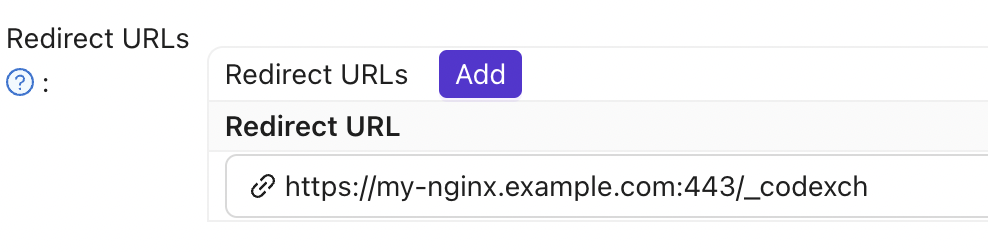
注意:
- 对于生产环境,我们强烈建议您使用SSL/TLS(端口443)。
- 即使您使用的是HTTP(80)或HTTPS(443)的默认端口,端口号也是必需的。
-
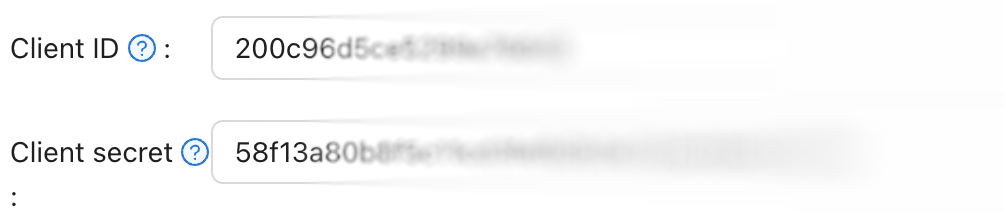
Record the Client ID and Client Secret; you will use them in Step 4 of Configuring NGINX Plus.
-
点击顶部导航栏中的角色,然后点击打开的页面左上角的添加按钮。

-
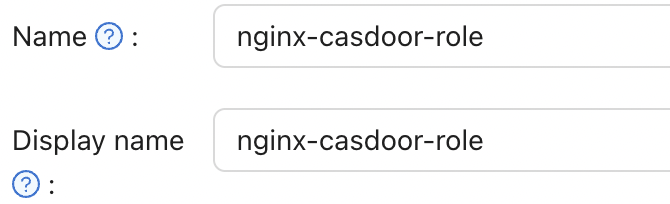
在打开的添加页面上,在名称和显示名称字段中输入一个值(这里是nginx-casdoor-role),然后点击保存按钮。
-
在顶部导航栏中,点击用户。 在打开的用户页面上,点击编辑编辑现有用户,或者点击左上角的添加按钮创建新用户。
-
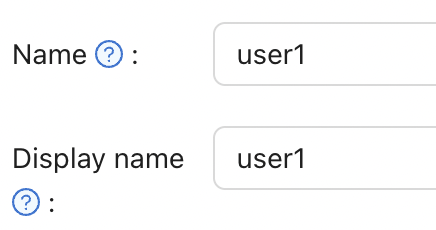
在打开的添加页面上,根据您的喜好修改名称和显示名称(这里是user1)。
在注册应用程序中选择NGINX Plus。

在管理帐户字段中,选择应用程序中的NGINX Plus,并填写用户名和密码。

-
返回到角色页面,点击nginx-casdoor-role行上的编辑。 在打开的页面中,在子用户字段中,选择您刚刚创建的用户名(这里是built-in/user1)。

配置NGINX Plus
要配置NGINX Plus作为OpenID Connect依赖方,请按照以下步骤操作:
-
首先,创建nginx-openid-connect GitHub仓库的克隆:
git clone https://github.com/nginxinc/nginx-openid-connect -
将克隆中的以下文件复制到**/etc/nginx/conf.d**目录:
- frontend.conf
- openid_connect.js
- openid_connect.server_conf
- openid_connect_configuration.conf
-
从Casdoor配置中获取授权端点、令牌端点和JSON Web Key(JWK)文件的URL。 打开终端并执行以下
curl命令,将输出管道到指定的python命令以生成可读的配置格式。 为了简洁,我们已经截断了输出,只显示相关字段。curl http://<casdoor-server-address>/.well-known/openid-configuration | python -m json.tool
{
"authorization_endpoint": "https://<casdoor-server-address>/login/oauth/authorize",
"...":"...",
"token_endpoint": "http://<casdoor-server-address>/api/login/oauth/access_token",
"...":"...",
"jwks_uri": "http://<casdoor-server-address>/.well-known/jwks",
"...":"...",
} -
使用您喜欢的文本编辑器打开**/etc/nginx/conf.d/openid_connect_configuration.conf**。 修改以下map指令的"default"参数值为指定的值:
map $host $oidc_authz_endpoint– Use the value of theauthorization_endpointfrom Step 3 (in this guide,https://<casdoor-server-address>/login/oauth/authorize)map $host $oidc_token_endpoint– Use the value of thetoken_endpointfrom Step 3 (in this guide,http://<casdoor-server-address>/api/login/oauth/access_token)map $host $oidc_client– Use the value in the Client ID field from Step 4 of Configuring Casdoormap $host $oidc_client_secret– Use the value in the Client Secret field from Step 2 of Configuring Casdoormap $host $oidc_hmac_key- 使用一个独特的,长的,安全的短语
-
根据使用的NGINX Plus版本配置JWK文件:
- In NGINX Plus R17 and later, NGINX Plus can directly read the JWK file from the URL specified as
jwks_uriin Step 3. 对**/etc/nginx/conf.d/frontend.conf**进行以下更改:- 注释掉(或删除)auth_jwt_key_file指令。
- 取消注释auth_jwt_key_request指令。 (参数
/_jwks_uri引用了$oidc_jwt_keyfile变量的值,该值将在下一步中设置。) - Update the "default" parameter of the
map $host $oidc_jwt_keyfiledirective to the value obtained from thejwks_urifield in Step 3 (in this guide,http://<casdoor-server-address>/.well-known/jwks).
- 在NGINX Plus R16及更早版本中,或者如果您喜欢,JWK文件必须位于本地磁盘上。 按照以下步骤操作:
- Copy the JSON contents from the JWK file specified in the
jwks_urifield in Step 3 (in this guide,http://<casdoor-server-address>/.well-known/jwks) to a local file (e.g.,/etc/nginx/my_casdoor_jwk.json). - 在**/etc/nginx/conf.d/openid_connect_configuration.conf**中,将
map $host $oidc_jwt_keyfile指令的"default"参数更改为本地�文件的路径。
- Copy the JSON contents from the JWK file specified in the
- In NGINX Plus R17 and later, NGINX Plus can directly read the JWK file from the URL specified as
-
确保在NGINX Plus配置文件(通常是**/etc/nginx/nginx.conf**)中指定的user指令的用户具有读取JWK文件的权限。
测试
打开浏览器并输入您的NGINX Plus实例的地址。 然后,尝试使用被分配了NGINX Plus角色的用户的凭据登录。

故障排除
See the Troubleshooting section in the nginx-openid-connect repository.