Grafana
Grafana supports generic OAuth. Use Casdoor as the IdP so users sign in to Grafana with their Casdoor accounts. Ensure Grafana is installed and running.
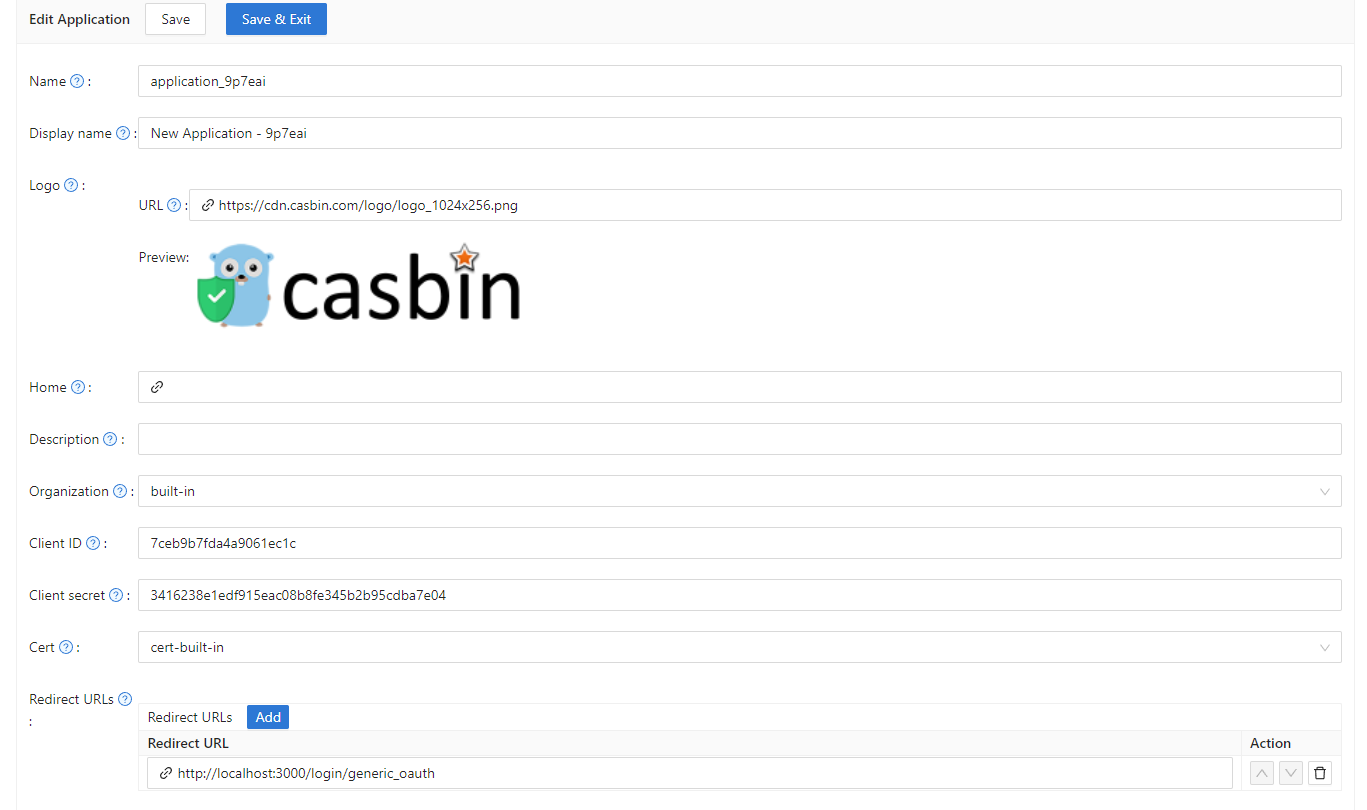
Step 1: Create a Casdoor application for Grafana
Create an application in Casdoor and add Grafana’s callback URL. Default Grafana OAuth callback path: /login/generic_oauth, so the full redirect URL is https://<grafana-host>/login/generic_oauth. Copy the Client ID and Client Secret.
Step 2: Configure Grafana
Edit the Grafana config (e.g. conf/defaults.ini or your custom config). Find or add [auth.generic_oauth] and set:
[auth.generic_oauth]
name = Casdoor
icon = signin
enabled = true
allow_sign_up = true
client_id = <来自上一步的客户端ID>
client_secret = <来自上一步的客户端秘密>
auth_url = <Casdoor端点>/login/oauth/authorize
token_url = <Casdoor端点>/api/login/oauth/access_token
HTTPS
If Casdoor or Grafana is not using HTTPS, set tls_skip_verify_insecure = true.
Redirect after sign-in
If the post-login redirect is wrong, set root_url in [server]:
[server]
http_port = 3000
# 用于从浏览器访问Grafana的公开面向的域名
domain = <你的IP地址>
# 完整的公开面向的URL
root_url = %(protocol)s://%(domain)s:%(http_port)s/
相关链接:
关于角色映射
您可能希望配置role_attribute_path,通过role_attribute_path将您的用户角色映射到Grafana。
[auth.generic_oauth]
role_attribute_path = contains(roles[*].name, 'admin') && 'Admin' || contains(roles[*].name, 'editor') && 'Editor' || 'Viewer'
role_attribute_strict = true
allow_assign_grafana_admin = true
The JMESPath expression after role_attribute_path is important; see the Grafana docs.
步骤3:查看是否有效
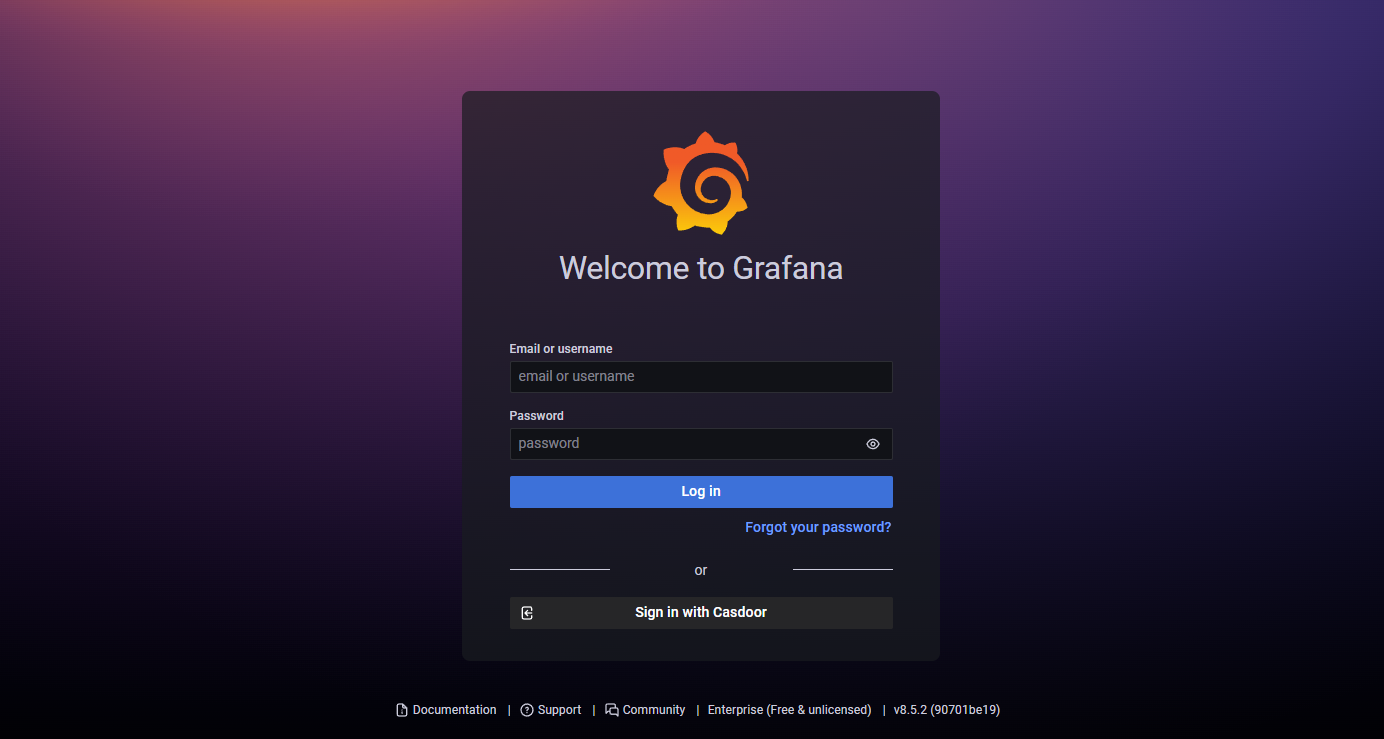
关闭Grafana并重新启动它。
前往登录页面。 你应该会看到类似这样的东西: