Hasura
Deploy Casdoor first (see Server installation). Then configure the application and Hasura as below.
Casdoorアプリケーションの設定
- 既存のCasdoorアプリケーションを作成するか使用します。
- リダイレクトURLを追加します:
http://CASDOOR_HOSTNAME/login
- クライアントIDをコピーします。次のステップで必要になります。
Casdoorにユーザーを追加する
Create a user and assign a role to the application.
Go to Users → Add user to open the new-user page.
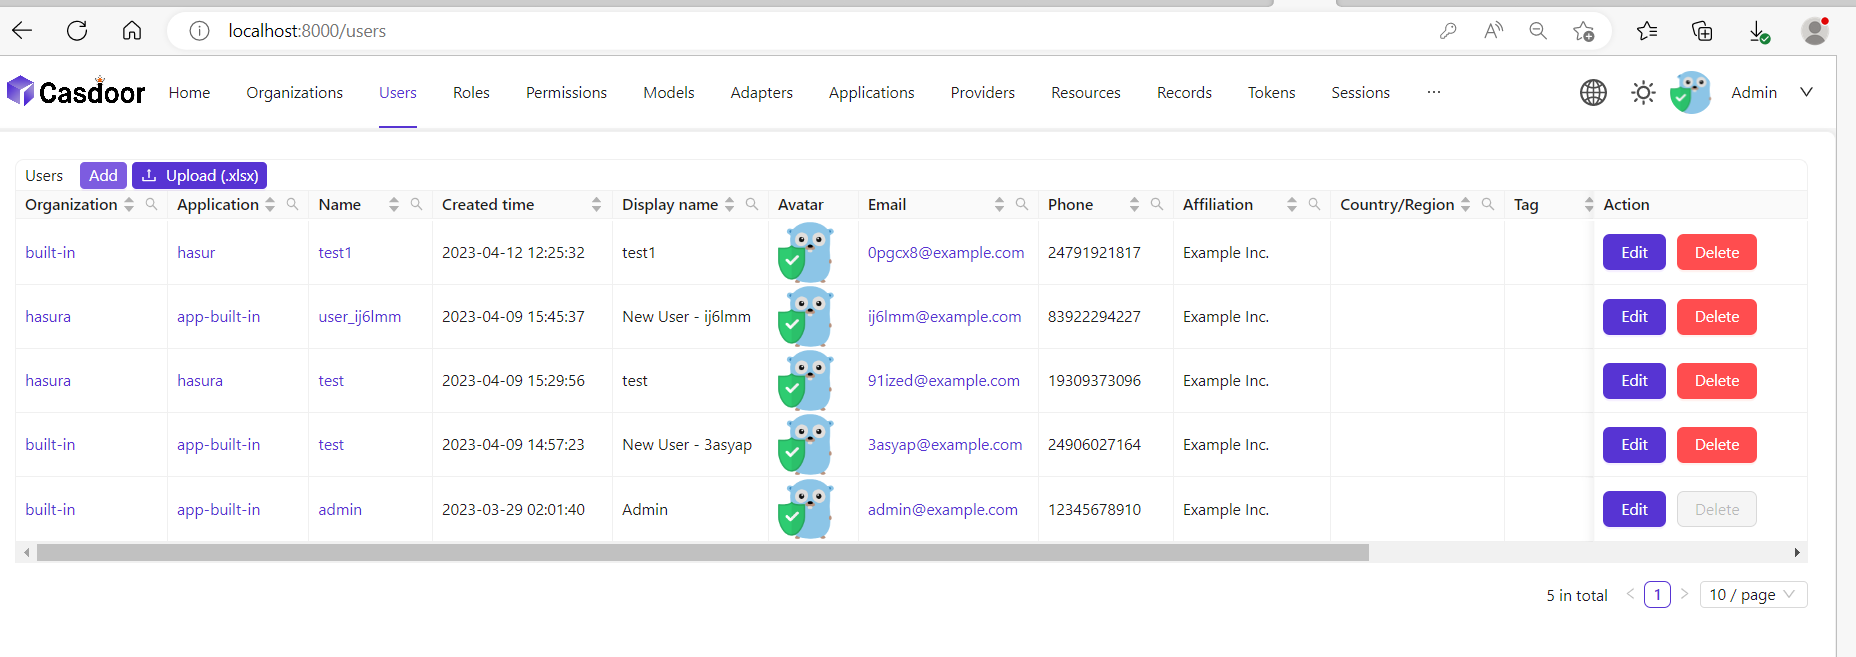
ユーザー名を追加し、Hasura組織を追加してユーザーを保存します(他の詳細はオプションです)。
Set a password via "Manage your password".
ユーザーのパスワードを選択し、確認してください。
Hasuraアプリをビルドする
DockerまたはHasura CloudでHasuraを起動します。
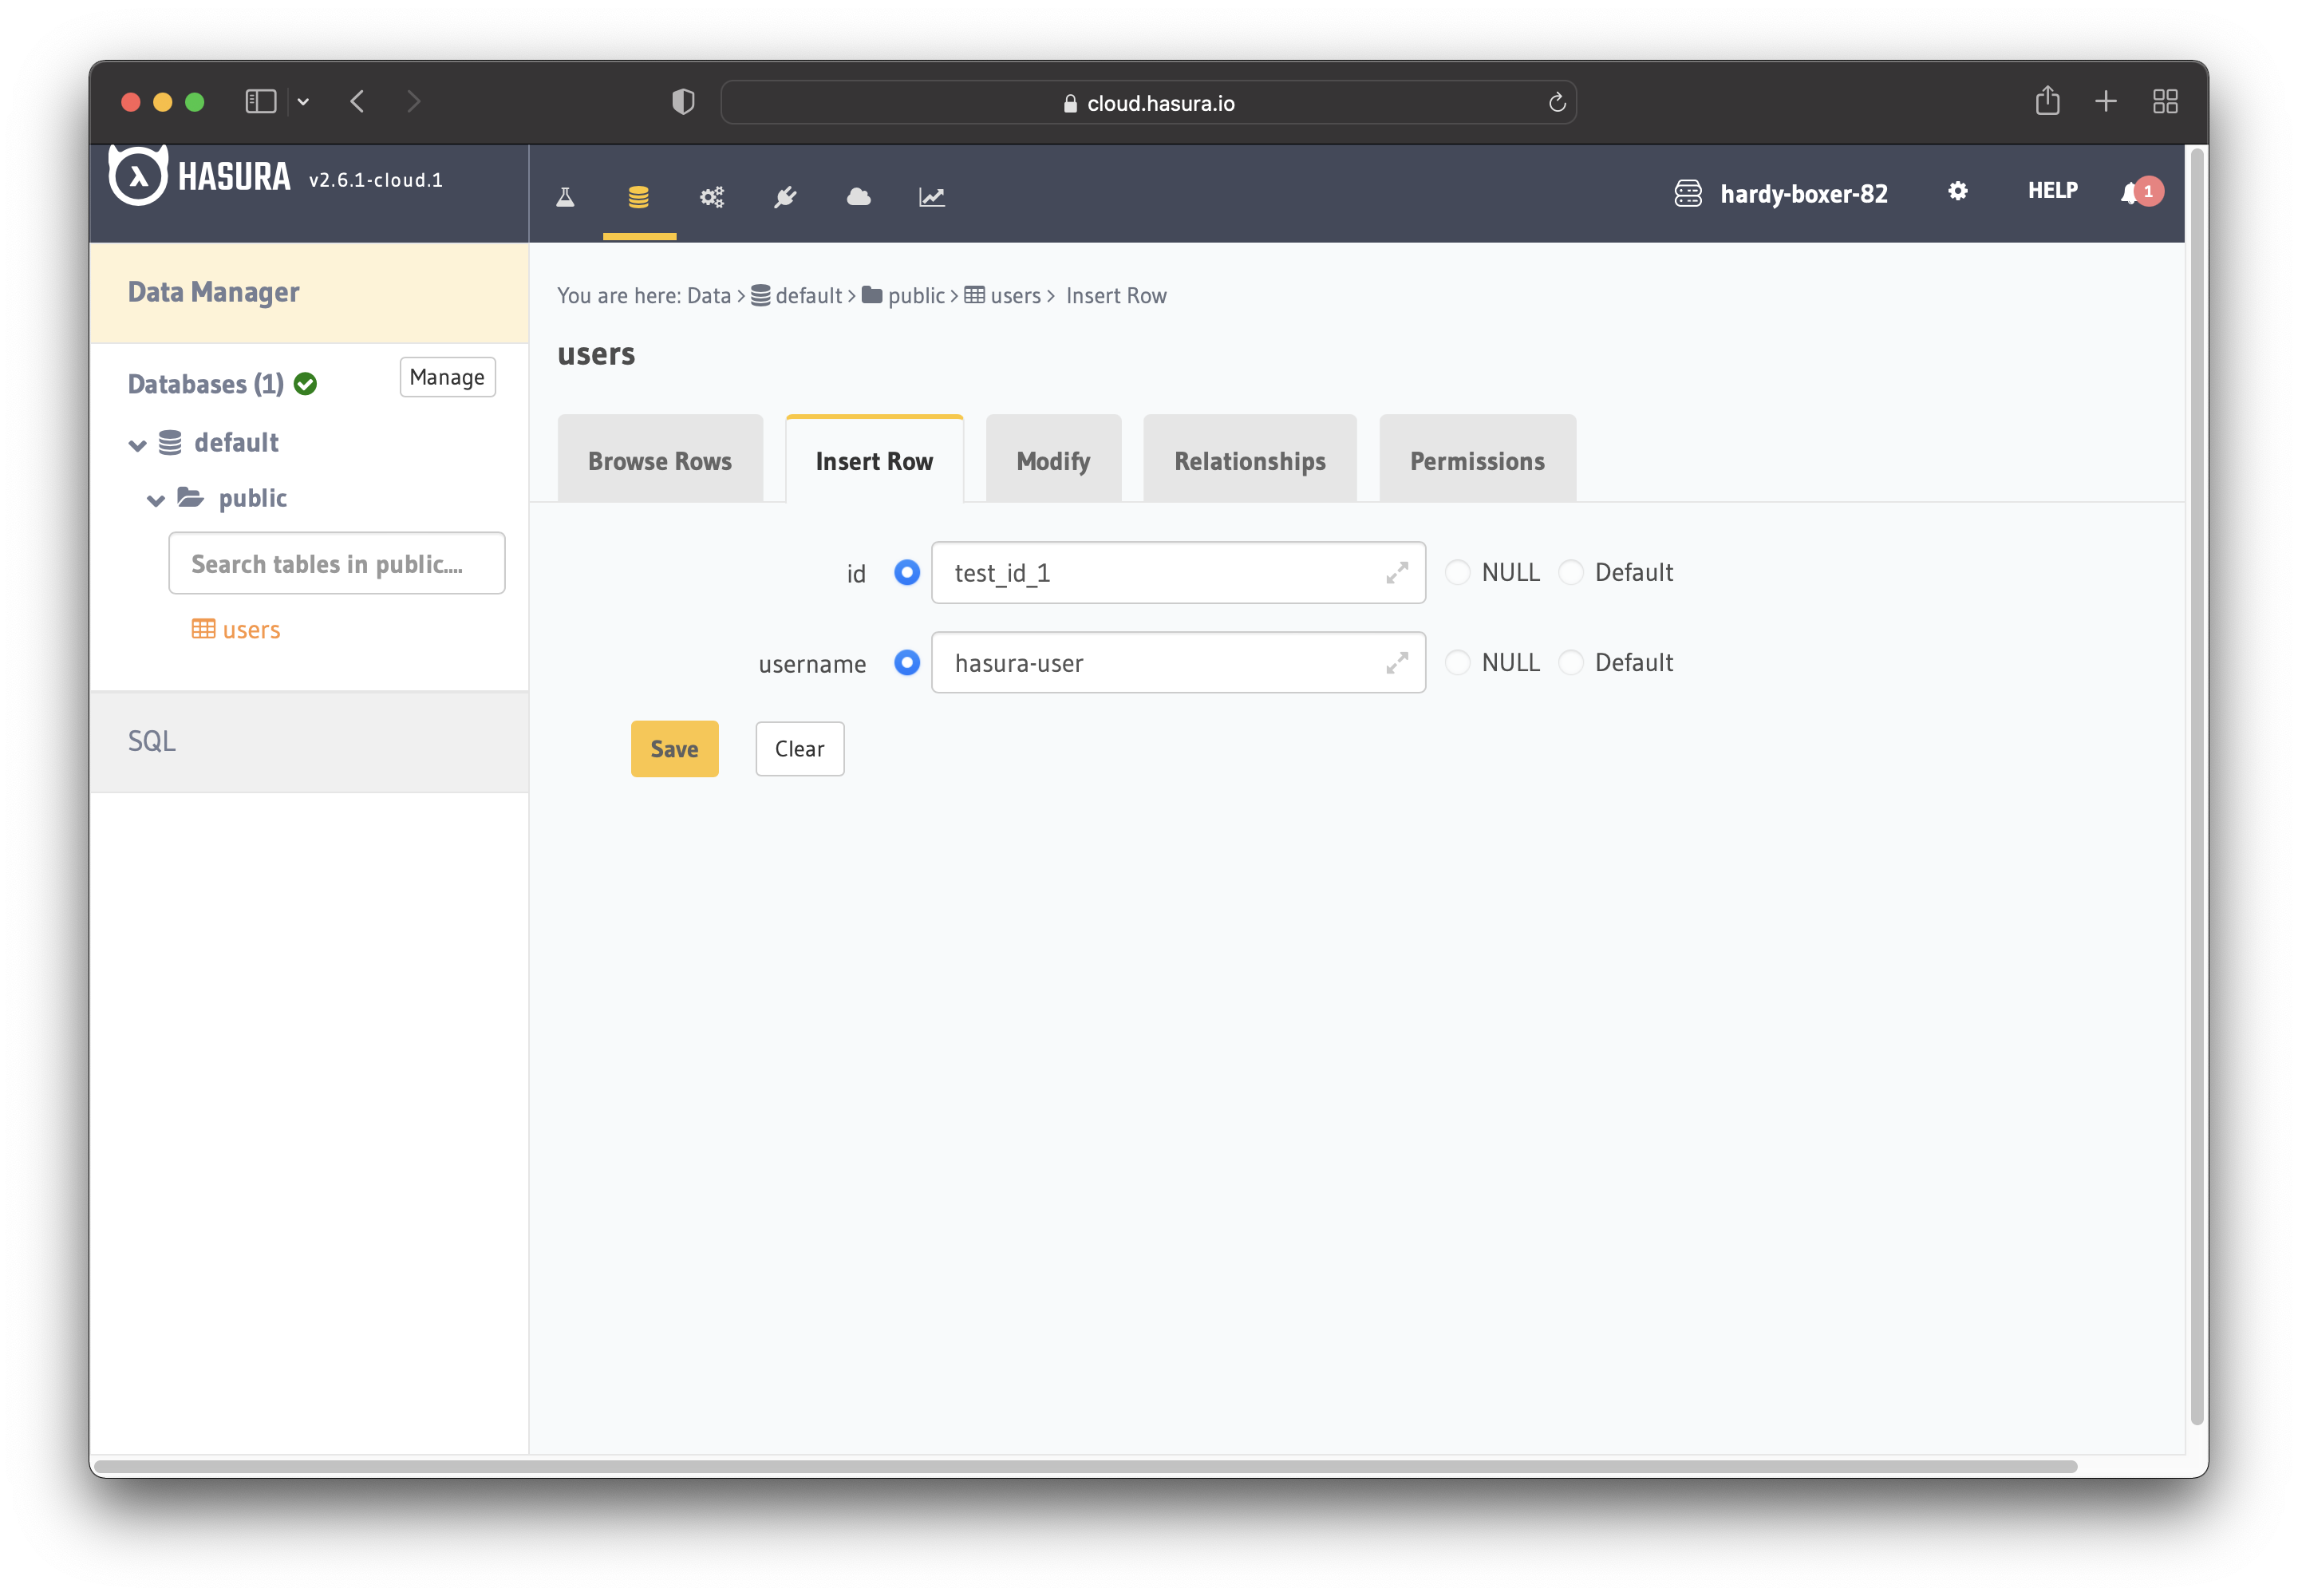
次に、以下の列を持つusersテーブルを作成します:
- テキスト型の
id(プライマリーキー) - テキスト型の
username
参考のために下の画像を参照してください。

次のステップは、アプリのuserロールを作成することです。 ユーザーは自分のレコードのみを見ることができ、他人のレコードは見ることができません。
下の画像に示されているようにuserロールを設定します。 For more information, read about configuring permission rules in Hasura.
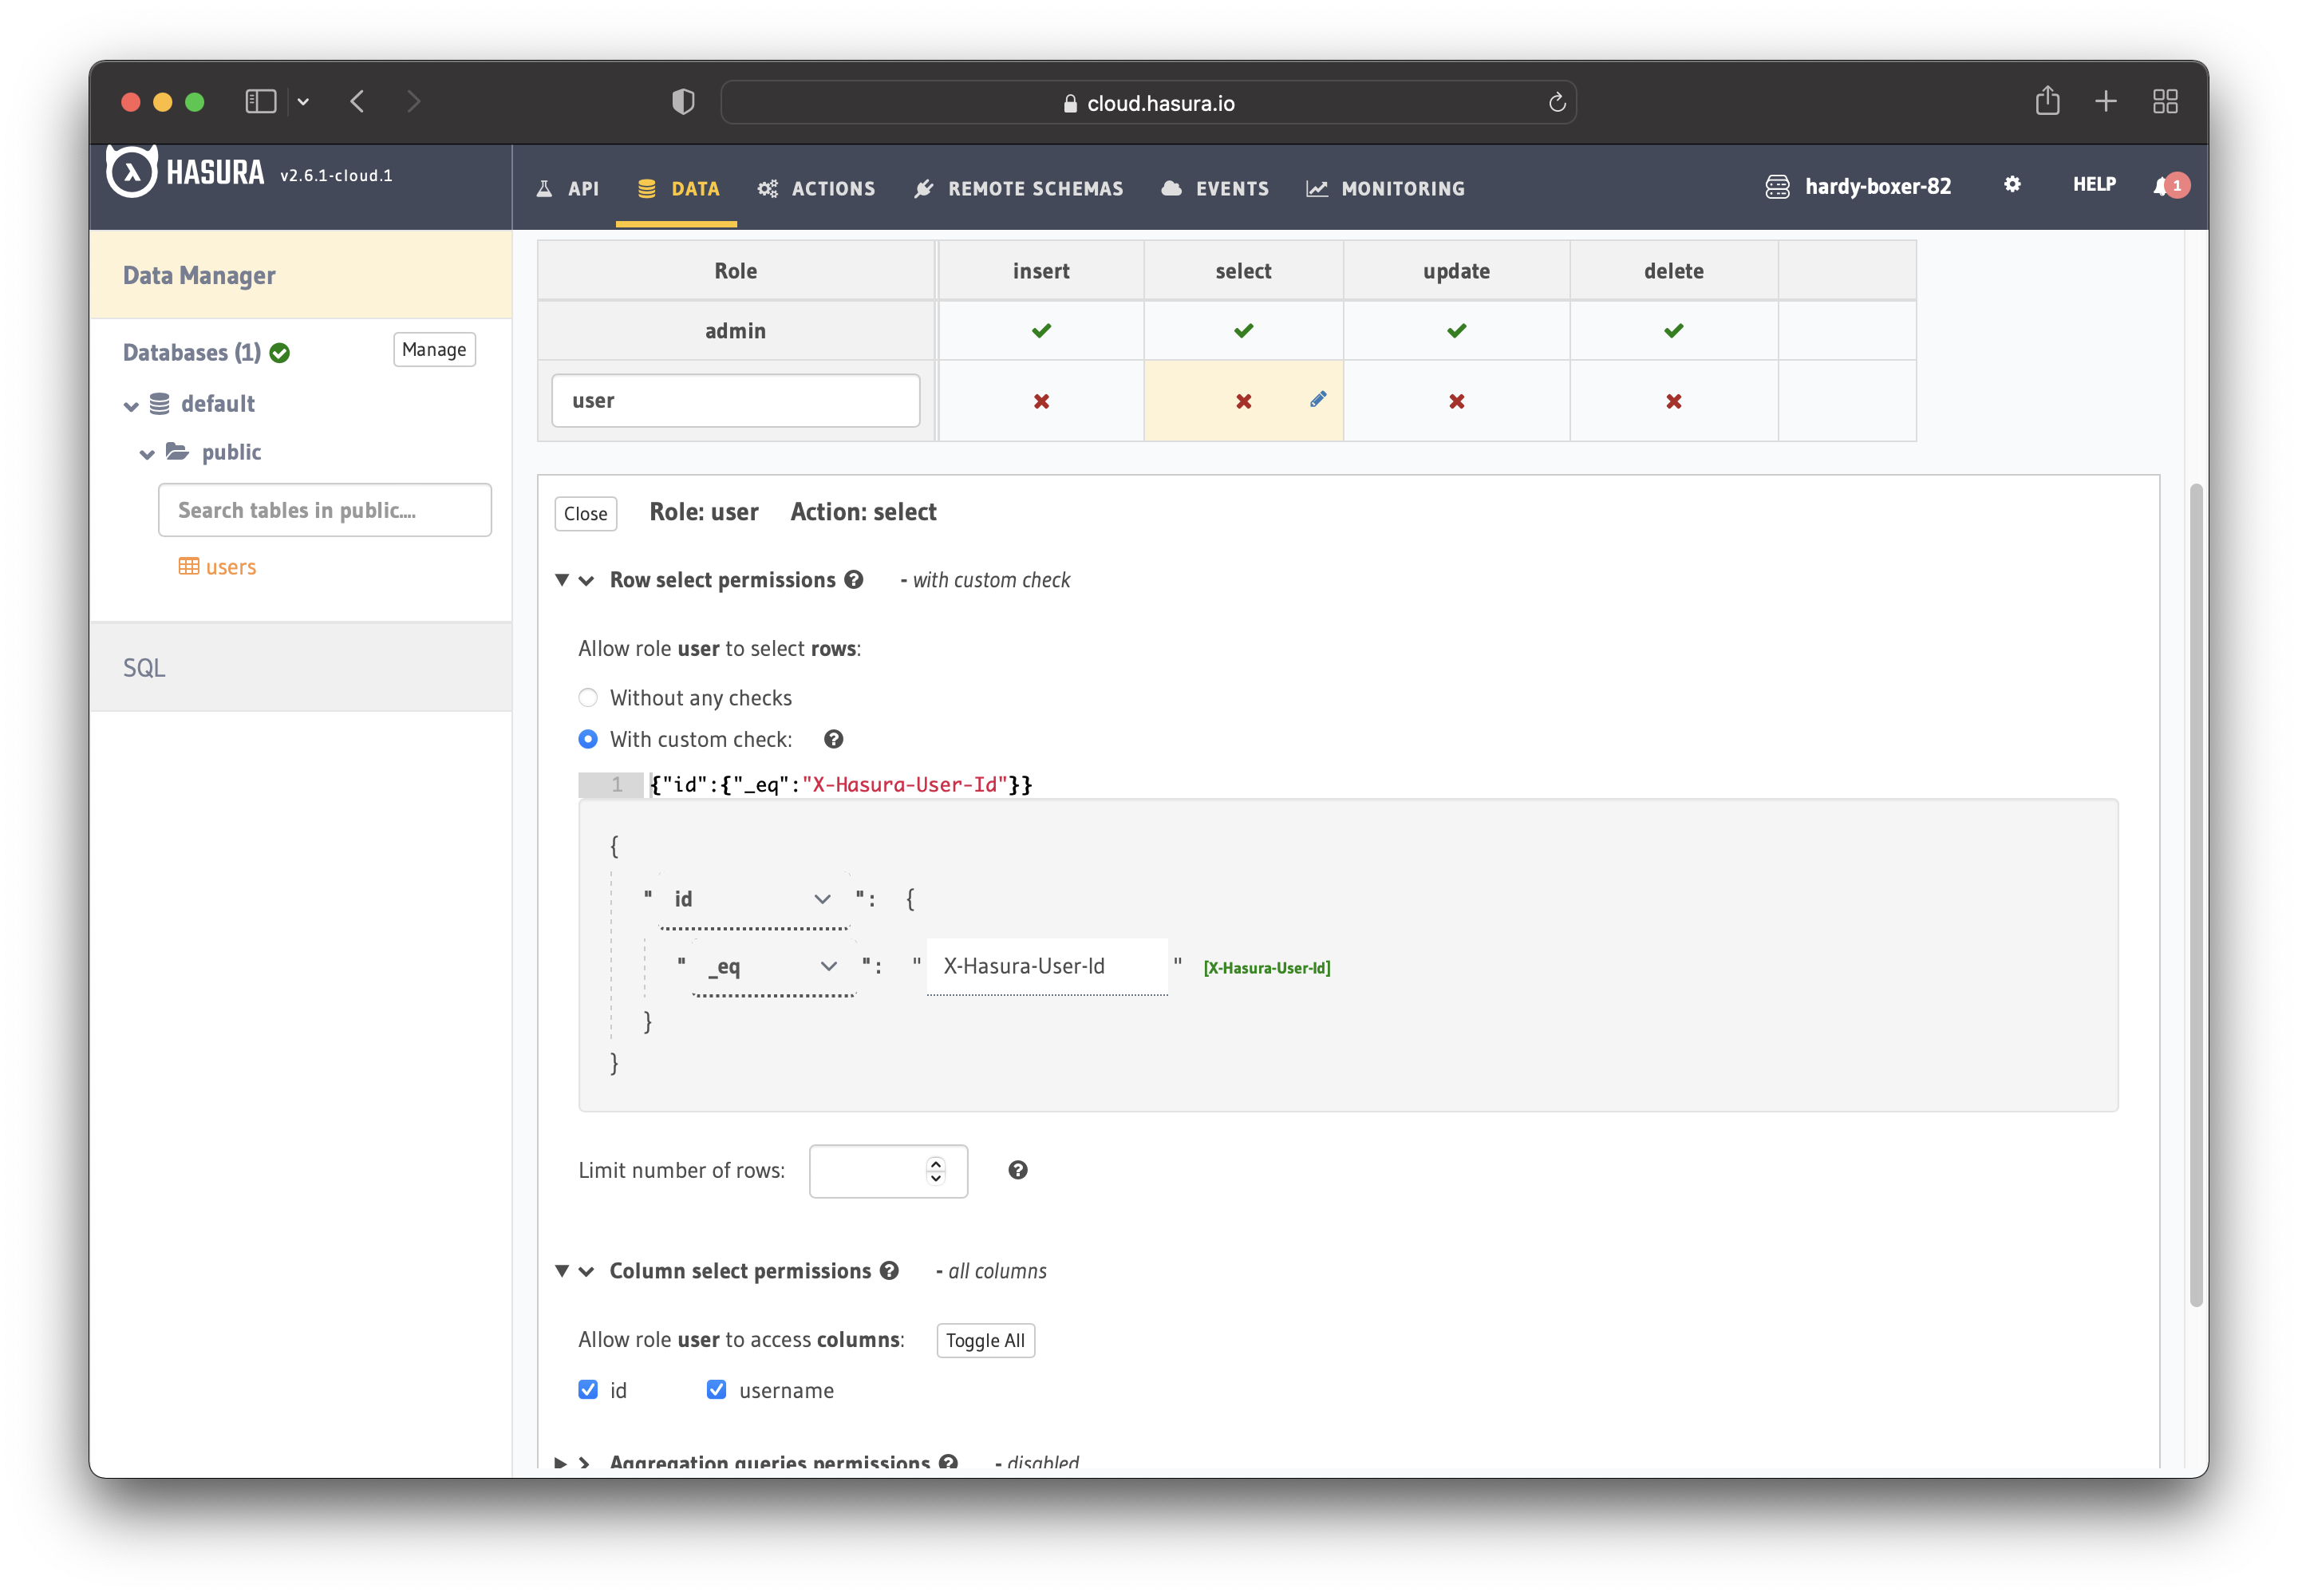
この方法では、ユーザーは他人のレコードを読むことができません。 彼らは自分のものにのみアクセスできます。
テスト目的で、ダミーユーザーを追加します。 これは、JWTトークンを使用するときに、他のユーザーの詳細ではなく、自分のユーザーの詳細のみが表示されるようにするためです。
Set JWT_SECRET in Hasura.
CasdoorでHasuraを設定する
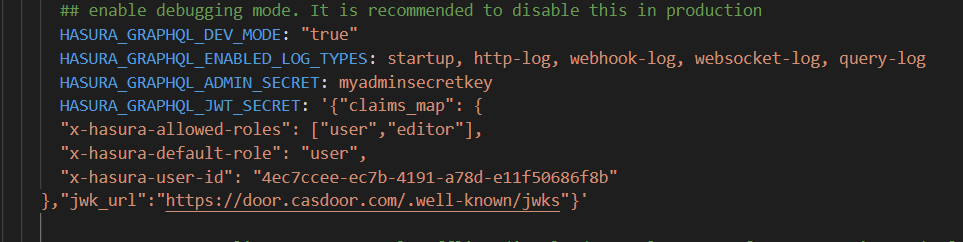
Add HASURA_GRAPHQL_JWT_SECRET to Hasura.
そのためには、Hasuraのdocker-compose.yamlに行き、以下のように新しいHASURA_GRAPHQL_JWT_SECRETを追加します。
HASURA_GRAPHQL_JWT_SECRETは以下の形式であるべきです。 <Casdoor endpoint>を自分のCasdoorのURL(例:https://door.casdoor.com)に変更することを忘れないでください。
HASURA_GRAPHQL_JWT_SECRET: '{"claims_map": {
      "x-hasura-allowed-roles": {"path": "$.roles"},
      "x-hasura-default-role": {"path": "$.roles[0]"},
      "x-hasura-user-id": {"path": "$.id"}
    },"jwk_url":"<Casdoor endpoint>/.well-known/jwks"}'
変更を保存し、dockerをリロードします。
JWTトークンを取得する
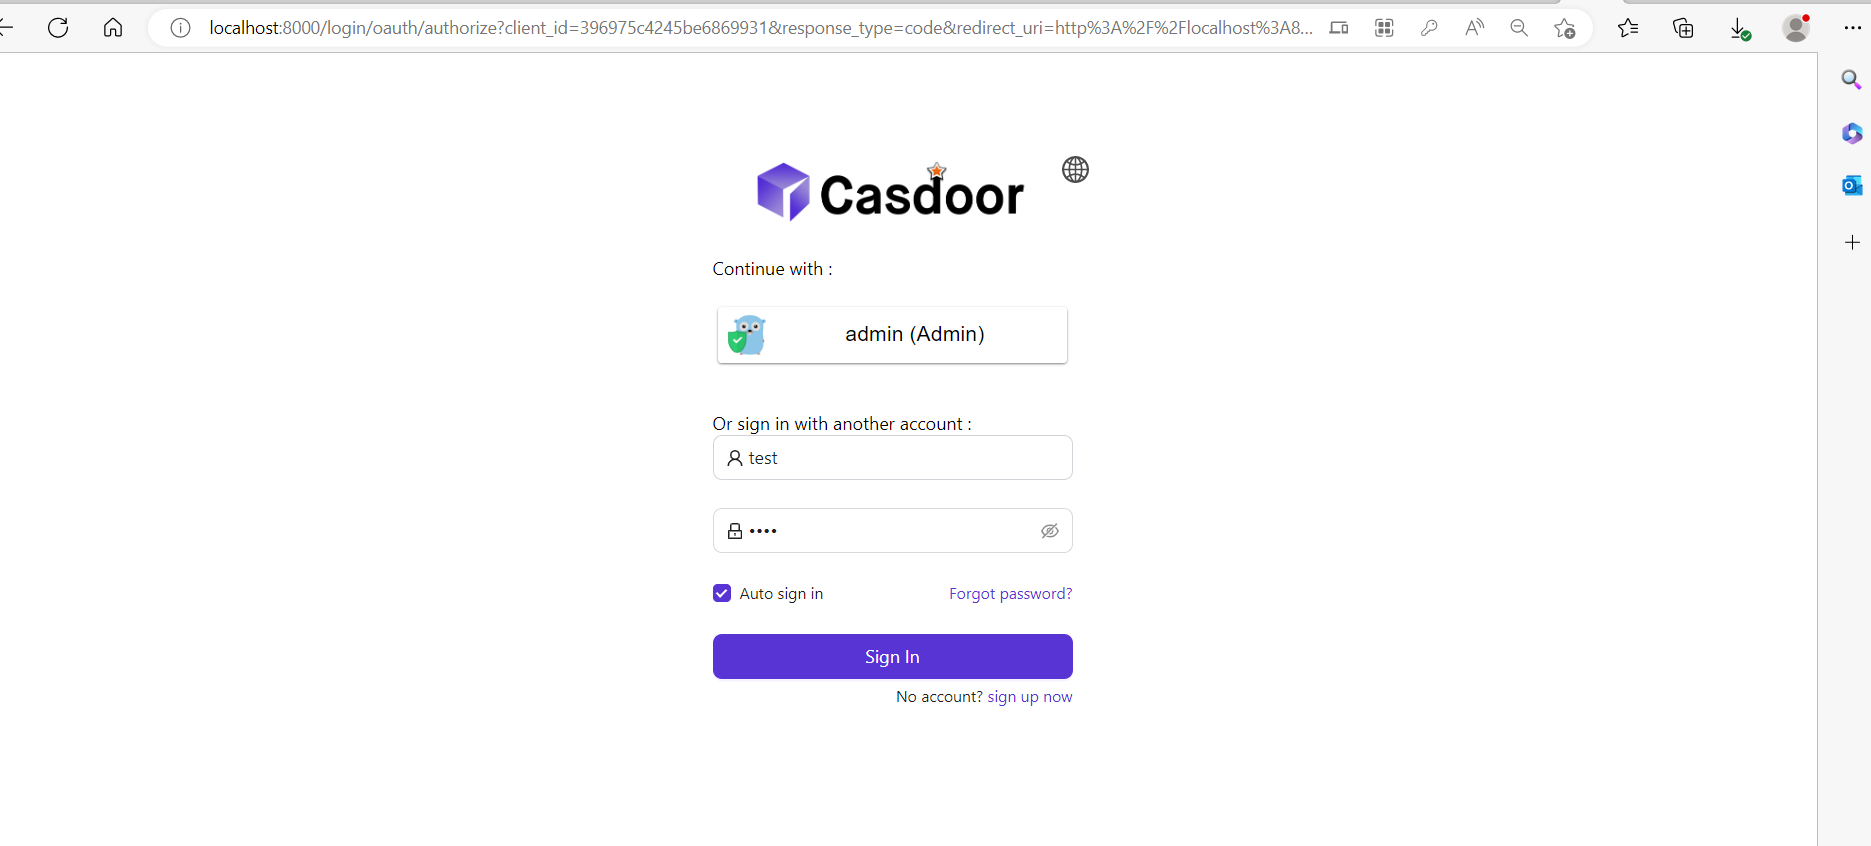
With no client implementation, obtain an access token by calling:
http://localhost:8000/login/oauth/authorize?client_id=<client ID>&response_type=code&redirect_uri=http%3A%2F%2Flocalhost%3A8080%2Flogin&scope=read&state=app-built-in<public certificate>>
Change client ID to the ID you copied before and input the public certificate of Casdoor, from the Casdoor Certs page.
その後、Hasura用に作成したユーザー名とパスワードを入力します。
「サインイン」をクリックする
Casdoor/Tokenページに戻ります。
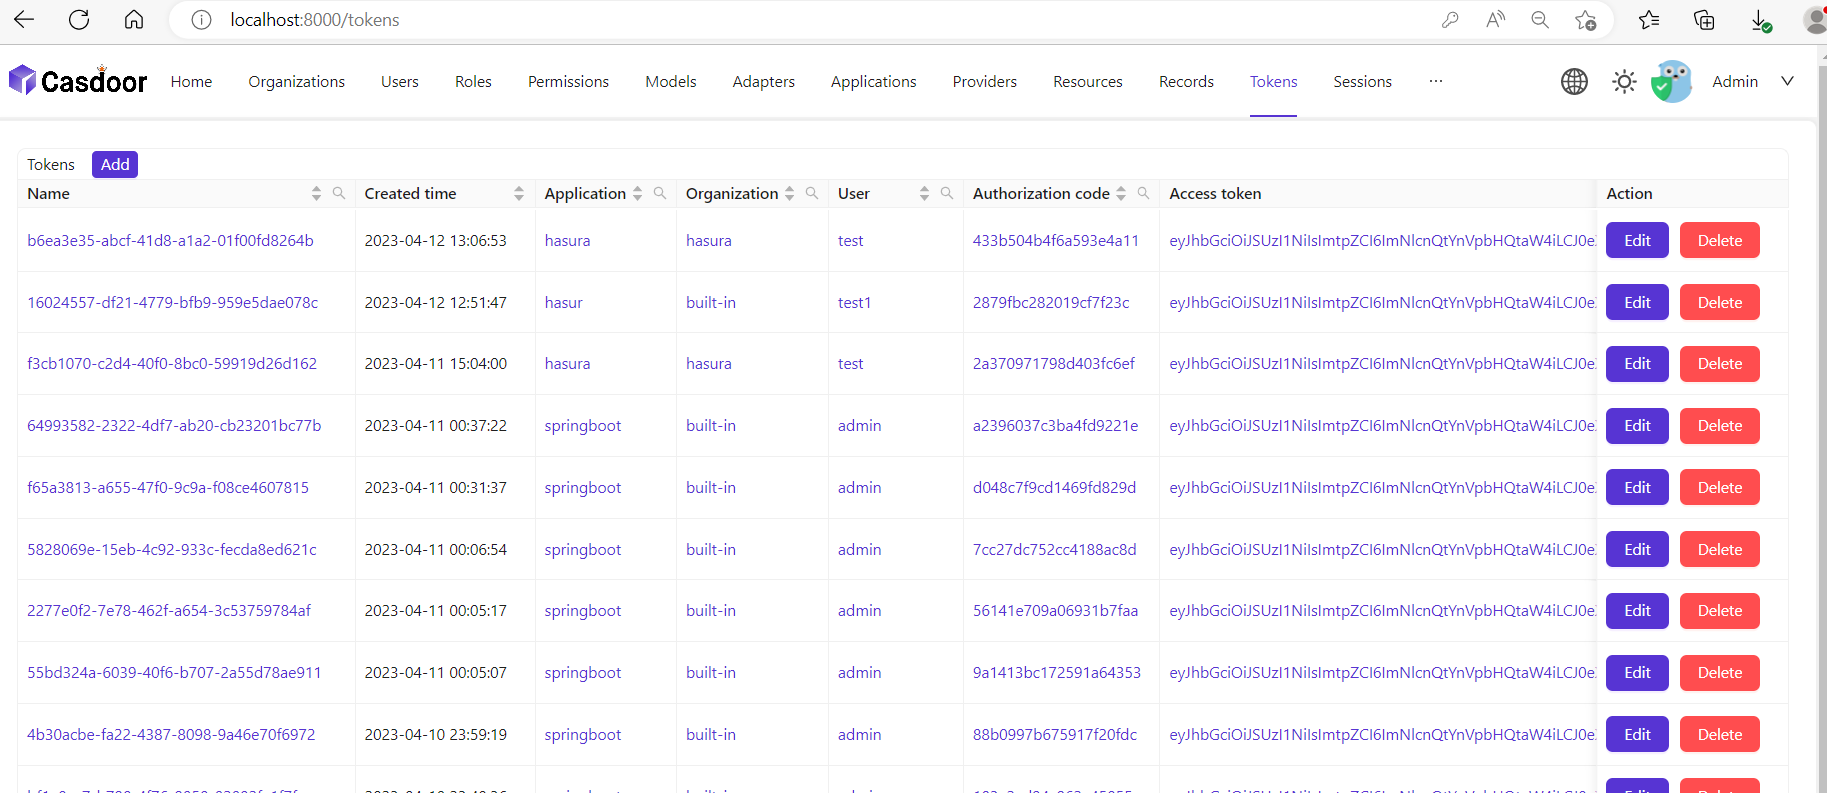
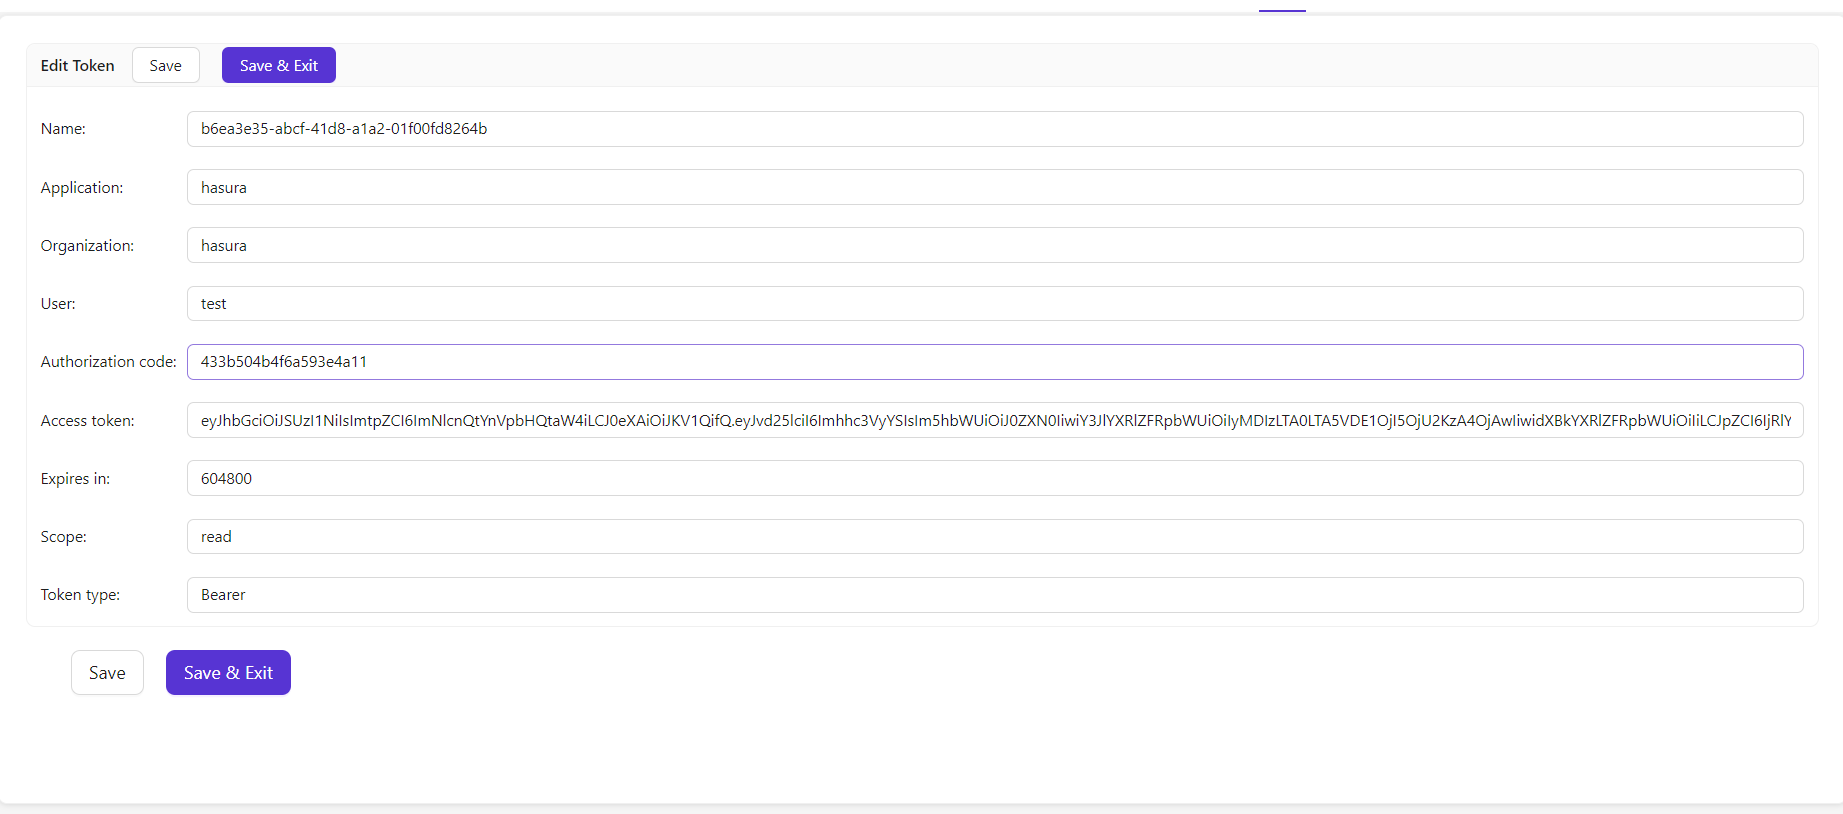
以前に入力したユーザー名を見つけてから、「編集」をクリックする
アクセストークンをコピーする
Use the access token for authenticated requests; Hasura returns the matching user instead of all users.
