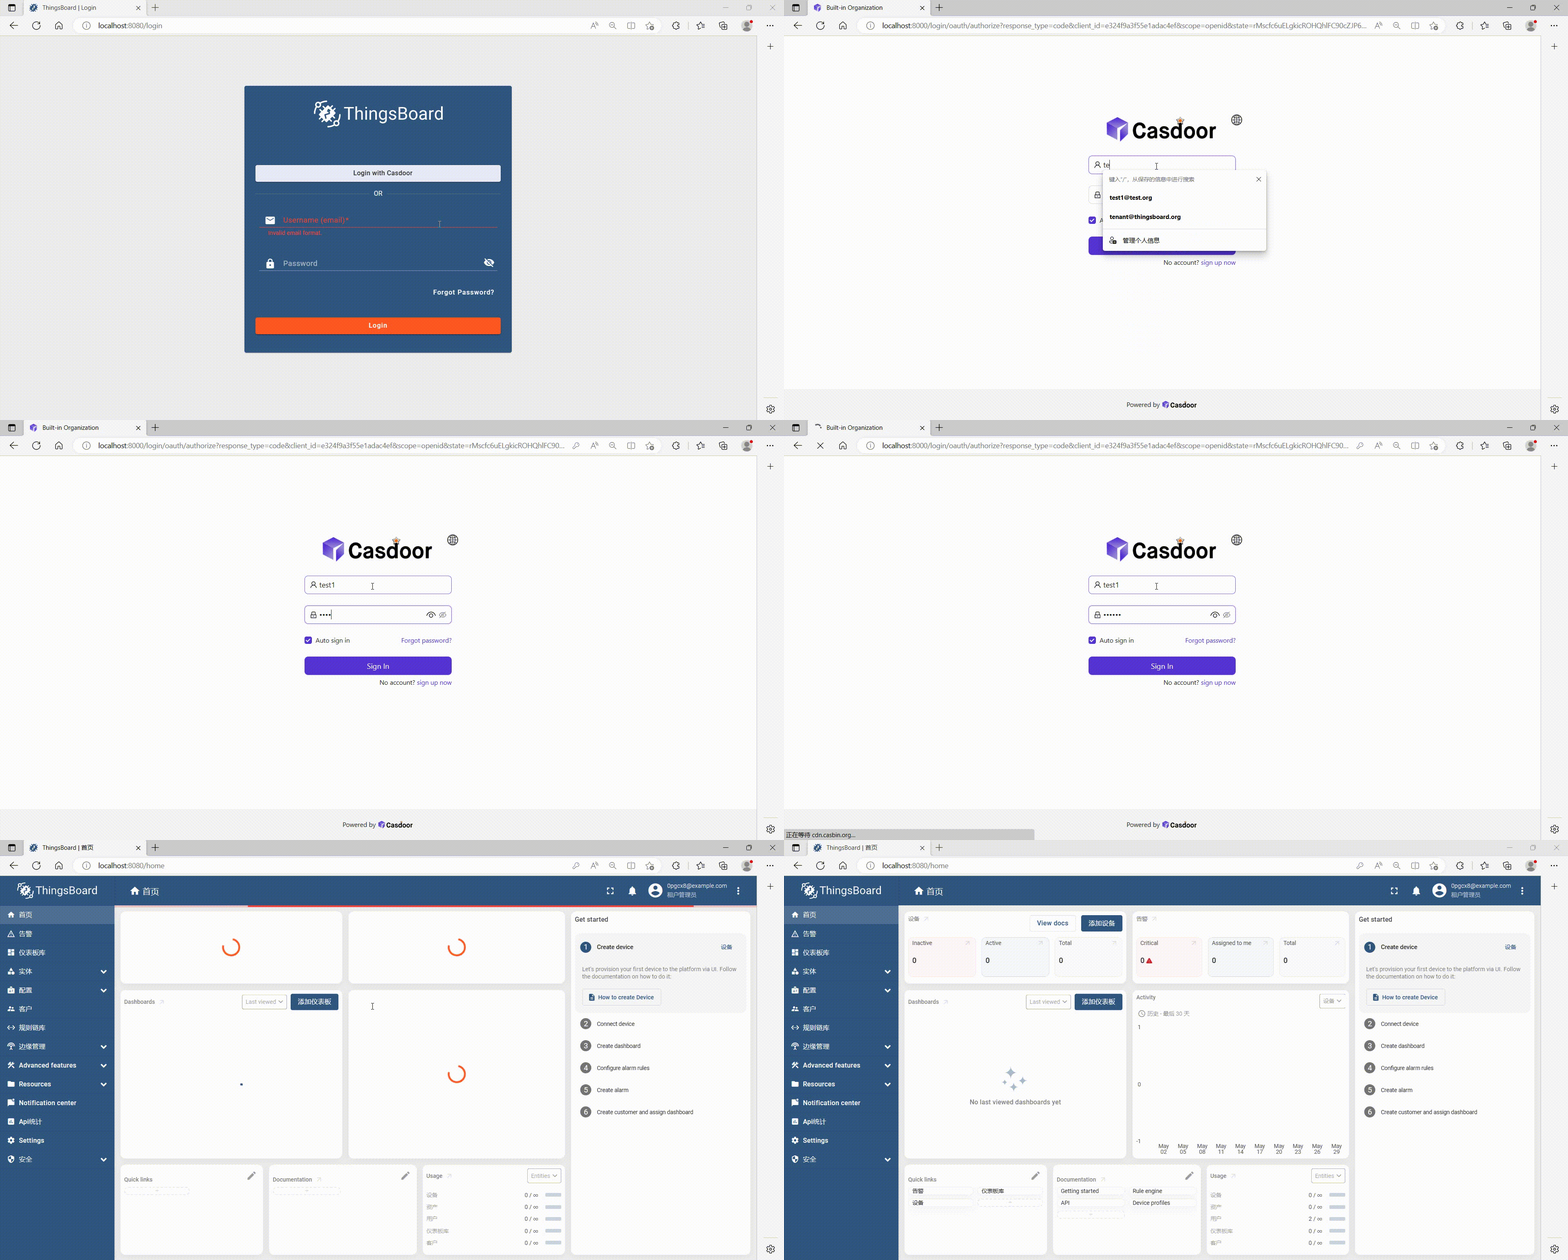
Thingsboard
Before the integration, we need to deploy Casdoor locally.
Then, we can quickly implement a Casdoor-based login page in our own app by following these steps.
Step 1: Configure Casdoor application
- Create a new Casdoor application or use an existing one.
- Add a redirect URL:
http://CASDOOR_HOSTNAME/login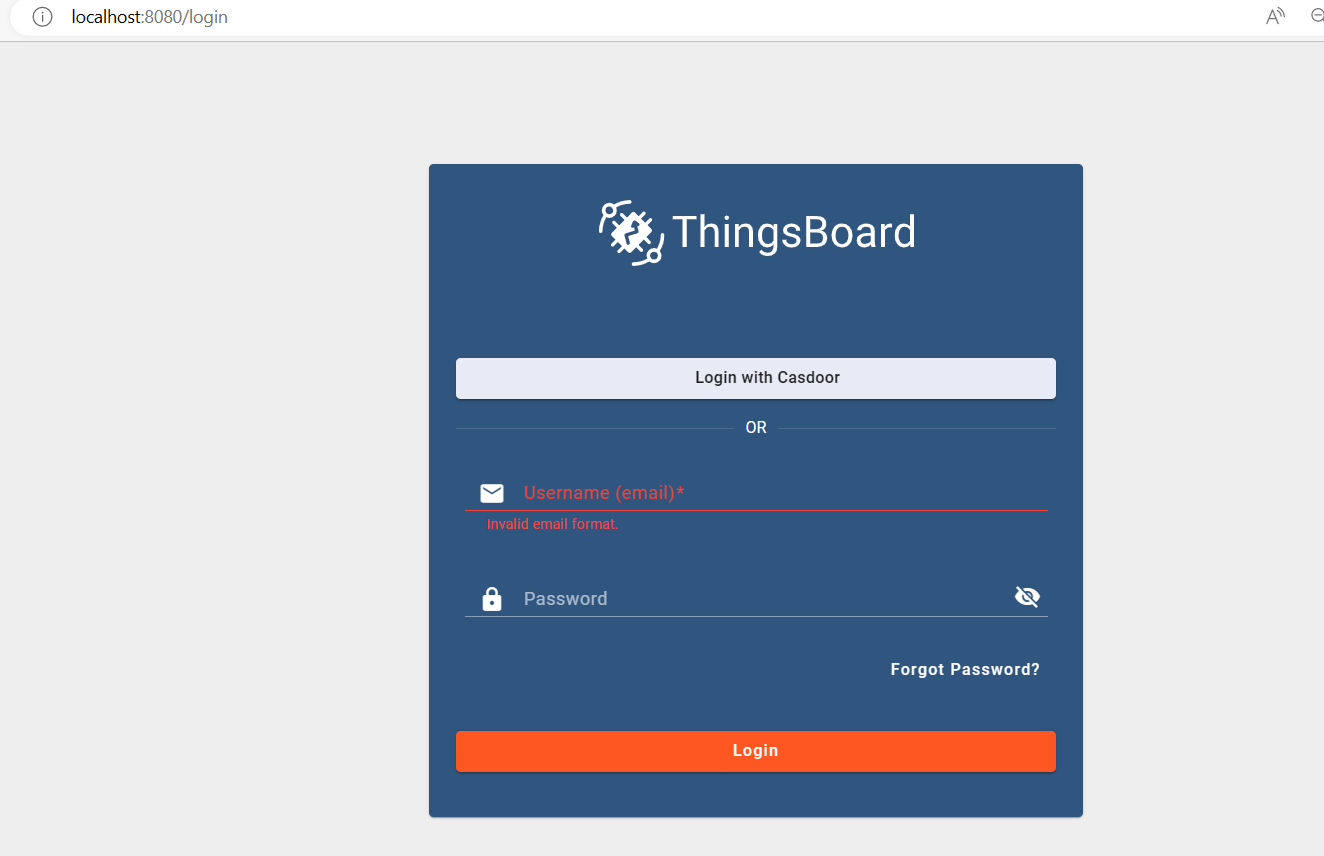
- Copy the client ID and client secret. We will need them in the following steps.
Step 2: Add a user in Casdoor
Now that you have the application, you need to create a user and assign a role.
Go to the "Users" page and click on "Add user" in the top right corner. This will open a new page where you can add the new user.
Save the user after adding a username and selecting the organization "Thingsboard" (other details are optional).
Next, you need to set up a password for the user. You can do this by clicking on "Manage your password".
Choose a password for the user and confirm it.
Step 3: Prerequisites and Build Thingsboard App
First of all, Thingsboard only supports Java 11 (OpenJDK).
You can download it from the following link:
To start Thingsboard, follow these steps (for Windows system):
- Download and extract the package. Download the package
- Configure Thingsboard in \thingsboard\conf\thingsboard.yml according to your preferences, including the configuration of Kafka, PostgreSQL, and others.
- Thingsboard 폴더의 명령 줄에서
install.bat –loadDemo를 실행하여 설치하고 데모 데이터를 추가합니다.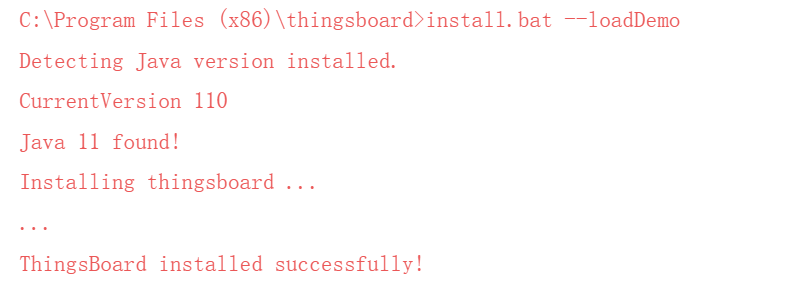
- 명령 줄에서
net start thingsboard를 실행하여 Thingsboard를 시작합니다. 다음과 같은 출력을 볼 수 있어야 합니다:
단계 4: Casdoor 통합
이제 http://localhost:8080/를 열고 관리자 계정에 로그인합니다:
계정: sysadmin@thingsboard.org / 비밀번호: sysadmin
성공적으로 로그인한 후, 페이지의 왼쪽 하단에 있는 OAuth2 버튼을 클릭합니다.
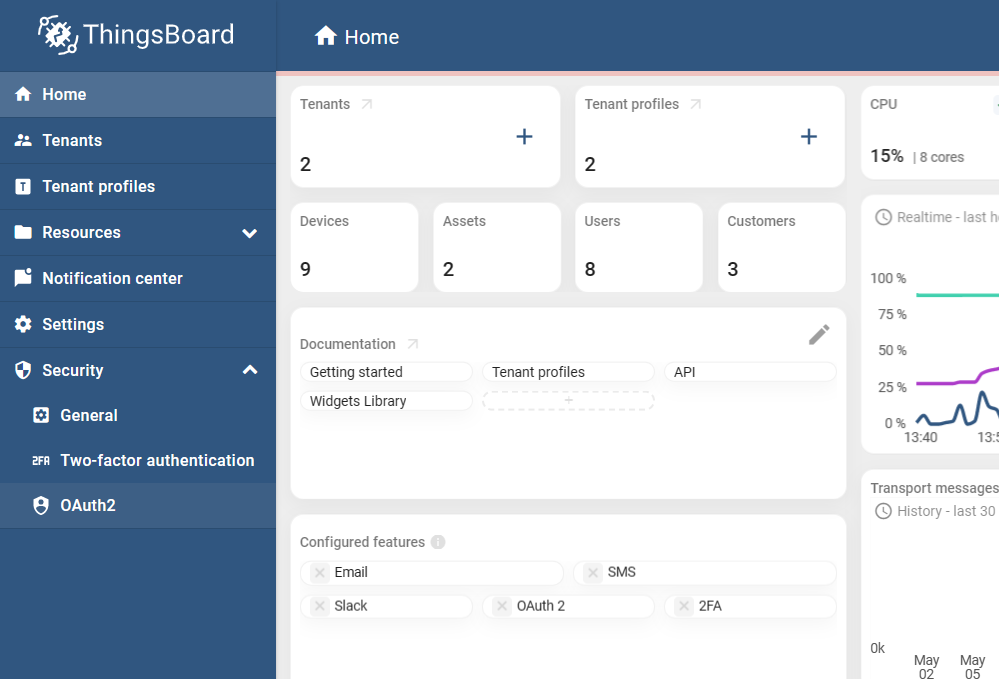
다음과 같이 빈 칸을 채웁니다:
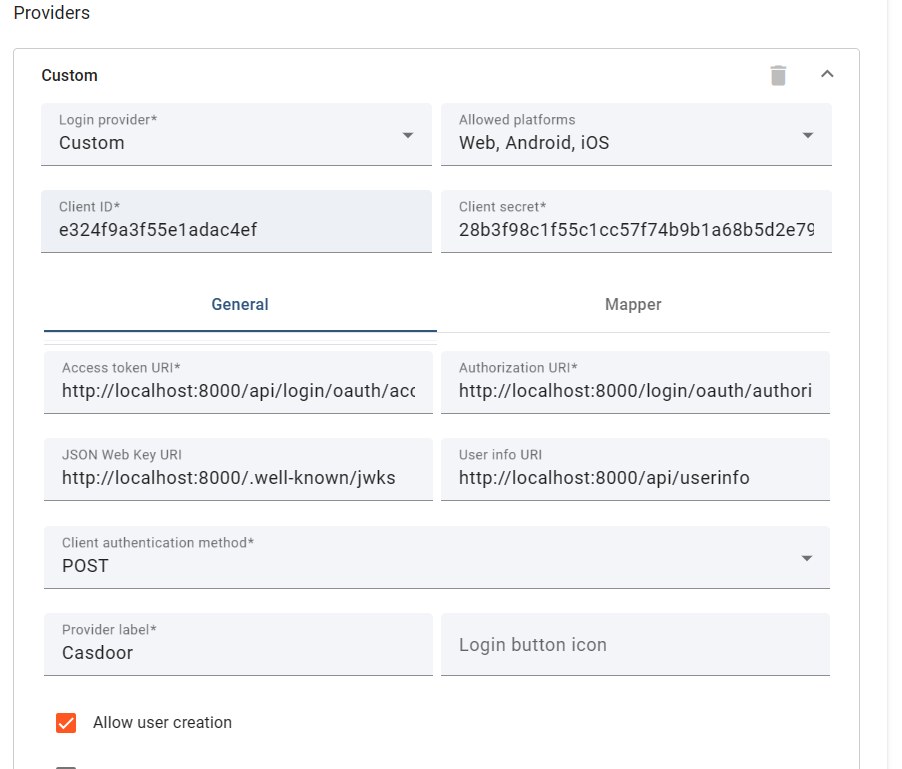
다음 링크에서 이 값들을 얻을 수 있습니다: OIDC discovery URL 
이 빈 칸들을 모두 채운 후, Casdoor를 Thingsboard와 성공적으로 통합했습니다. http://localhost:8080/에 로그인하면, 다음과 같이 보여야 합니다:
