使用OIDC集成的Spring Security过滤器与Casdoor
Casdoor是一个支持OIDC和各种其他协议的开源IDP。 在本文中,我们将看到如何使用Spring Security过滤器和OIDC将Casdoor与您的应用程序集成。
步骤1:部署Casdoor
首先,你需要部署Casdoor服务器。 参考官方文档以获取服务器安装指南。 部署成功后,确保:
- Casdoor服务器正在http://localhost:8000运行。
- 你可以在http://localhost:7001看到Casdoor登录页面。
- 你可以通过使用凭证
admin和123来测试登录功能。
验证这些步骤后,按照下面的步骤将Casdoor与您的应用程序集成。
步骤2:配置Casdoor应用程序
- 创建一个新的Casdoor应用程序或使用现有的一个。
- 添加你的重定向URL。 你可以在下一节中找到更多关于获取重定向URL的信息。
- 在证书编辑页面上获取你的
Certificate。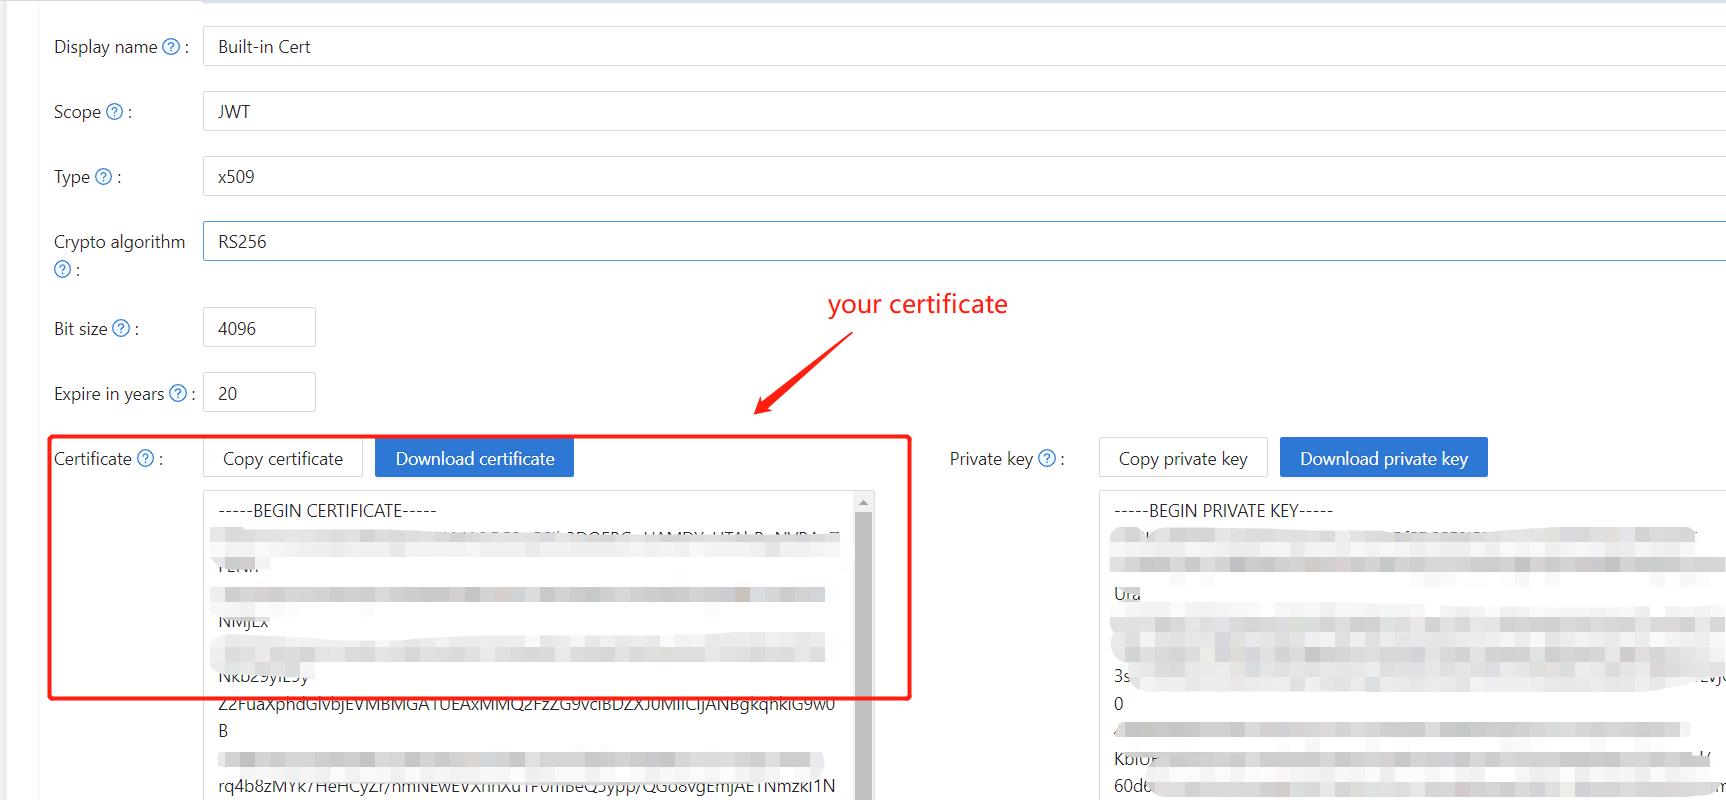
- 根据需要添加提供商和其他设置。
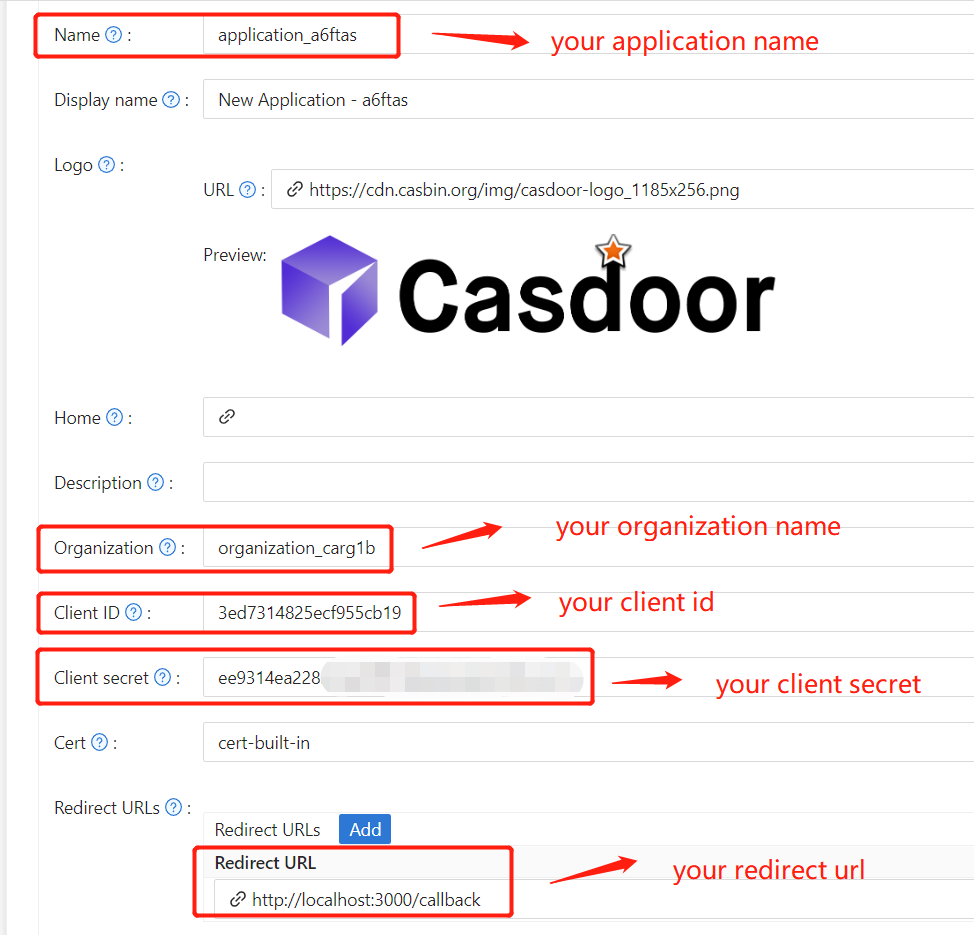
你可以在应用程序设置页面上获取Application Name、Organization Name、Redirect URL、Client ID、Client Secret和Certificate的值。 我们将在下一步中使用它们。
步骤3:配置Spring Security
你可以自定义Spring Security过滤器的设置来处理令牌:
确保你用你自己的Casdoor实例替换配置值,特别是<Client ID>和其他。
server:
  port: 8080
casdoor:
  endpoint: http://CASDOOR_HOSTNAME:8000
  client-id: <Client ID>
  client-secret: <Client Secret>
  certificate: <Certificate>
  organization-name: <Organization Name>
  application-name: <Application Name>
  redirect-url: http://FRONTEND_HOSTNAME/callback
对于前端应用程序来说, <FRONTEND_HOSTNAME> 的默认值是 localhost:3000。 在这个演示中,重定向URL是http://localhost:3000/callback。 确保在你的casdoor应用程序中配置这个。
步骤4:配置前端
你需要安装casdoor-js-sdk并按照以下方式配置SDK:
安装
casdoor-js-sdk。npm i casdoor-js-sdk
# or
yarn add casdoor-js-sdk设置
SDK。import Sdk from "casdoor-js-sdk";
// Serverurl is the URL where spring security is deployed
export const ServerUrl = "http://BACKEND_HOSTNAME:8080";
const sdkConfig = {
serverUrl: "http://CASDOOR_HOSTNAME:8000",
clientId: "<your client id>",
appName: "<your application name>",
organizationName: "<your organization name>",
redirectPath: "/callback",
};
export const CasdoorSDK = new Sdk(sdkConfig);
步骤5:设置演示
创建一个Spring Boot应用程序。
添加一些配置来处理JWT。
@EnableWebSecurity
public class SecurityConfig {

    private final JwtTokenFilter jwtTokenFilter;

    public SecurityConfig(JwtTokenFilter jwtTokenFilter) {
        this.jwtTokenFilter = jwtTokenFilter;
    }

    @Bean
    public SecurityFilterChain securityFilterChain(HttpSecurity http) throws Exception {
        // 启用CORS并禁用CSRF
        http = http.cors(corsConfig -> corsConfig
                .configurationSource(configurationSource())
        ).csrf().disable();

        // 将会话管理设置为无状态
        http = http
                .sessionManagement()
                .sessionCreationPolicy(SessionCreationPolicy.STATELESS)
                .and();

        // 在端点上设置权限
        http.authorizeHttpRequests(authorize -> authorize
                .mvcMatchers("/api/redirect-url", "/api/signin").permitAll()
                .mvcMatchers("/api/**").authenticated()
        );

        // 设置未经授权的请求异常处理程序
        http = http
                .exceptionHandling()
                .authenticationEntryPoint(
                        (request, response, ex) -> ResponseUtils.fail(response, "unauthorized")
                )
                .and();

        // 添加JWT令牌过滤器
        http.addFilterBefore(
                jwtTokenFilter,
                UsernamePasswordAuthenticationFilter.class
        );
        return http.build();
    }

    // ...

}
添加一个简单的JWT过滤器来拦截需要令牌验证的请求。
@Component
public class JwtTokenFilter extends OncePerRequestFilter {

    private final CasdoorAuthService casdoorAuthService;

    public JwtTokenFilter(CasdoorAuthService casdoorAuthService) {
        this.casdoorAuthService = casdoorAuthService;
    }

    @Override
    protected void doFilterInternal(HttpServletRequest request,
                                    HttpServletResponse response,
                                    FilterChain chain)
            throws ServletException, IOException {
        // 获取授权头并验证
        final String header = request.getHeader(HttpHeaders.AUTHORIZATION);
        if (!StringUtils.hasText(header) || !header.startsWith("Bearer ")) {
            chain.doFilter(request, response);
            return;
        }

        // 获取jwt令牌并验证
        final String token = header.split(" ")[1].trim();

        // 获取用户身份并将其设置在spring security上下文中
        UserDetails userDetails = null;
        try {
            CasdoorUser casdoorUser = casdoorAuthService.parseJwtToken(token);
            userDetails = new CustomUserDetails(casdoorUser);
        } catch (CasdoorAuthException exception) {
            logger.error("casdoor auth exception", exception);
            chain.doFilter(request, response);
            return;
        }

        UsernamePasswordAuthenticationToken authentication = new UsernamePasswordAuthenticationToken(
                userDetails,
                null,
                AuthorityUtils.createAuthorityList("ROLE_casdoor")
        );

        authentication.setDetails(
                new WebAuthenticationDetailsSource().buildDetails(request)
        );

        SecurityContextHolder.getContext().setAuthentication(authentication);
        chain.doFilter(request, response);
    }

}
当用户访问需要身份验证的接口时,
JwtTokenFilter将从请求头Authorization获取令牌并验证。定义一个
Controller来处理用户登录Casdoor时的情况。 用户登录后,他们将被重定向到服务器并携带code和state。 然后服务器需要从Casdoor验证用户的身份,并通过这两个参数获取token。@RestController
public class UserController {
private static final Logger logger = LoggerFactory.getLogger(UserController.class);
private final CasdoorAuthService casdoorAuthService;
// ...
@PostMapping("/api/signin")
public Result signin(@RequestParam("code") String code, @RequestParam("state") String state) {
try {
String token = casdoorAuthService.getOAuthToken(code, state);
return Result.success(token);
} catch (CasdoorAuthException exception) {
logger.error("casdoor auth exception", exception);
return Result.failure(exception.getMessage());
}
}
// ...
}
步骤6:尝试演示
你可以通过浏览器访问前端应用程序。 如果你没有登录,你会看到一个登录按钮。 点击它,你将被重定向到Casdoor登录页面。
如果你访问你的根页面,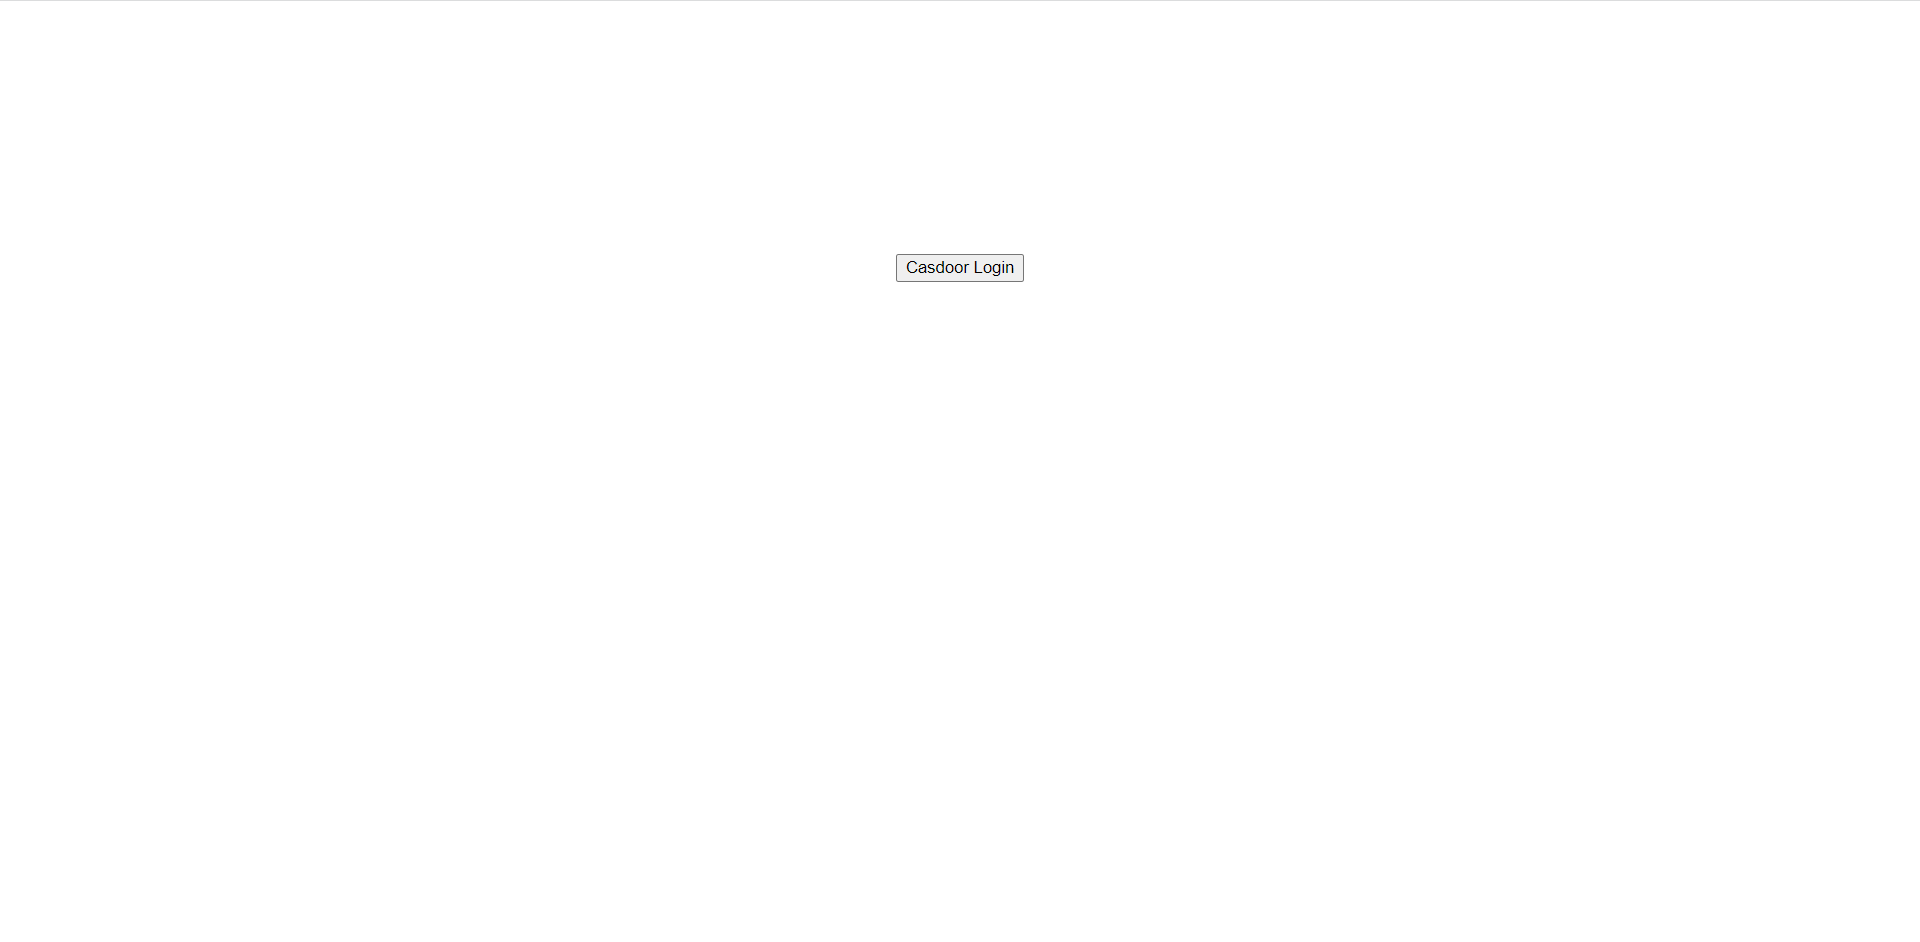
点击Casdoor Login按钮,页面将重定向到Casdoor的登录页面。 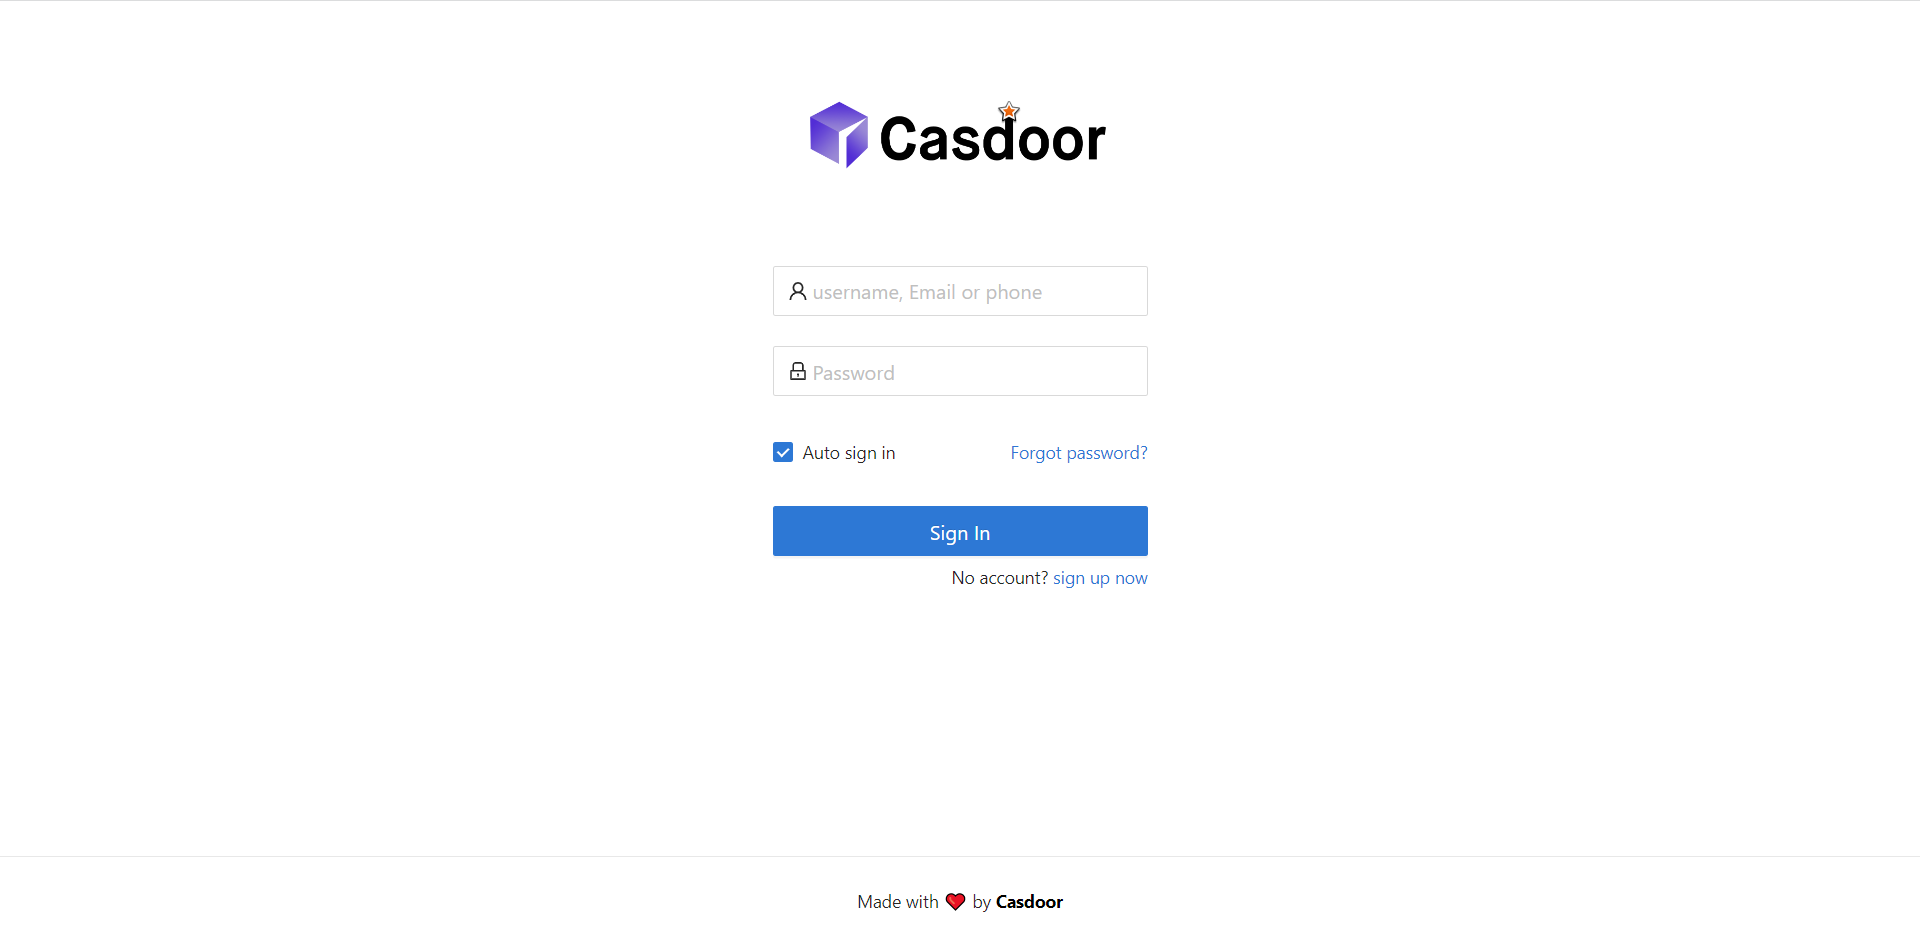
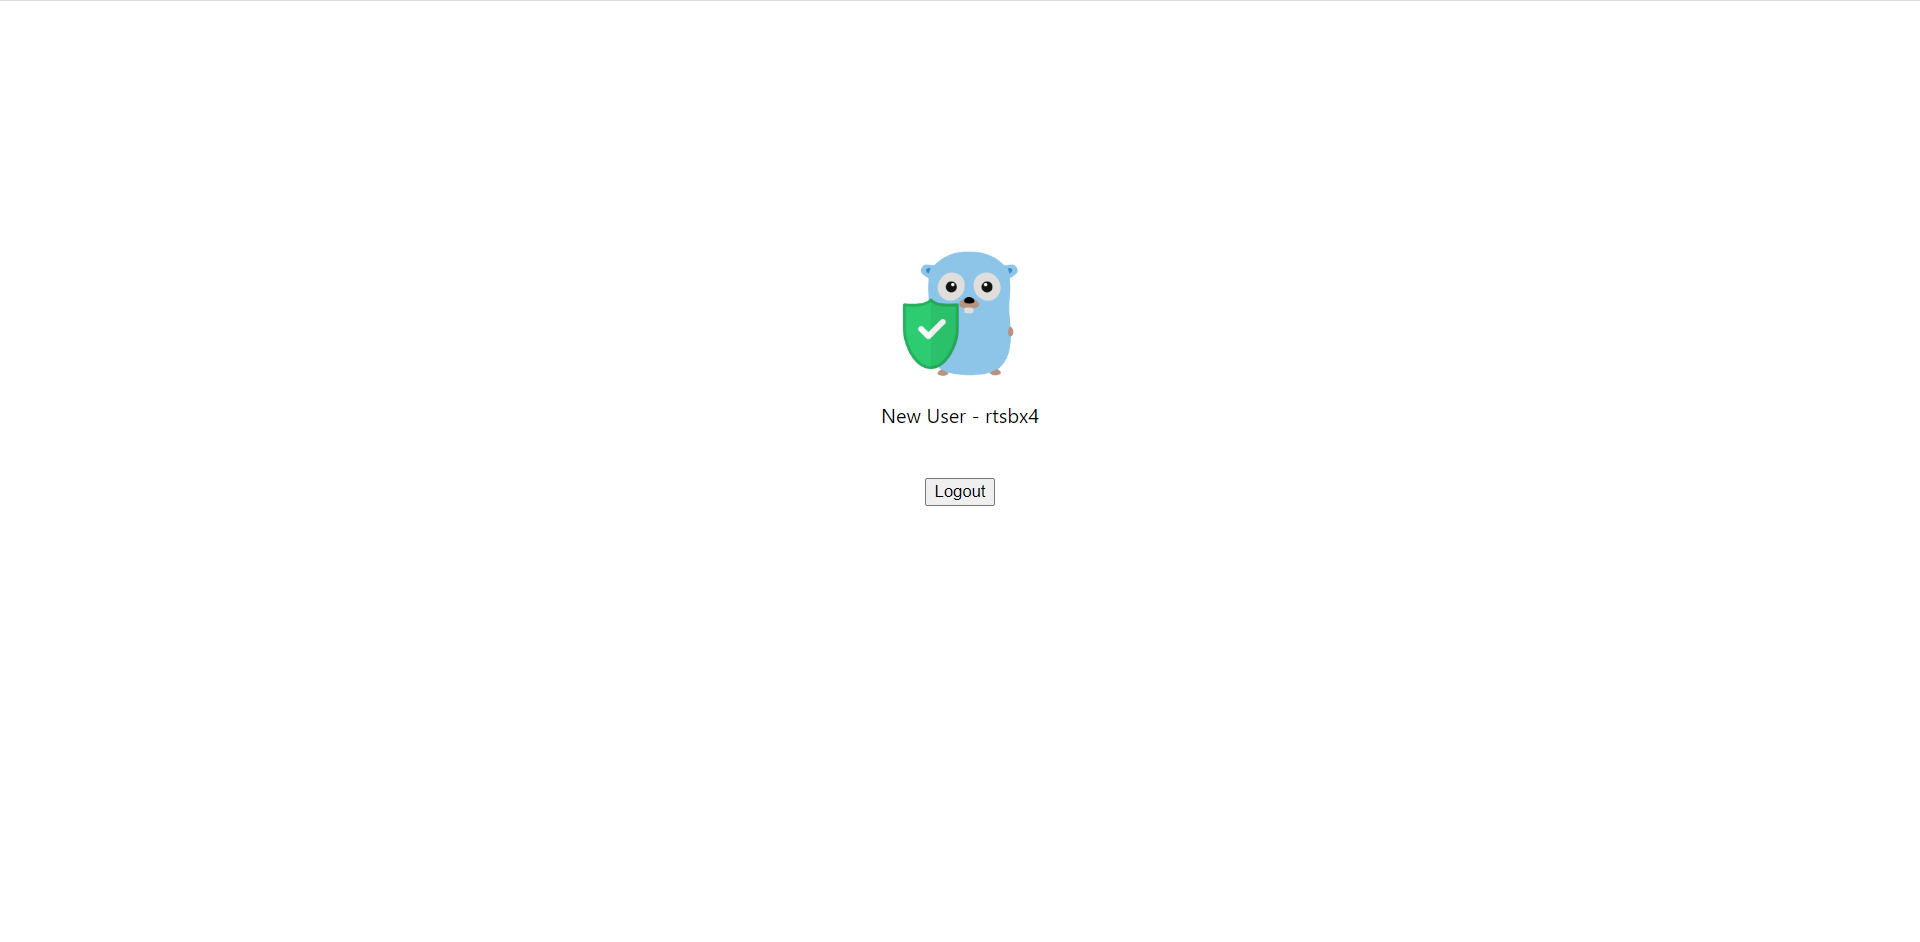
登录后,你将被重定向到/。