Spring Security OAuth
Casdoor可以使用OIDC协议作为IDP连接各种应用程序。 在本指南中,我们将以Spring Security为例,向您展示如何使用OIDC连接到您的应用程序。
步骤1:部署Casdoor
Deploy Casdoor. See Server installation. Ensure the server is running and you can open the login page and sign in (e.g. admin / 123).
步骤2。 配置Casdoor应用程序
- 创建一个新的Casdoor应用程序或使用现有的一个。
- 添加您的重定向URL(您可以在下一节中找到如何获取重定向URL的更多详细信息)。 ```
- 添加所需的提供者并填写任何其他设置。
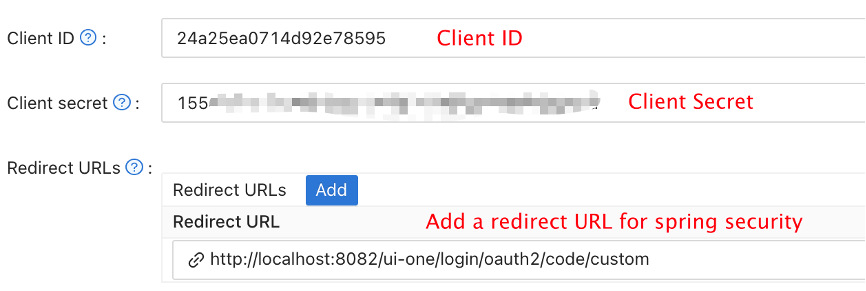
Note Client ID and Client secret from the application page for the next step. OIDC discovery: http://<CASDOOR_HOSTNAME>/.well-known/openid-configuration.
步骤3。 配置Spring Security
Spring Security原生支持OIDC。
您可以自定义Spring Security OAuth2 客户端的设置:
Replace the placeholders with your own Casdoor instance (Client ID, Client secret, etc.).
- application.yml
- application.properties
spring:
  security:
    oauth2:
      client:
        registration:
          casdoor:
            client-id: <Client ID>
            client-secret: <Client Secret>
            scope: <Scope>
            authorization-grant-type: authorization_code
            redirect-uri: <Redirect URL>
        provider:
          casdoor:
            authorization-uri: http://CASDOOR_HOSTNAME:7001/login/oauth/authorize
            token-uri: http://CASDOOR_HOSTNAME:8000/api/login/oauth/access_token
            user-info-uri: http://CASDOOR_HOSTNAME:8000/api/get-account
            user-name-attribute: name
spring.security.oauth2.client.registration.casdoor.client-id=<Client ID>
spring.security.oauth2.client.registration.casdoor.client-secret=<Client Secret>
spring.security.oauth2.client.registration.casdoor.scope=<Scope>
spring.security.oauth2.client.registration.casdoor.authorization-grant-type=authorization_code
spring.security.oauth2.client.registration.casdoor.redirect-uri=<Redirect URL>

spring.security.oauth2.client.provider.casdoor.authorization-uri=http://CASDOOR_HOSTNAME:7001/login/oauth/authorize
spring.security.oauth2.client.provider.casdoor.token-uri=http://CASDOOR_HOSTNAME:8000/api/login/oauth/access_token
spring.security.oauth2.client.provider.casdoor.user-info-uri=http://CASDOOR_HOSTNAME:8000/api/get-account
spring.security.oauth2.client.provider.casdoor.user-name-attribute=name
对于Spring Security的默认情况,<Redirect URL>应该像http://<Your Spring Boot Application Endpoint>/<Servlet Prefix if it is configured>/login/oauth2/code/custom这样。 例如,对于下面的演示来说,重定向URL应该是 http://localhost:8080/login/oauth2/code/code/custom。
您也应该在casdoor应用程序中配置这个。
您还可以在代码中使用ClientRegistration来自定义设置。 您可以在这里找到映射
步骤4:开始使用演示
-
我们可以创建 Spring Boot 应用程序。
-
我们可以添加一个配置,保护所有端点,除了
/和/login**供用户登录。@EnableWebSecurity
public class UiSecurityConfig extends WebSecurityConfigurerAdapter {
@Override
protected void configure(HttpSecurity http) throws Exception {
http.authorizeRequests()
.antMatchers("/", "/login**")
.permitAll()
.anyRequest()
.authenticated()
.and()
.oauth2Login();
}
} -
我们可以为用户添加一个简单的登录页面。
<!DOCTYPE html>
<html lang="en">
<head>
<meta http-equiv="Content-Type" content="text/html; charset=utf-8" />
<title>Spring OAuth Client Thymeleaf - 1</title>
<link rel="stylesheet"
    href="https://stackpath.bootstrapcdn.com/bootstrap/4.1.3/css/bootstrap.min.css" />
</head>
<body>
    <nav
        class="navbar navbar-expand-lg navbar-light bg-light shadow-sm p-3 mb-5">
        <a class="navbar-brand" th:href="@{/foos/}">Spring OAuth Client
            Thymeleaf - 1</a>
    </nav>
    <div class="container">
        <label>Welcome!</label> <br /> <a th:href="@{/foos/}"
            class="btn btn-primary">Login</a>
    </div>
</body>
</html>
当用户点击
login按钮时,他们将被重定向到casdoor。 -
接下来,我们可以定义我们的受保护资源。 我们可以公开一个名为
/foos的端点和一个用于显示的网页。数据模型
public class FooModel {
    private Long id;
    private String name;

    public FooModel(Long id, String name) {
        super();
        this.id = id;
        this.name = name;
    }
    public Long getId() {
        return id;
    }
    public void setId(Long id) {
        this.id = id;
    }
    public String getName() {
        return name;
    }
    public void setName(String name) {
        this.name = name;
    }
}
控制器
@Controller
public class FooClientController {
@GetMapping("/foos")
public String getFoos(Model model) {
List<FooModel> foos = new ArrayList<>();
foos.add(new FooModel(1L, "a"));
foos.add(new FooModel(2L, "b"));
foos.add(new FooModel(3L, "c"));
model.addAttribute("foos", foos);
return "foos";
}
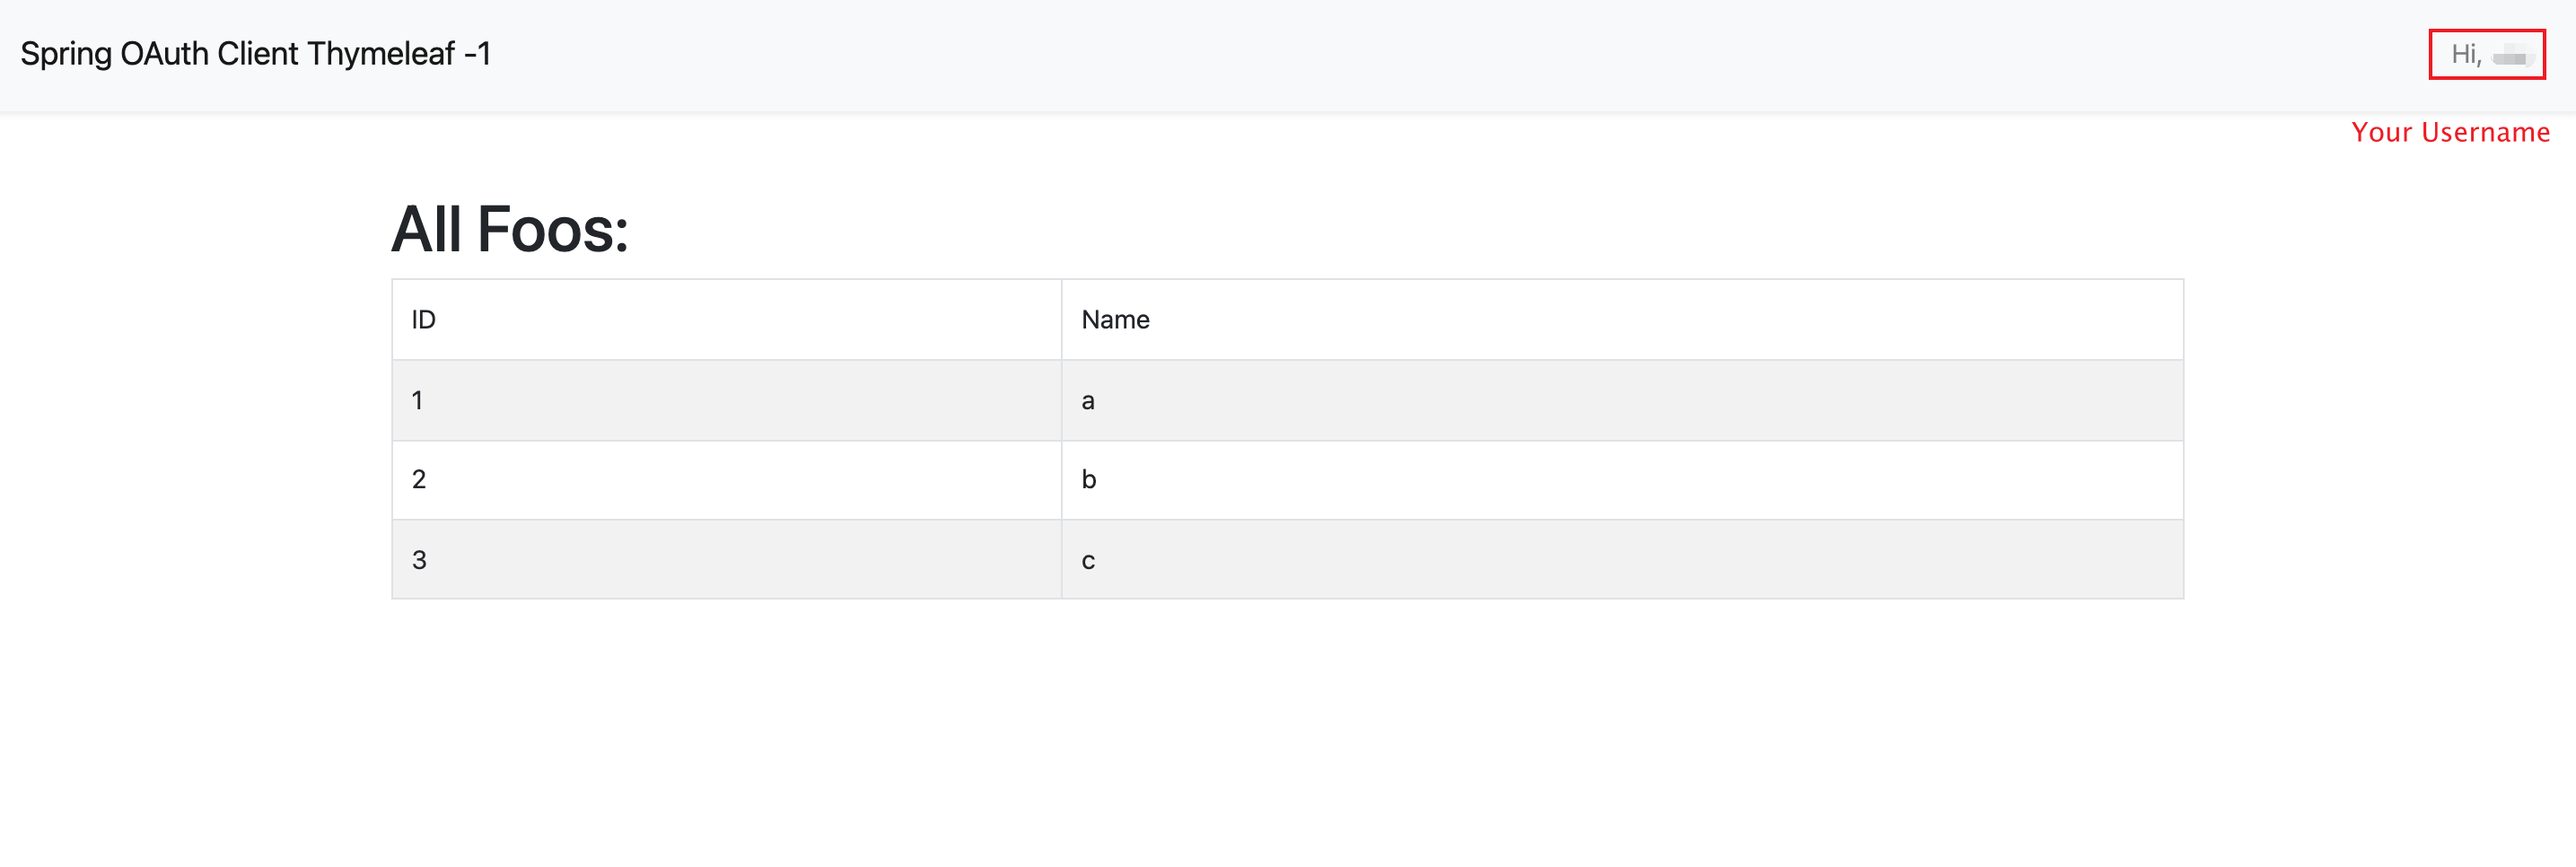
}网页
<!DOCTYPE html>
<html lang="en">
<head>
<meta http-equiv="Content-Type" content="text/html; charset=utf-8" />
<title>Spring OAuth Client Thymeleaf - 1</title>
<link rel="stylesheet"
href="https://stackpath.bootstrapcdn.com/bootstrap/4.1.3/css/bootstrap.min.css" />
</head>
<body>
<nav
class="navbar navbar-expand-lg navbar-light bg-light shadow-sm p-3 mb-5">
<a class="navbar-brand" th:href="@{/foos/}">Spring OAuth Client
Thymeleaf -1</a>
<ul class="navbar-nav ml-auto">
<li class="navbar-text">Hi, <span sec:authentication="name">preferred_username</span> </li>
</ul>
</nav>
<div class="container">
<h1>All Foos:</h1>
<table class="table table-bordered table-striped">
<thead>
<tr>
<td>ID</td>
<td>Name</td>
</tr>
</thead>
<tbody>
<tr th:if="${foos.empty}">
<td colspan="4">No foos</td>
</tr>
<tr th:each="foo : ${foos}">
<td>
<span th:text="${foo.id}">ID</span>
</td>
<td>
<span th:text="${foo.name}">Name</span>
</td>
</tr>
</tbody>
</table>
</div>
</body>
</html>
所有的网页模板都应该放在resources/templates下。
步骤5:试试演示!
Open /foos in a browser; you are redirected to Casdoor’s login page. Sign in there or from the root page.
如果您访问您的根页面,您将看到Casdoor应用设置。 ```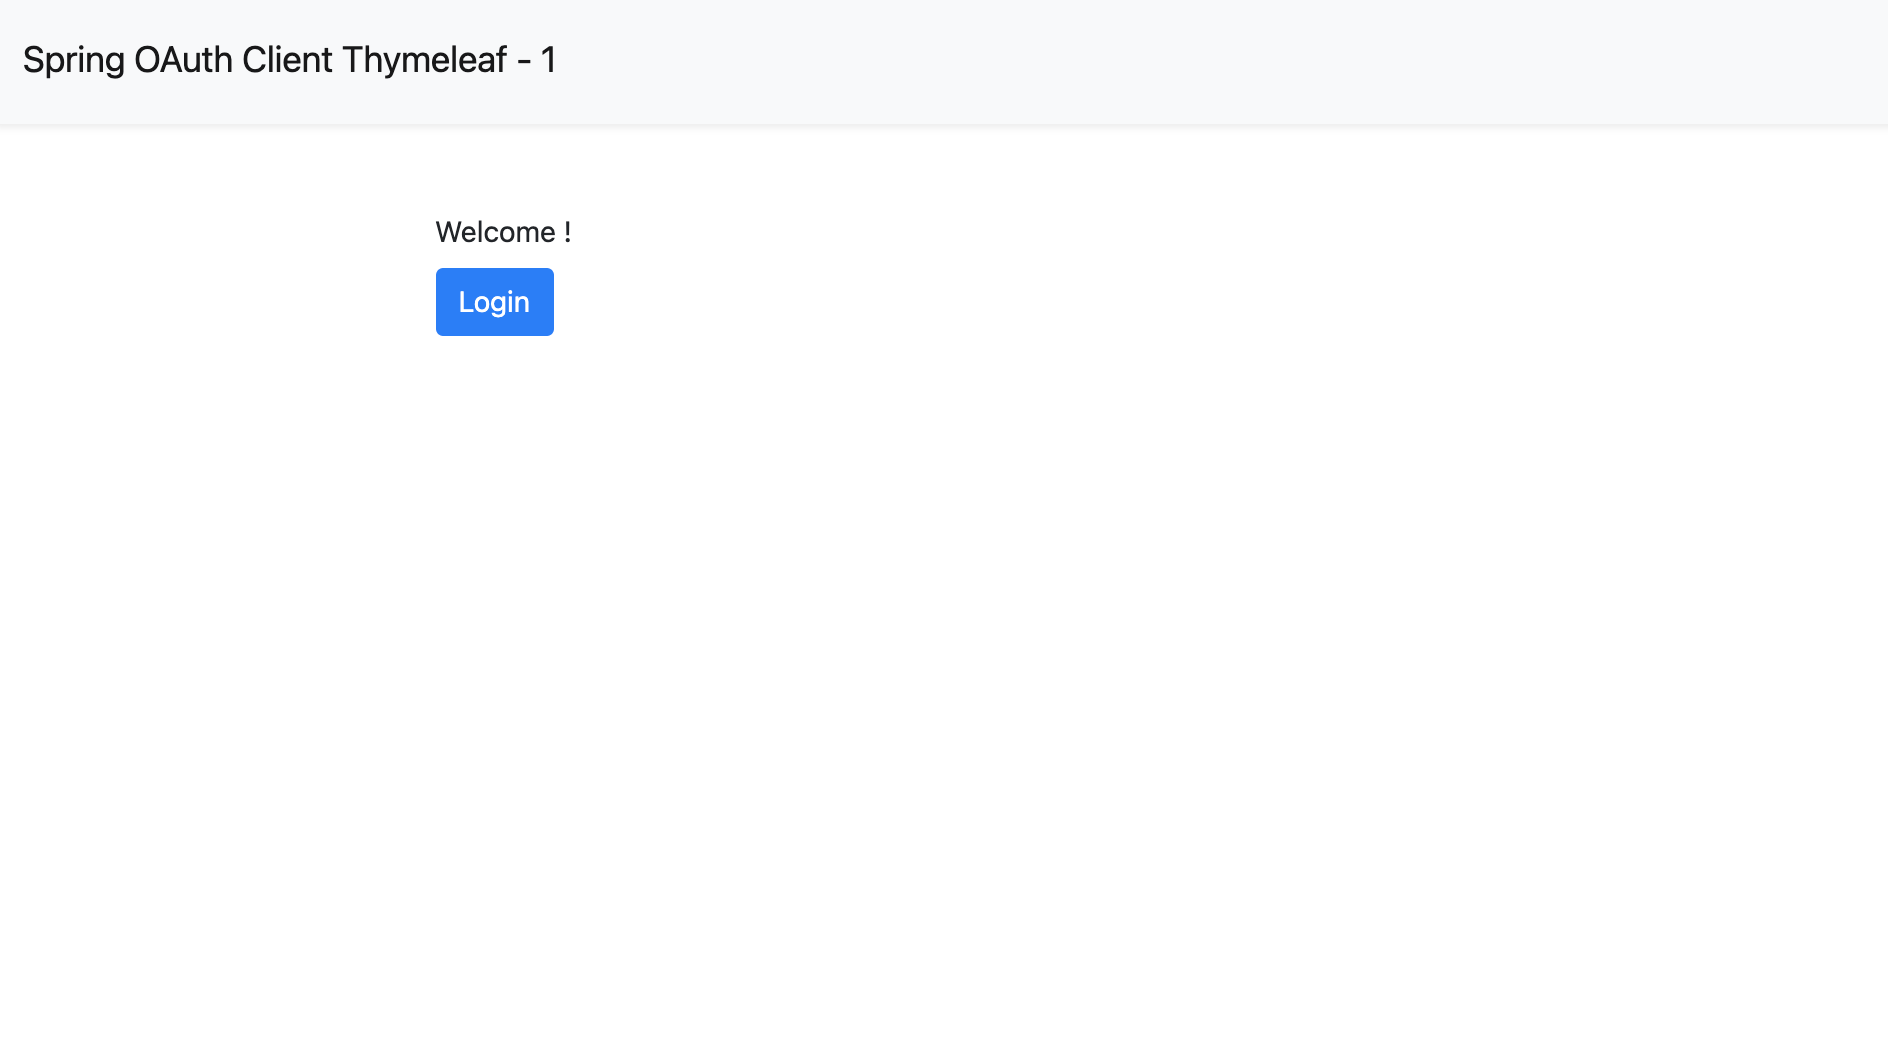
点击login按钮,页面将重定向您到Casdoor的登录页面。 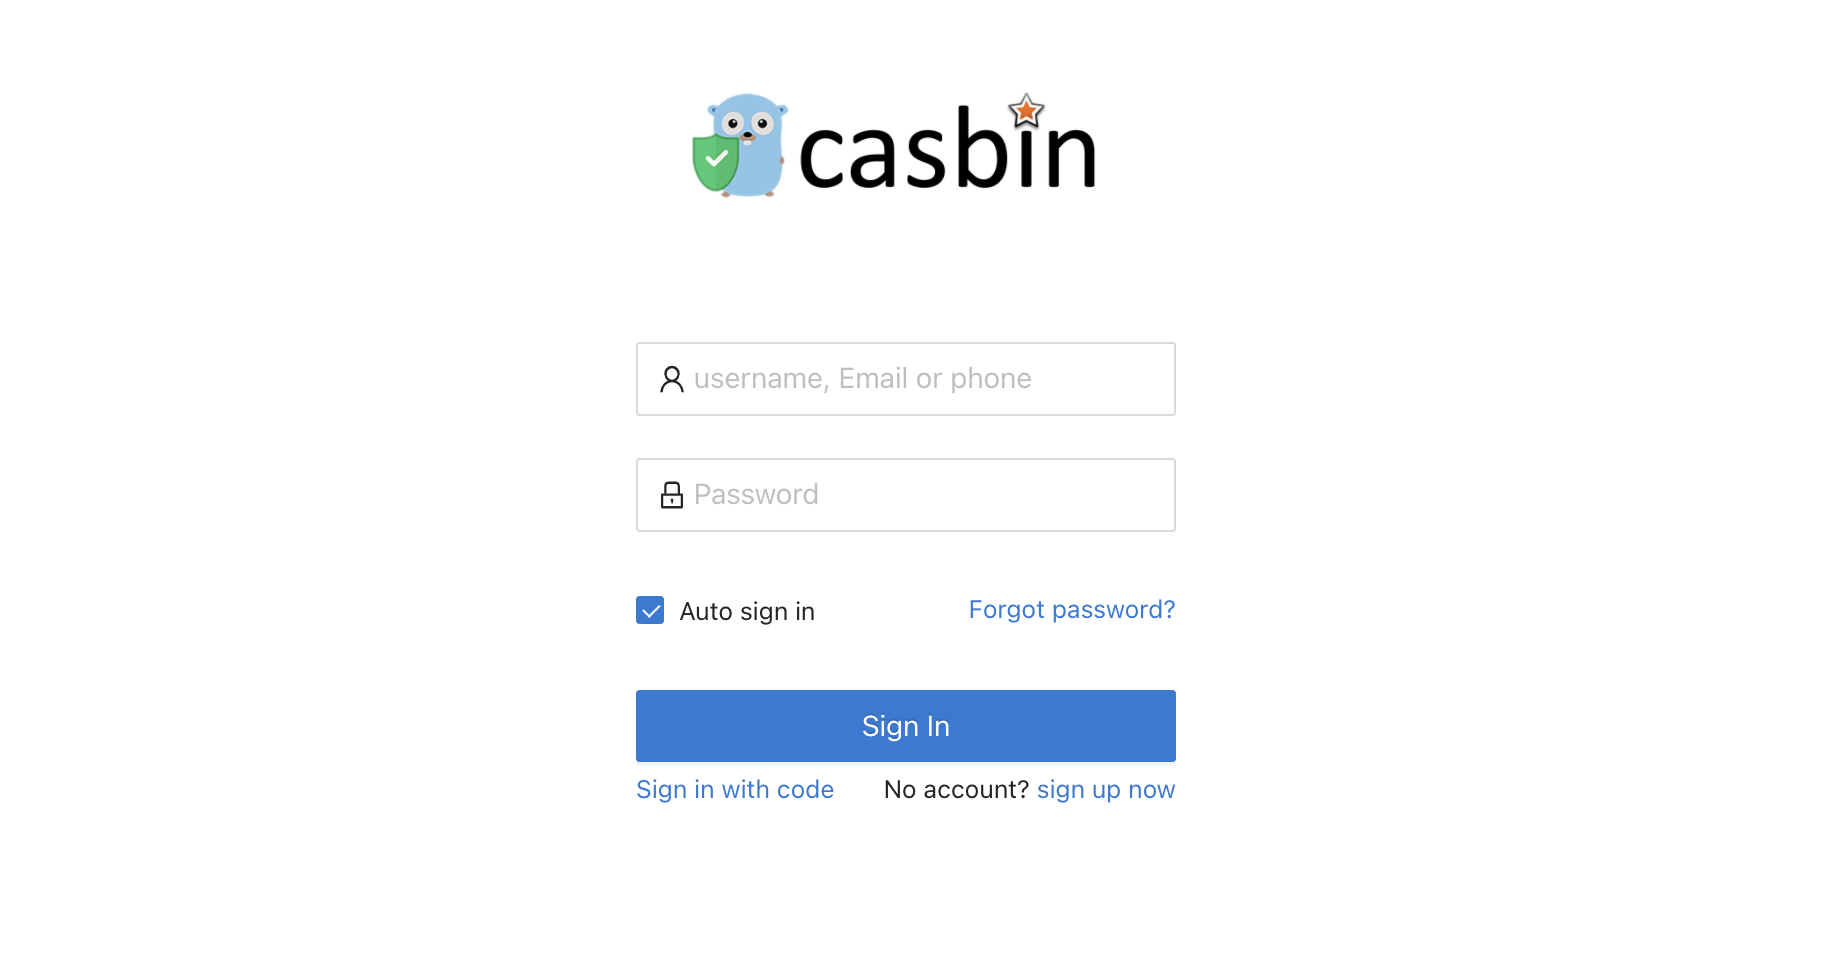
登录后,页面将重定向您到/foos。