Spring Security OAuth
CasdoorはOIDCプロトコルをIDPとして使用し、さまざまなアプリケーションに接続することができます。 このガイドでは、OIDCを使用してアプリケーションに接続する方法を示すためにSpring Securityを例にします。
ステップ1:Casdoorをデプロイする
まず、Casdoorをデプロイする必要があります。
サーバーインストールについては、Casdoor公式ドキュメントを参照してください。
Casdoorを正常にデプロイした後、次のことを確認してください:
- http://localhost:8000でCasdoorサーバーが稼働しています。
- お気に入りのブラウザを開いてhttp://localhost:7001にアクセスすると、Casdoorのログインページが表示されます。
adminと123を入力して、ログイン機能が正常に動作していることを確認してください。
以下の手順に従って、自分のアプリにCasdoorベースのログインページをすばやく実装することができます。
ステップ2。 Casdoorアプリケーションの設定
- 新しいCasdoorアプリケーションを作成するか、既存のものを使用します。
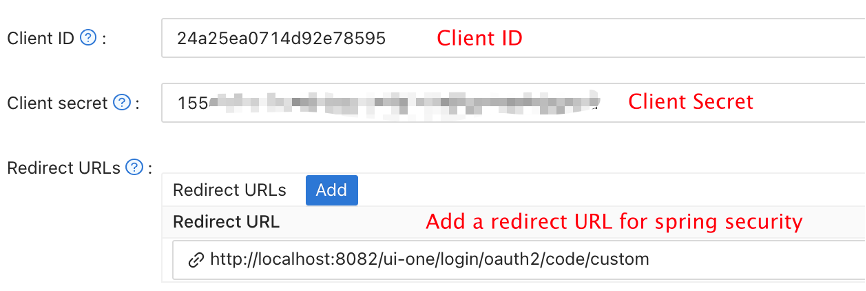
- リダイレクトURLを追加します(リダイレクトURLの取得方法の詳細は次のセクションで見つけることができます)。

- 希望するプロバイダーを追加し、追加の設定を入力します。
アプリケーション設定ページには、上の画像に示されているように、Client IDとClient secretの2つの値があります。 これらの値を次のステップで使用します。
お気に入りのブラウザを開いてhttp://CASDOOR_HOSTNAME/.well-known/openid-configurationにアクセスします。 ここで、CasdoorのOIDC設定を見つけることができます。
ステップ3。 Spring Securityの設定
Spring SecurityはネイティブにOIDCをサポートしています。
Spring Security OAuth2クライアントの設定をカスタマイズすることができます:
特に<Client ID>など、自分のCasdoorインスタンスに設定を置き換える必要があります。
- application.yml
- application.properties
spring:
  security:
    oauth2:
      client:
        registration:
          casdoor:
            client-id: <Client ID>
            client-secret: <Client Secret>
            scope: <Scope>
            authorization-grant-type: authorization_code
            redirect-uri: <Redirect URL>
        provider:
          casdoor:
            authorization-uri: http://CASDOOR_HOSTNAME:7001/login/oauth/authorize
            token-uri: http://CASDOOR_HOSTNAME:8000/api/login/oauth/access_token
            user-info-uri: http://CASDOOR_HOSTNAME:8000/api/get-account
            user-name-attribute: name
spring.security.oauth2.client.registration.casdoor.client-id=<Client ID>
spring.security.oauth2.client.registration.casdoor.client-secret=<Client Secret>
spring.security.oauth2.client.registration.casdoor.scope=<Scope>
spring.security.oauth2.client.registration.casdoor.authorization-grant-type=authorization_code
spring.security.oauth2.client.registration.casdoor.redirect-uri=<Redirect URL>

spring.security.oauth2.client.provider.casdoor.authorization-uri=http://CASDOOR_HOSTNAME:7001/login/oauth/authorize
spring.security.oauth2.client.provider.casdoor.token-uri=http://CASDOOR_HOSTNAME:8000/api/login/oauth/access_token
spring.security.oauth2.client.provider.casdoor.user-info-uri=http://CASDOOR_HOSTNAME:8000/api/get-account
spring.security.oauth2.client.provider.casdoor.user-name-attribute=name
Spring Securityのデフォルトの状況では、<Redirect URL>はhttp://<Your Spring Boot Application Endpoint>/<Servlet Prefix if it is configured>/login/oauth2/code/customのようになるべきです。 例えば、以下のデモでは、リダイレクトURLはhttp://localhost:8080/login/oauth2/code/customであるべきです。
これもcasdoorアプリケーションで設定する必要があります。
また、ClientRegistrationをコード内で使用して設定をカスタマイズすることもできます。 こちらでマッピングを見つけることができます
ステップ4:デモで始める
Spring Bootアプリケーションを作成することができます。
/と/login**を除くすべてのエンドポイントを保護する設定を追加することができます。@EnableWebSecurity
public class UiSecurityConfig extends WebSecurityConfigurerAdapter {
@Override
protected void configure(HttpSecurity http) throws Exception {
http.authorizeRequests()
.antMatchers("/", "/login**")
.permitAll()
.anyRequest()
.authenticated()
.and()
.oauth2Login();
}
}ユーザーがログインできるように、簡単なページを追加することができます。
<!DOCTYPE html>
<html lang="en">
<head>
<meta http-equiv="Content-Type" content="text/html; charset=utf-8" />
<title>Spring OAuth Client Thymeleaf - 1</title>
<link rel="stylesheet"
    href="https://stackpath.bootstrapcdn.com/bootstrap/4.1.3/css/bootstrap.min.css" />
</head>
<body>
    <nav
        class="navbar navbar-expand-lg navbar-light bg-light shadow-sm p-3 mb-5">
        <a class="navbar-brand" th:href="@{/foos/}">Spring OAuth Client
            Thymeleaf - 1</a>
    </nav>
    <div class="container">
        <label>Welcome!</label> <br /> <a th:href="@{/foos/}"
            class="btn btn-primary">Login</a>
    </div>
</body>
</html>
ユーザーが
loginボタンをクリックすると、casdoorにリダイレクトされます。次に、保護されたリソースを定義することができます。
/foosというエンドポイントと表示用のウェブページを公開することができます。データモデル
public class FooModel {
    private Long id;
    private String name;

    public FooModel(Long id, String name) {
        super();
        this.id = id;
        this.name = name;
    }
    public Long getId() {
        return id;
    }
    public void setId(Long id) {
        this.id = id;
    }
    public String getName() {
        return name;
    }
    public void setName(String name) {
        this.name = name;
    }
}
コントローラー
@Controller
public class FooClientController {
    @GetMapping("/foos")
    public String getFoos(Model model) {
        List<FooModel> foos = new ArrayList<>();
        foos.add(new FooModel(1L, "a"));
        foos.add(new FooModel(2L, "b"));
        foos.add(new FooModel(3L, "c"));
        model.addAttribute("foos", foos);
        return "foos";
    }
}
ウェブページ
<!DOCTYPE html>
<html lang="en">
<head>
<meta http-equiv="Content-Type" content="text/html; charset=utf-8" />
<title>Spring OAuth Client Thymeleaf - 1</title>
<link rel="stylesheet"
href="https://stackpath.bootstrapcdn.com/bootstrap/4.1.3/css/bootstrap.min.css" />
</head>
<body>
<nav
class="navbar navbar-expand-lg navbar-light bg-light shadow-sm p-3 mb-5">
<a class="navbar-brand" th:href="@{/foos/}">Spring OAuth Client
Thymeleaf -1</a>
<ul class="navbar-nav ml-auto">
<li class="navbar-text">Hi, <span sec:authentication="name">preferred_username</span> </li>
</ul>
</nav>
<div class="container">
<h1>All Foos:</h1>
<table class="table table-bordered table-striped">
<thead>
<tr>
<td>ID</td>
<td>Name</td>
</tr>
</thead>
<tbody>
<tr th:if="${foos.empty}">
<td colspan="4">No foos</td>
</tr>
<tr th:each="foo : ${foos}">
<td>
<span th:text="${foo.id}">ID</span>
</td>
<td>
<span th:text="${foo.name}">Name</span>
</td>
</tr>
</tbody>
</table>
</div>
</body>
</html>
すべてのウェブページテンプレートはresources/templatesの下に配置する必要があります。
ステップ5:デモを試してみる!
まず、お気に入りのブラウザを開いて直接/foosにアクセスしてみることができます。 自動的にCasdoorのログインページにリダイレクトされます。 そこでログインするか、またはルートページからログインすることができます。
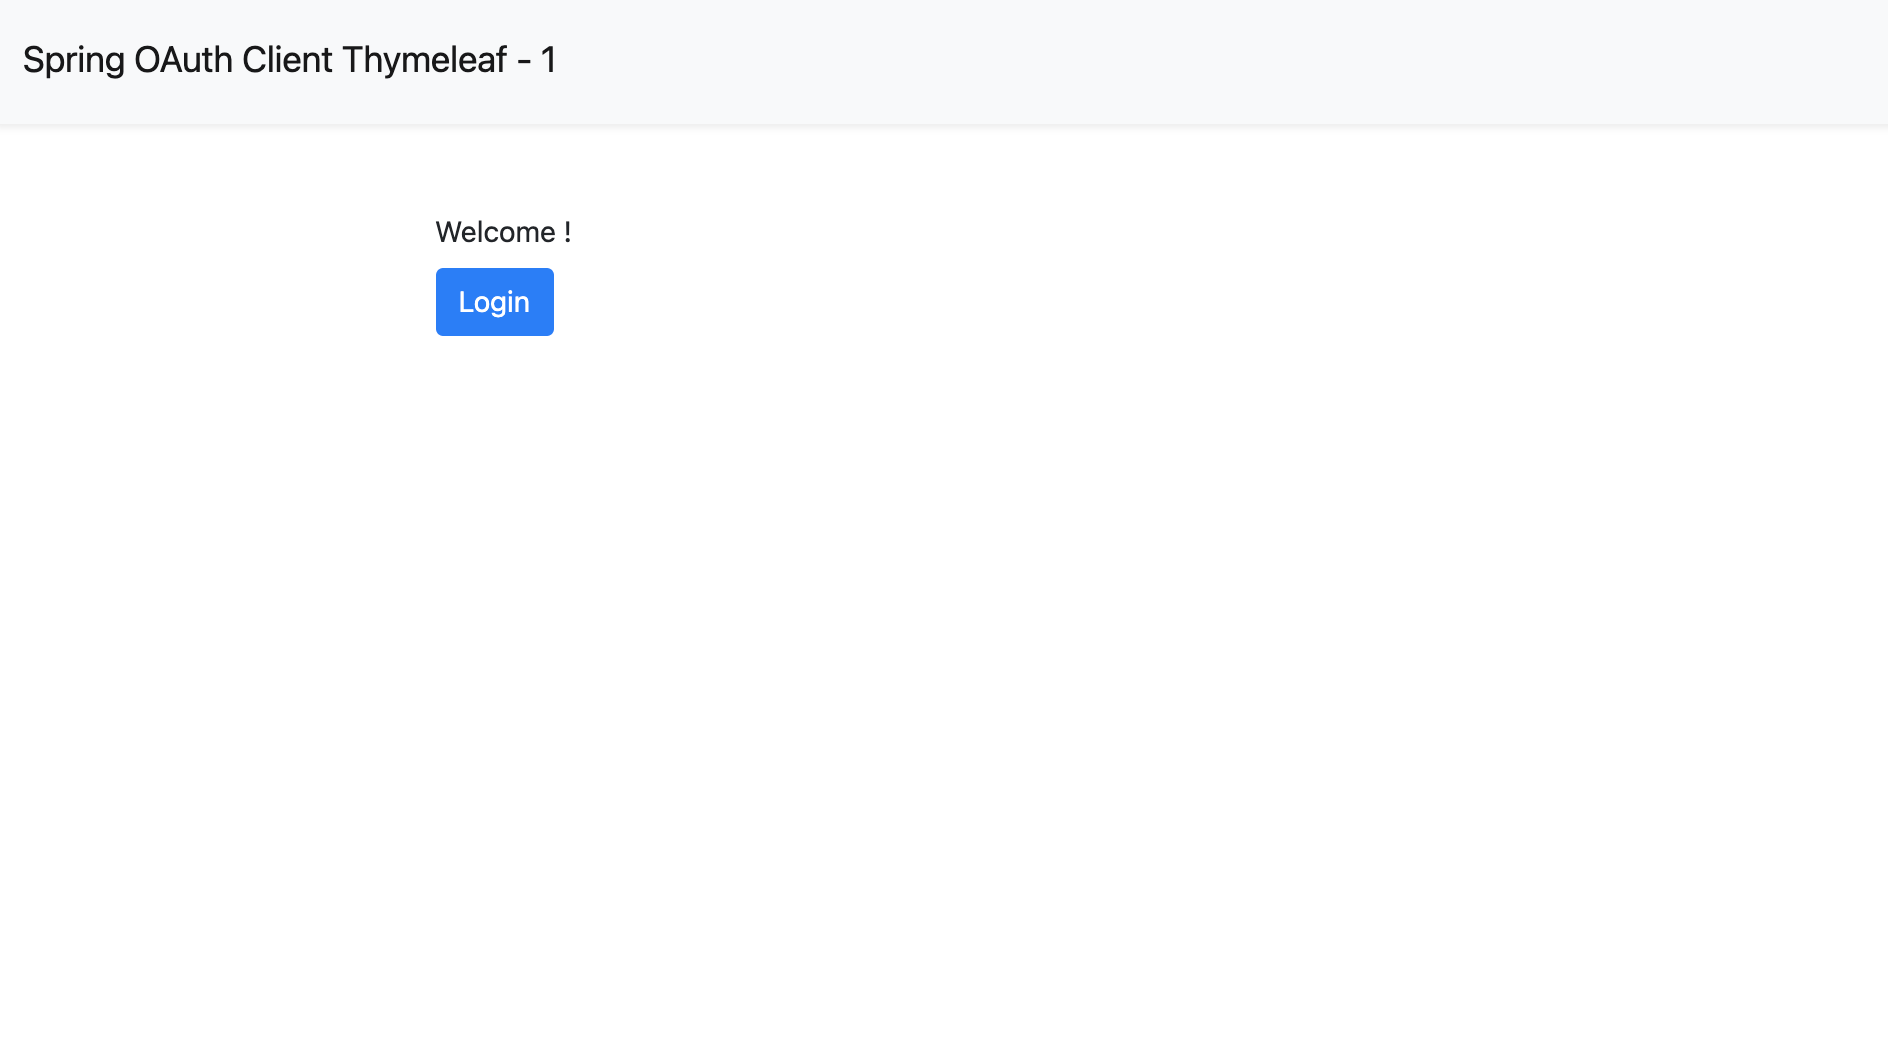
ルートページにアクセスすると、Casdoorアプリケーション設定が表示されます。
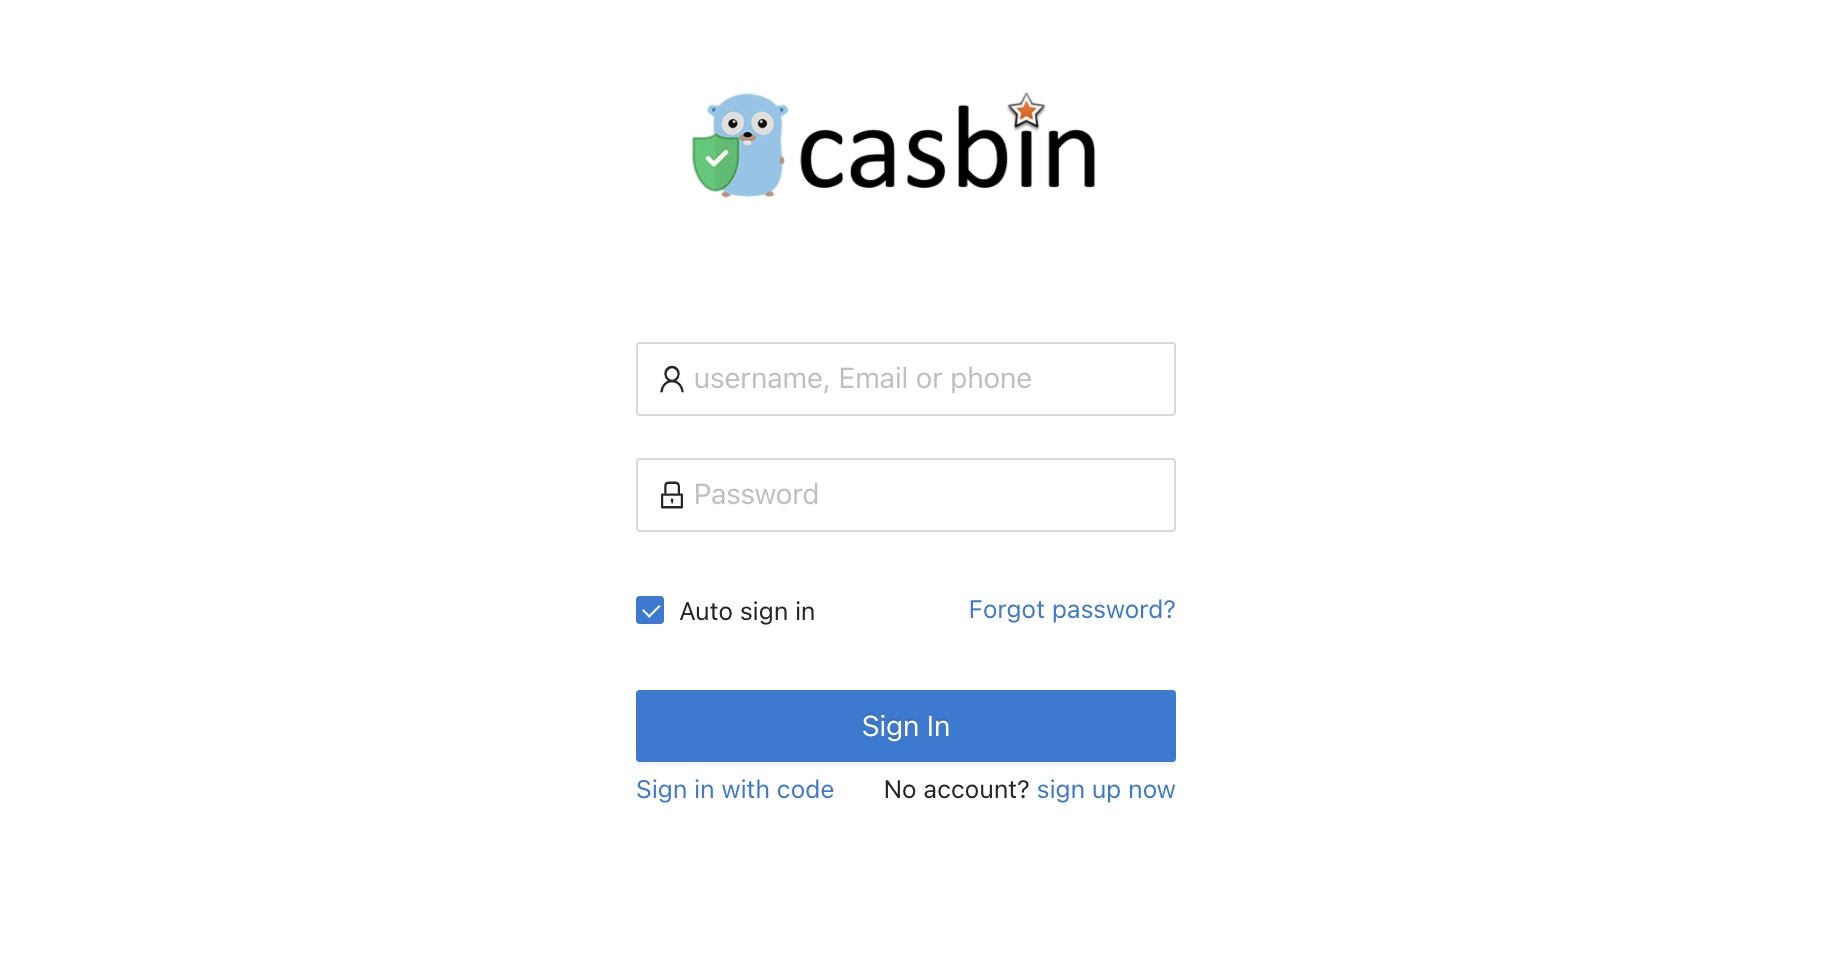
loginボタンをクリックすると、ページはCasdoorのログインページにリダイレクトされます。 
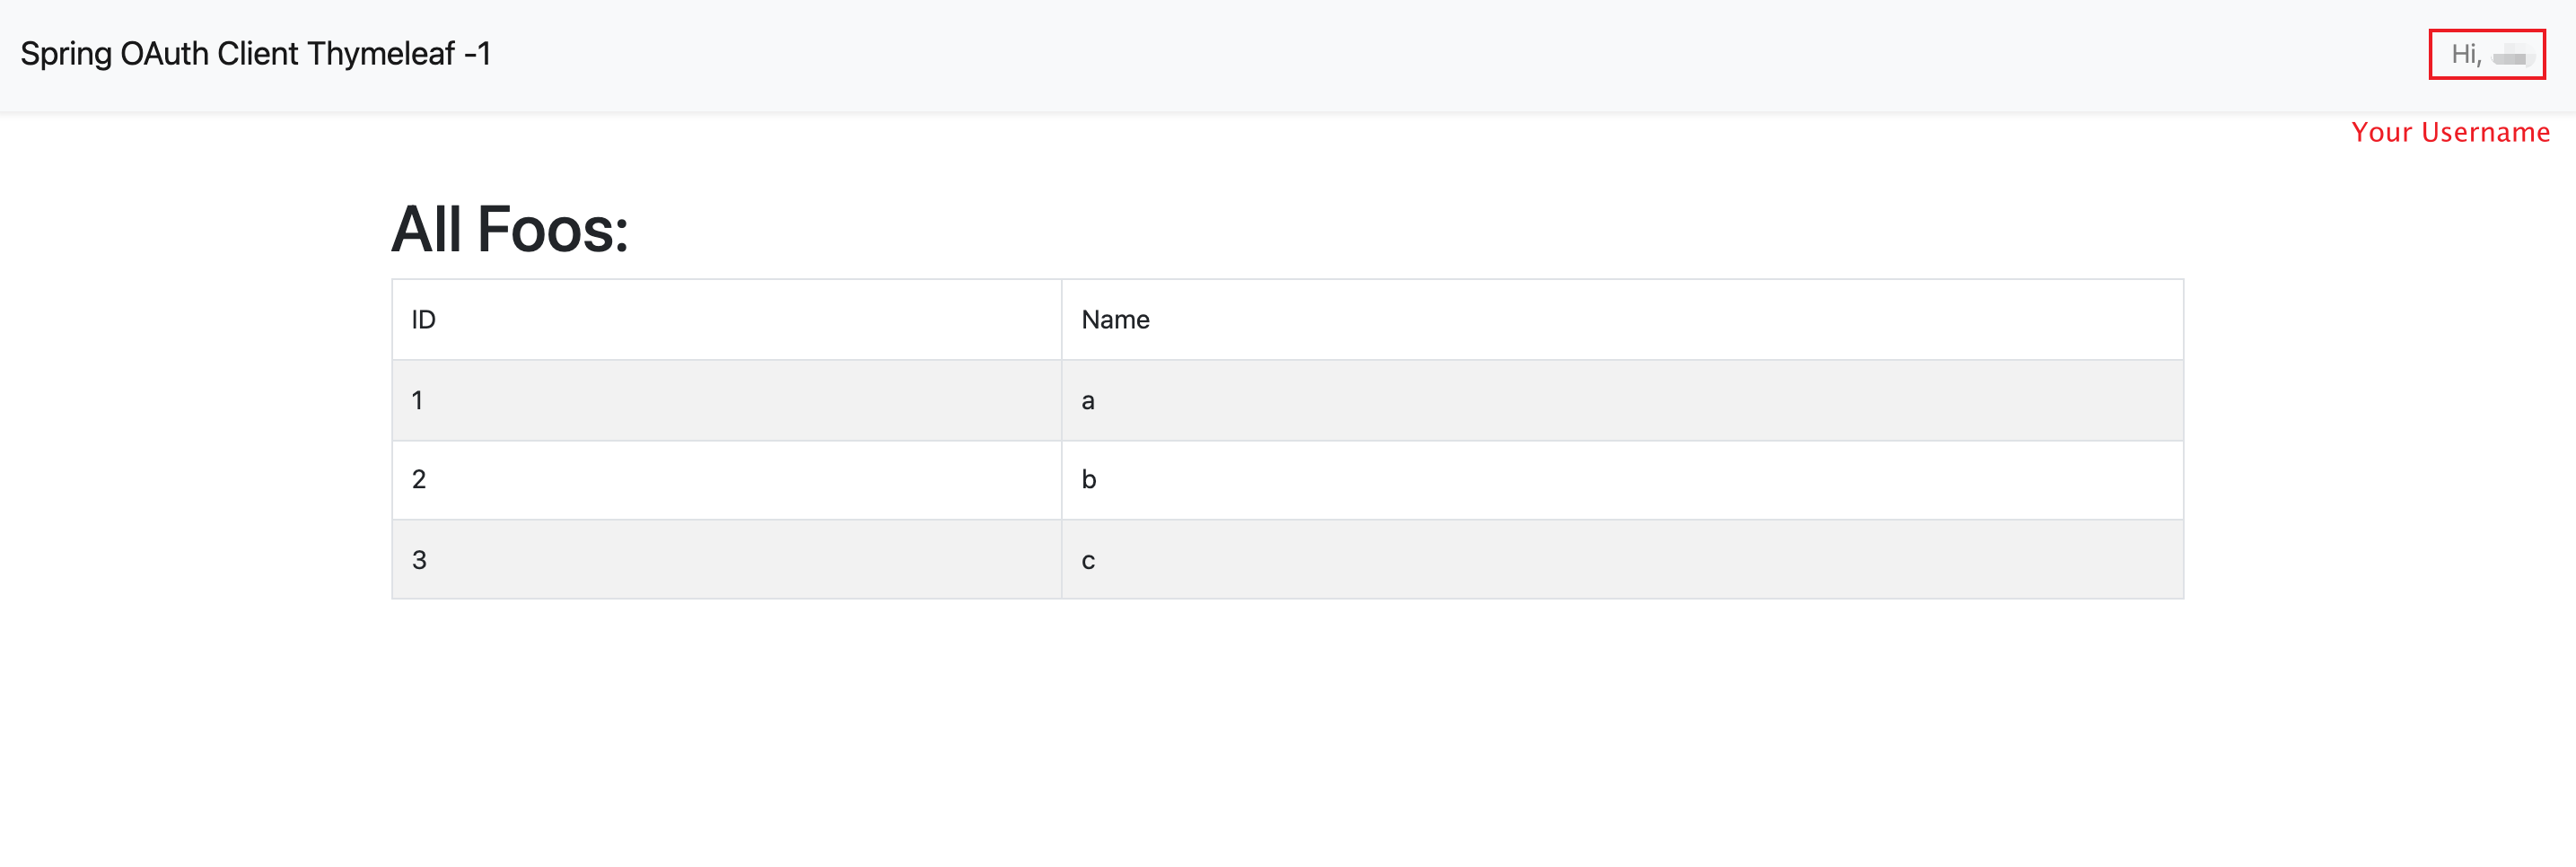
ログイン後、ページは/foosにリダイレクトされます。 