Spring Security OAuth
Casdoor can use the OIDC protocol as an IDP to connect various applications. In this guide, we will use Spring Security as an example to show you how to use OIDC to connect to your applications.
Step 1: Deploy Casdoor
Deploy Casdoor. See Server installation. Ensure the server is running and you can open the login page and sign in (e.g. admin / 123).
Step 2. Configure Casdoor application
- Create a new Casdoor application or use an existing one.
- Add your redirect URL (You can find more details on how to obtain the redirect URL in the next section).
- Add the desired provider and fill in any additional settings.
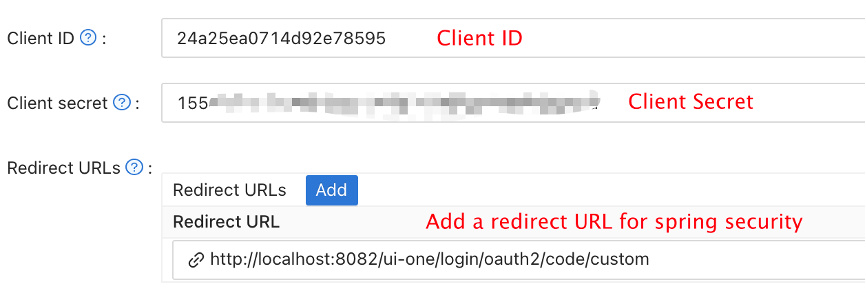
Note Client ID and Client secret from the application page for the next step. OIDC discovery: http://<CASDOOR_HOSTNAME>/.well-known/openid-configuration.
Step 3. Configure Spring Security
Spring Security natively supports OIDC.
You can customize the settings of Spring Security OAuth2 Client:
Replace the placeholders with your own Casdoor instance (Client ID, Client secret, etc.).
- application.yml
- application.properties
spring:
  security:
    oauth2:
      client:
        registration:
          casdoor:
            client-id: <Client ID>
            client-secret: <Client Secret>
            scope: <Scope>
            authorization-grant-type: authorization_code
            redirect-uri: <Redirect URL>
        provider:
          casdoor:
            authorization-uri: http://CASDOOR_HOSTNAME:7001/login/oauth/authorize
            token-uri: http://CASDOOR_HOSTNAME:8000/api/login/oauth/access_token
            user-info-uri: http://CASDOOR_HOSTNAME:8000/api/get-account
            user-name-attribute: name
spring.security.oauth2.client.registration.casdoor.client-id=<Client ID>
spring.security.oauth2.client.registration.casdoor.client-secret=<Client Secret>
spring.security.oauth2.client.registration.casdoor.scope=<Scope>
spring.security.oauth2.client.registration.casdoor.authorization-grant-type=authorization_code
spring.security.oauth2.client.registration.casdoor.redirect-uri=<Redirect URL>

spring.security.oauth2.client.provider.casdoor.authorization-uri=http://CASDOOR_HOSTNAME:7001/login/oauth/authorize
spring.security.oauth2.client.provider.casdoor.token-uri=http://CASDOOR_HOSTNAME:8000/api/login/oauth/access_token
spring.security.oauth2.client.provider.casdoor.user-info-uri=http://CASDOOR_HOSTNAME:8000/api/get-account
spring.security.oauth2.client.provider.casdoor.user-name-attribute=name
For the default situation of Spring Security, the <Redirect URL> should be like http://<Your Spring Boot Application Endpoint>/<Servlet Prefix if it is configured>/login/oauth2/code/custom.
For example, in the following demo, the redirect URL should be http://localhost:8080/login/oauth2/code/custom.
You should also configure this in the casdoor application.
You can also customize the settings using ClientRegistration in your code. You can find the mapping here
Step 4: Get Started with a Demo
-
We can create a Spring Boot application.
-
We can add a configuration that protects all endpoints except
/and/login**for users to log in.@EnableWebSecurity
public class UiSecurityConfig extends WebSecurityConfigurerAdapter {
@Override
protected void configure(HttpSecurity http) throws Exception {
http.authorizeRequests()
.antMatchers("/", "/login**")
.permitAll()
.anyRequest()
.authenticated()
.and()
.oauth2Login();
}
} -
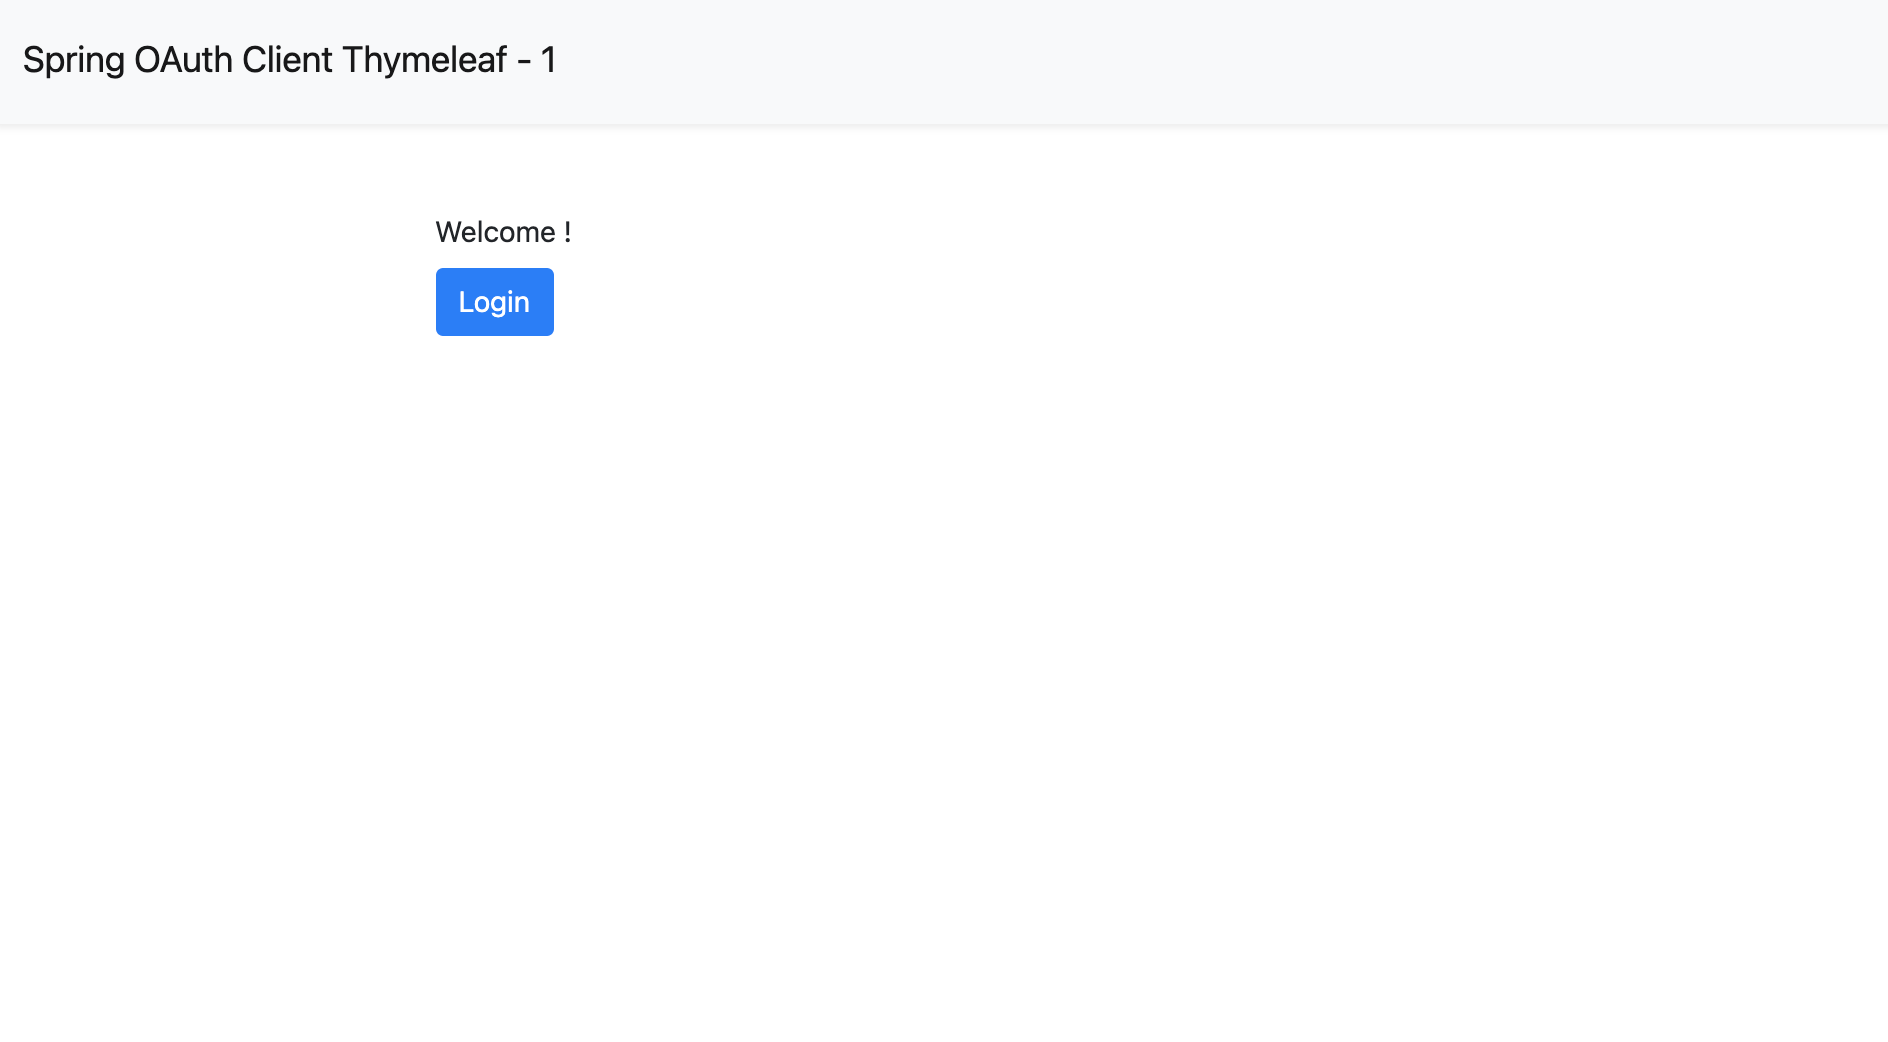
We can add a naive page for the user to log in.
<!DOCTYPE html>
<html lang="en">
<head>
<meta http-equiv="Content-Type" content="text/html; charset=utf-8" />
<title>Spring OAuth Client Thymeleaf - 1</title>
<link rel="stylesheet"
    href="https://stackpath.bootstrapcdn.com/bootstrap/4.1.3/css/bootstrap.min.css" />
</head>
<body>
    <nav
        class="navbar navbar-expand-lg navbar-light bg-light shadow-sm p-3 mb-5">
        <a class="navbar-brand" th:href="@{/foos/}">Spring OAuth Client
            Thymeleaf - 1</a>
    </nav>
    <div class="container">
        <label>Welcome!</label> <br /> <a th:href="@{/foos/}"
            class="btn btn-primary">Login</a>
    </div>
</body>
</html>
When the user clicks the
loginbutton, they will be redirected tocasdoor. -
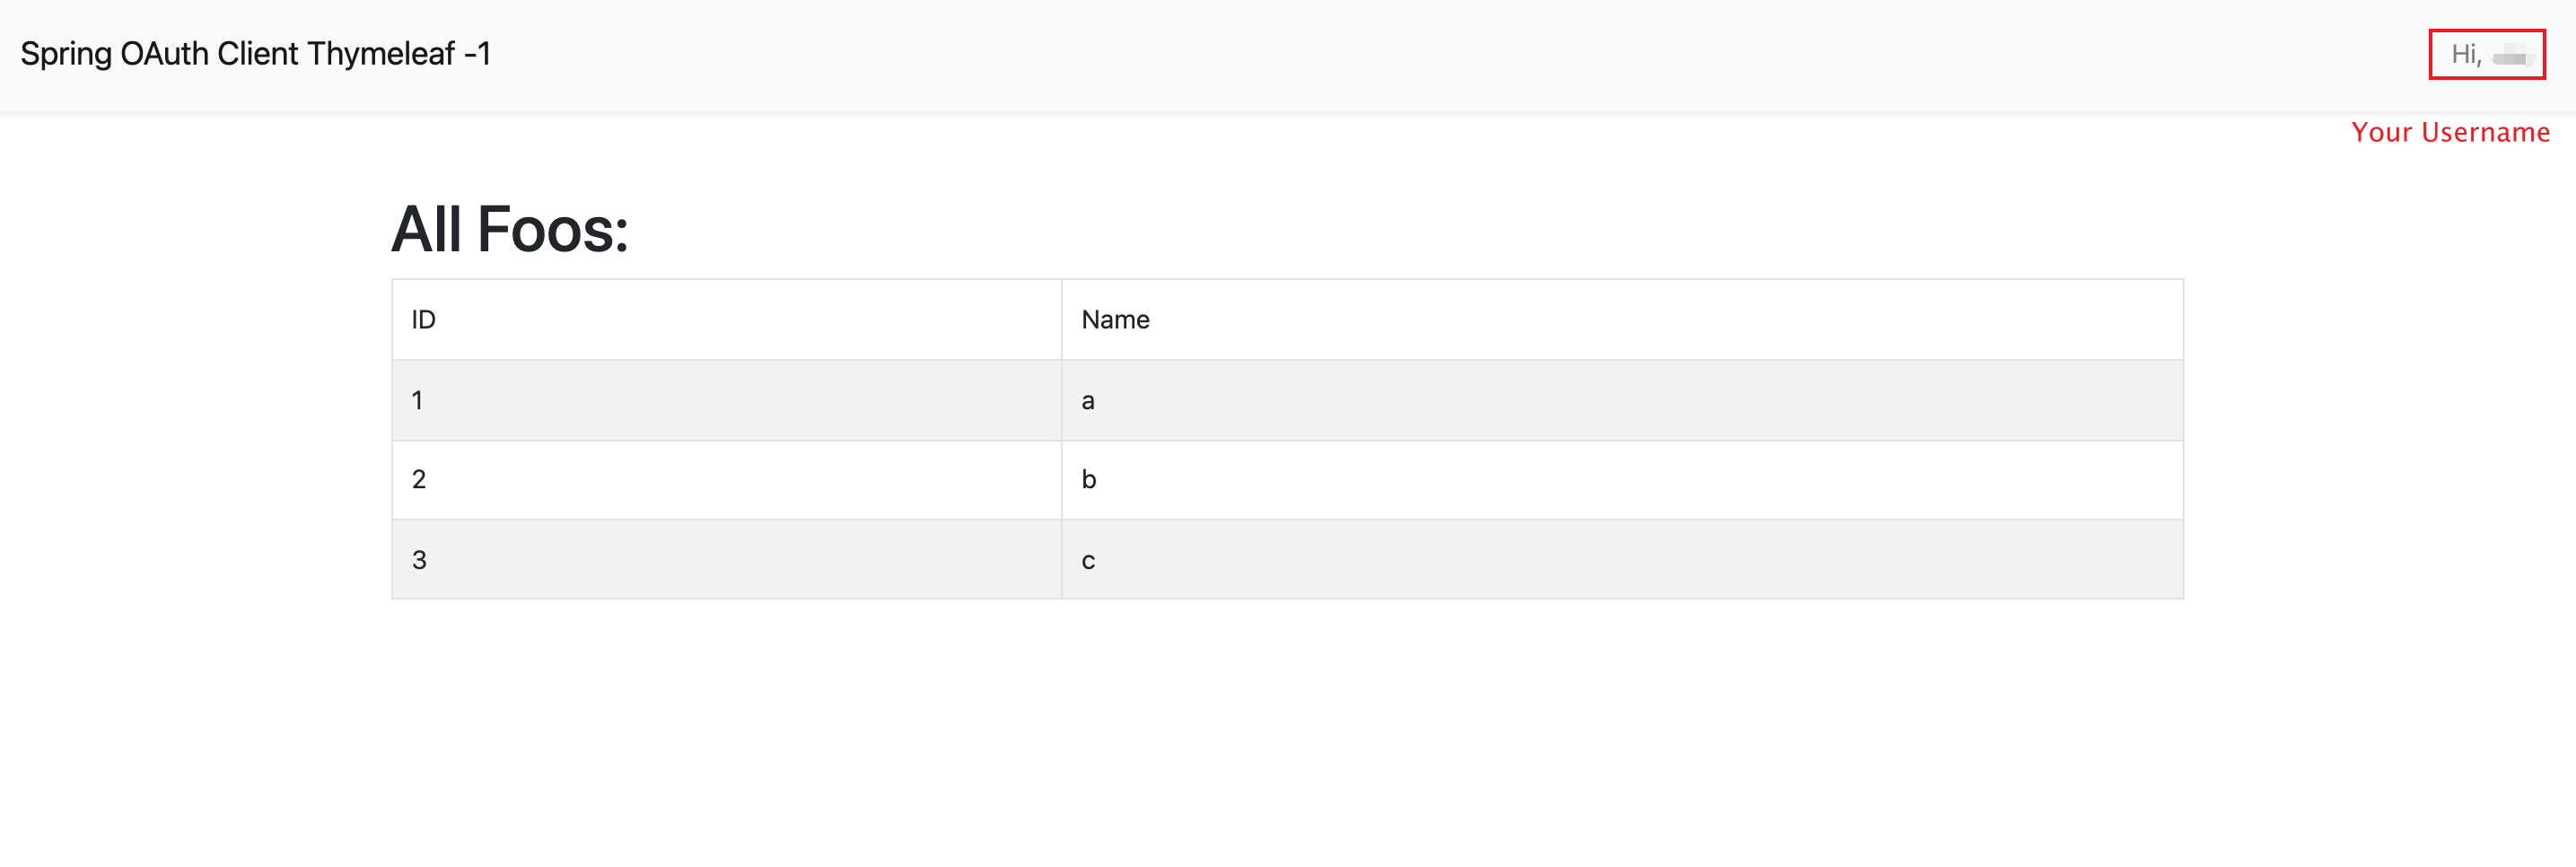
Next, we can define our protected resources. We can expose an endpoint called
/foosand a web page for display.Data Model
public class FooModel {
    private Long id;
    private String name;

    public FooModel(Long id, String name) {
        super();
        this.id = id;
        this.name = name;
    }
    public Long getId() {
        return id;
    }
    public void setId(Long id) {
        this.id = id;
    }
    public String getName() {
        return name;
    }
    public void setName(String name) {
        this.name = name;
    }
}
Controller
@Controller
public class FooClientController {
    @GetMapping("/foos")
    public String getFoos(Model model) {
        List<FooModel> foos = new ArrayList<>();
        foos.add(new FooModel(1L, "a"));
        foos.add(new FooModel(2L, "b"));
        foos.add(new FooModel(3L, "c"));
        model.addAttribute("foos", foos);
        return "foos";
    }
}
Web page
<!DOCTYPE html>
<html lang="en">
<head>
<meta http-equiv="Content-Type" content="text/html; charset=utf-8" />
<title>Spring OAuth Client Thymeleaf - 1</title>
<link rel="stylesheet"
href="https://stackpath.bootstrapcdn.com/bootstrap/4.1.3/css/bootstrap.min.css" />
</head>
<body>
<nav
class="navbar navbar-expand-lg navbar-light bg-light shadow-sm p-3 mb-5">
<a class="navbar-brand" th:href="@{/foos/}">Spring OAuth Client
Thymeleaf -1</a>
<ul class="navbar-nav ml-auto">
<li class="navbar-text">Hi, <span sec:authentication="name">preferred_username</span> </li>
</ul>
</nav>
<div class="container">
<h1>All Foos:</h1>
<table class="table table-bordered table-striped">
<thead>
<tr>
<td>ID</td>
<td>Name</td>
</tr>
</thead>
<tbody>
<tr th:if="${foos.empty}">
<td colspan="4">No foos</td>
</tr>
<tr th:each="foo : ${foos}">
<td>
<span th:text="${foo.id}">ID</span>
</td>
<td>
<span th:text="${foo.name}">Name</span>
</td>
</tr>
</tbody>
</table>
</div>
</body>
</html>
All the web page templates should be placed under resources/templates.
Step 5: Try the demo!
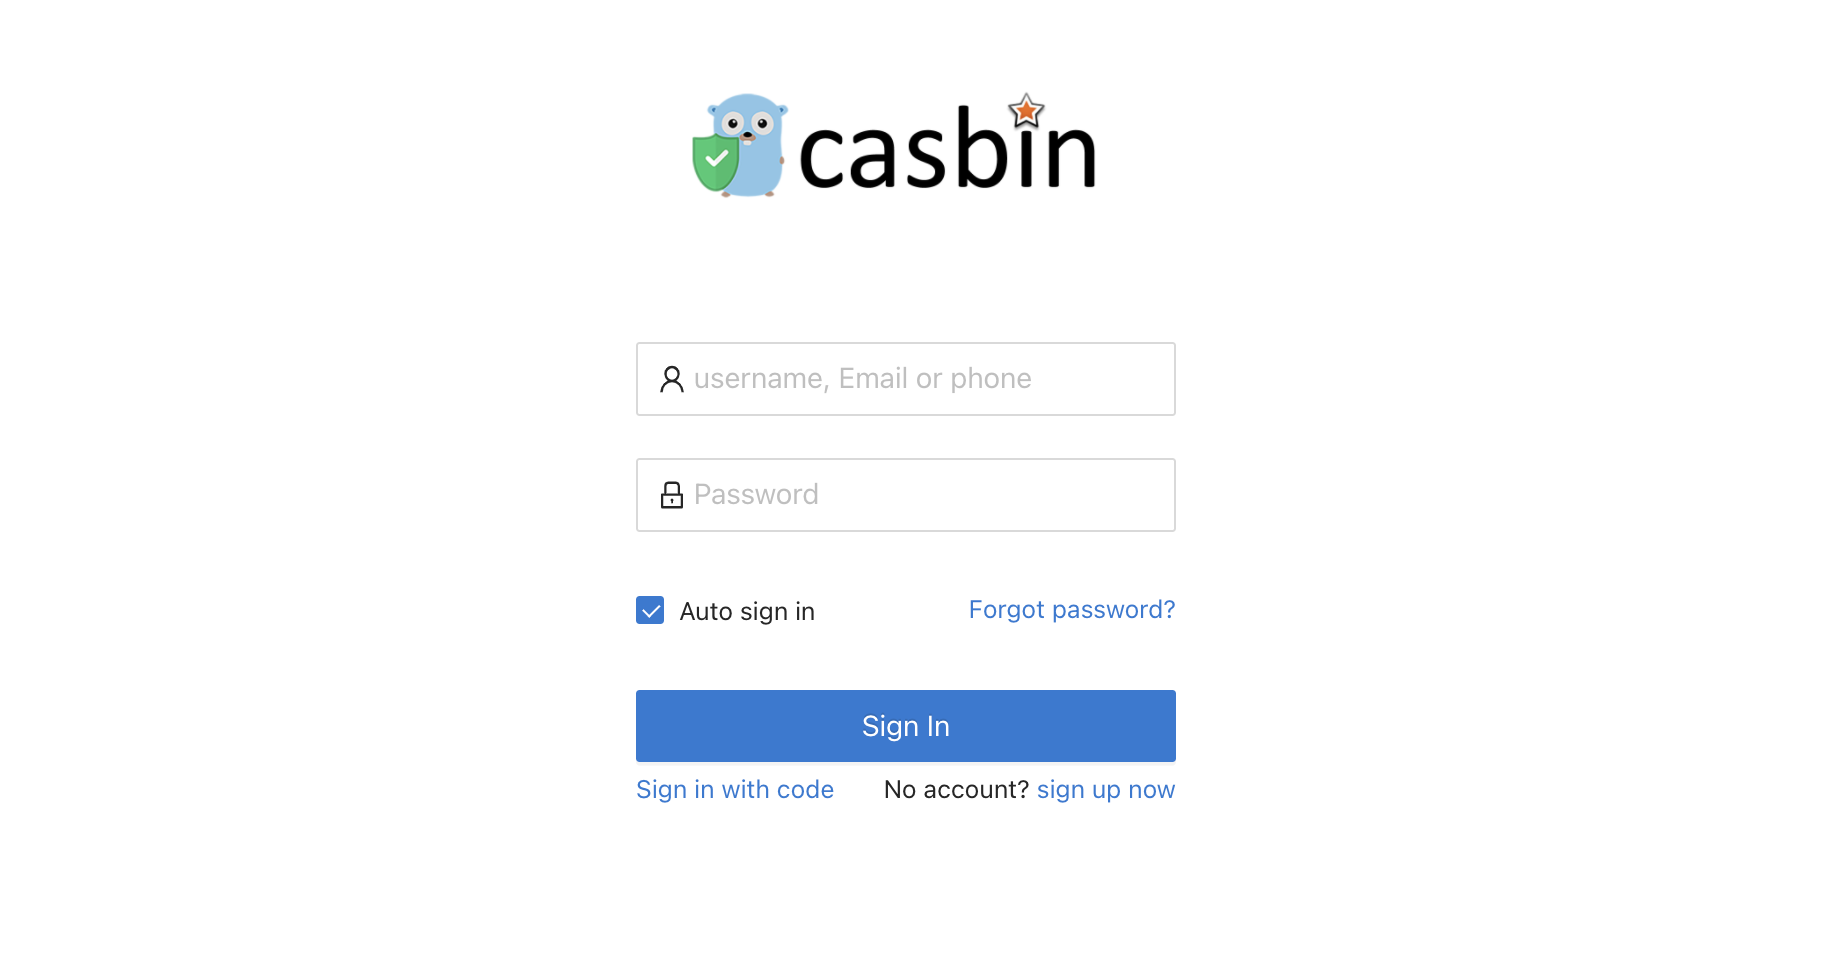
Open /foos in a browser; you are redirected to Casdoor’s login page. Sign in there or from the root page.
If you visit your root page, you will see the Casdoor Application Setting.
Click the login button and the page will redirect you to Casdoor's login page.
After logging in, the page will redirect you to /foos.