Apache IoTDB
Casdoor can easily connect to Apache IoTDB.
Apache IoTDB Web Workbench already includes Casdoor support. Configure the backend application.yml and enable the front-end switch.
Step 1: Deploy Casdoor
Deploy Casdoor. See Server installation. Ensure the server is running and you can sign in at the Casdoor login page.
Step 2: Configure Casdoor
Create an organization and an application in Casdoor (see Application and Organization).
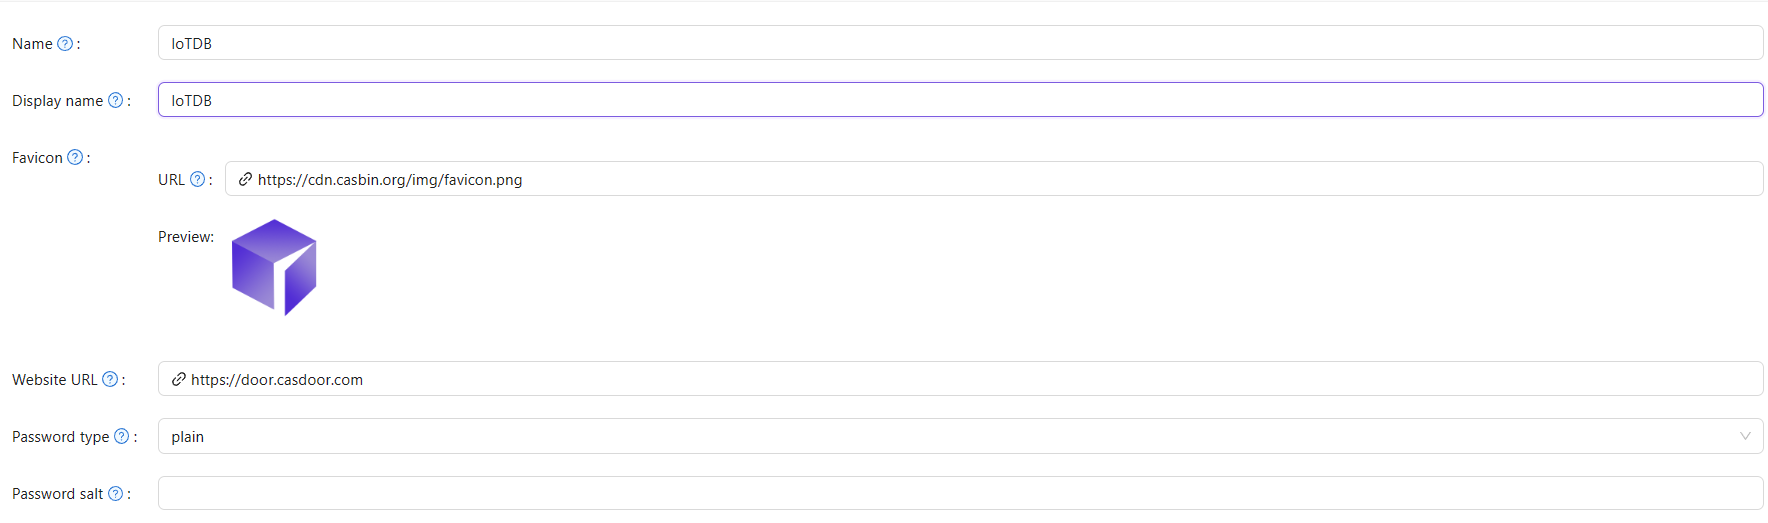
2.1 Create an organization
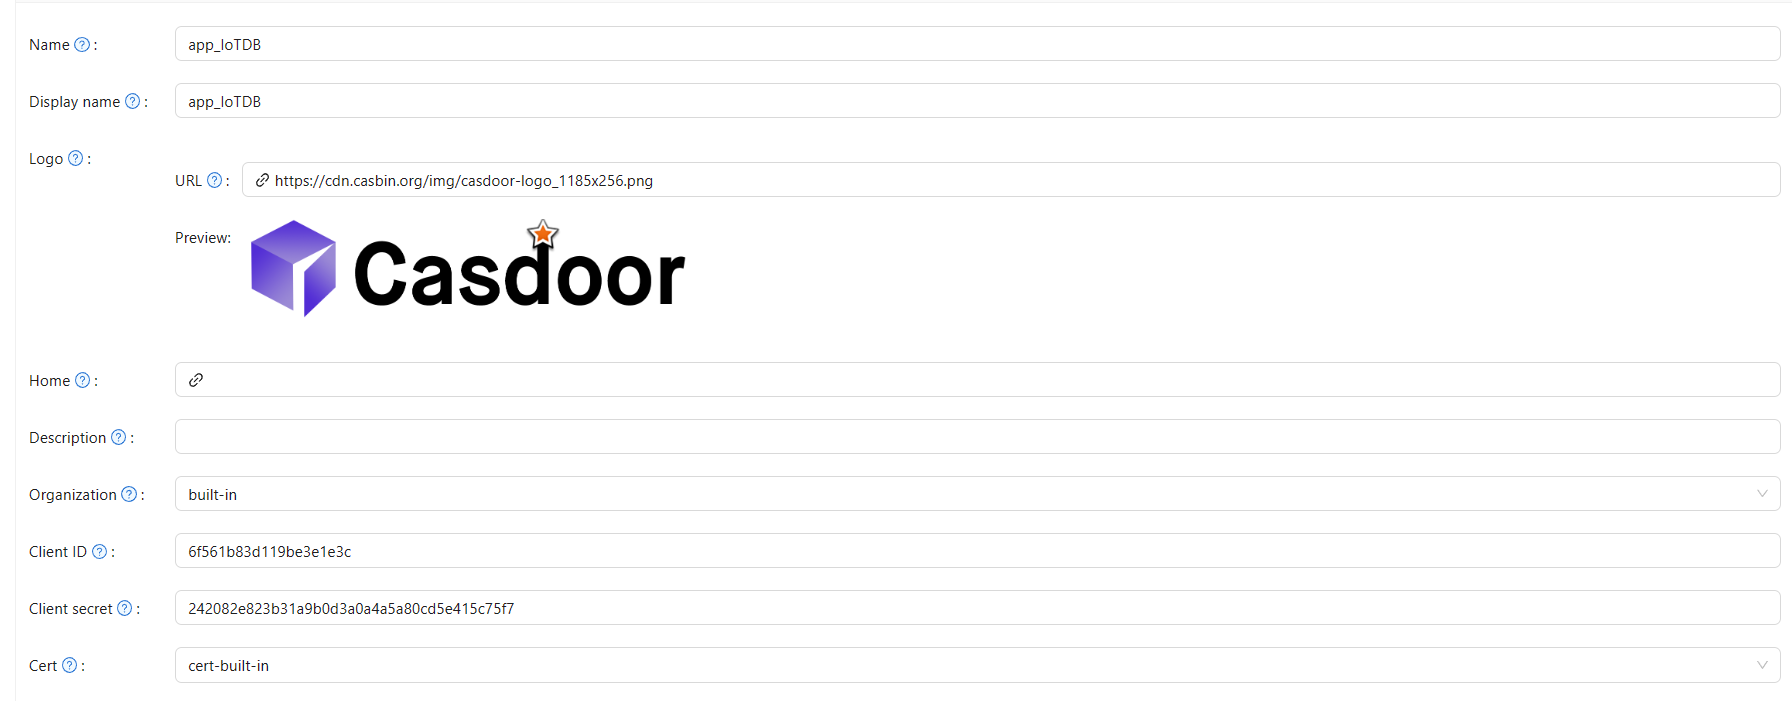
2.2 Create an application
Step 3: Activate Apache IoTDB Web Workbench front-end switch
Open this switch to send the code and state to the back-end.
This switch can be found in iotdb-web-workbench/fronted/.env file.

Step 4: Configure the back-end code
Configure Casdoor in iotdb-web-workbench/backend/src/main/resources/application.properties.
casdoor.endpoint = http://localhost:8000
casdoor.clientId = <client id from previous step>
casdoor.clientSecret = <client secret from previous step>
casdoor.certificate=<client certificate from previous step>
casdoor.organizationName=IoTDB
casdoor.applicationName=app-IoTDB
Result