Product
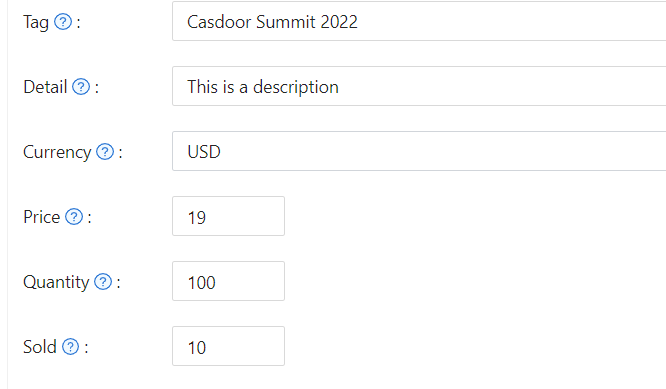
Add products (or services) you want to sell. Each product has: Tag, Detail, Currency, Price, Quantity, Sold, and Is recharge (for balance top-up products with custom amounts).
Recharge products
When Is recharge is enabled, the product is used to add funds to the user’s balance. You can configure:
- Preset amounts — Fixed options (e.g. $10, $50, $100) shown as clickable tags in the store (up to three visible; “+N” if more).
- Custom amount — Let the user enter any amount; the store shows “Custom amount available”.
Offer both presets and custom amount, or disable custom amount so only presets are allowed (at least one required). After payment, the chosen amount is credited to the user’s balance.
Payment providers
Attach one or more payment providers to the product. Casdoor checks that the product’s currency matches each provider (e.g. USD product with PayPal); creation or update fails if there is a currency mismatch.
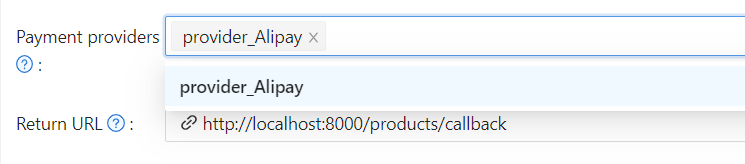
Success URL (Optional)
To redirect users to a custom URL after payment instead of the Casdoor callback, set Success URL. When configured, Casdoor will append the payment owner and transaction name as query parameters to your provided URL.
For example, if you set the Success URL to http://example.com/payment/success, users will be redirected to:
http://example.com/payment/success?transactionOwner={paymentOwner}&transactionName={paymentName}
Add optional query parameters to the Success URL, e.g.:
http://example.com/payment/success?customParam=value&transactionOwner={paymentOwner}&transactionName={paymentName}
Important: If you configure the Success URL field, you must manually call the NotifyPayment API to complete the transaction, otherwise the payment will fail.
Call the API endpoint: api/notify-payment/{paymentOwner}/{paymentName} using the parameters provided in the Success URL query string.
Access Controls
Products, orders, payments, plans, pricing, and subscriptions enforce admin-only editing permissions. Non-admin users can view these resources but cannot create, modify, or delete them. When viewing as a non-admin, action buttons and form controls are disabled to prevent unauthorized changes.
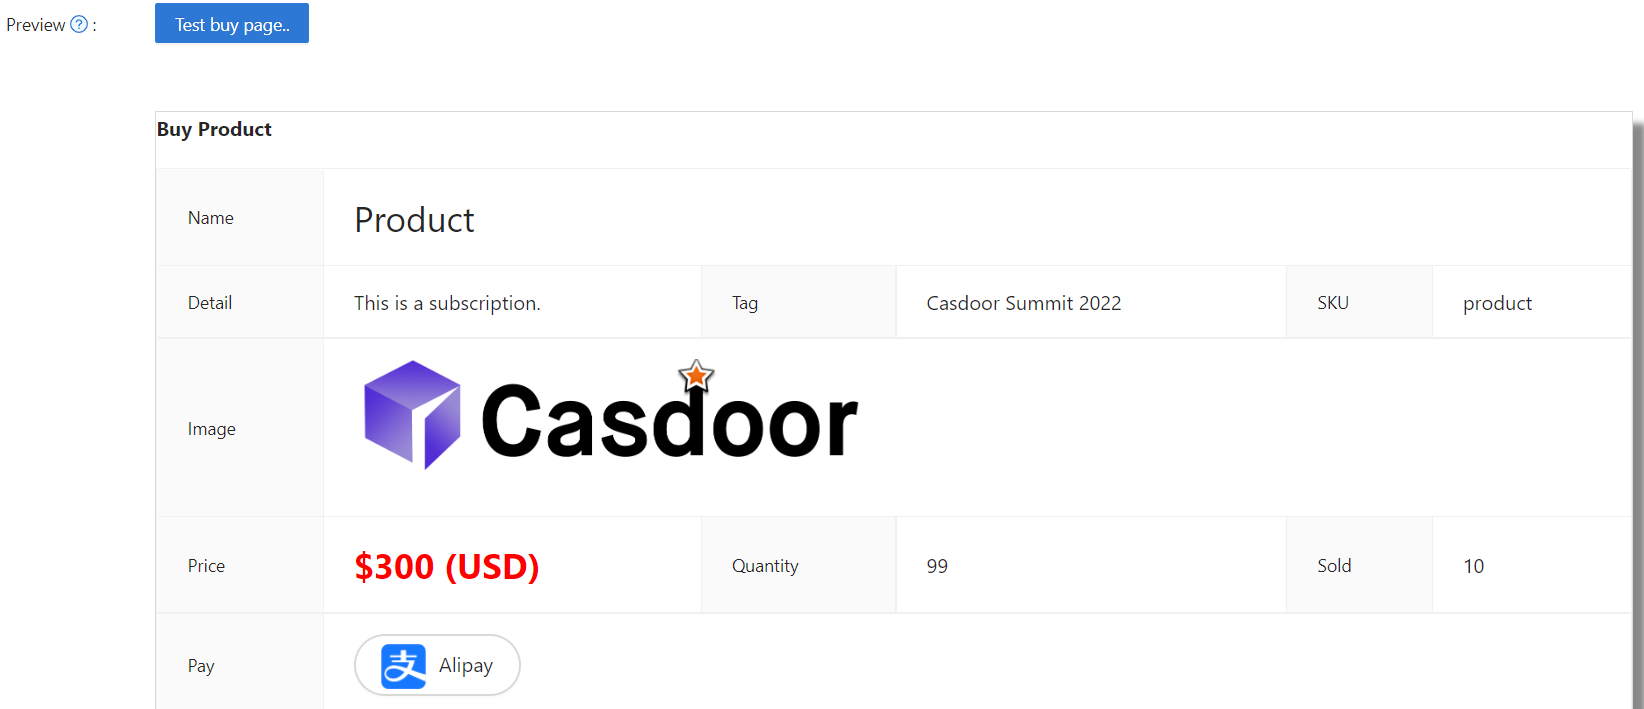
Preview the Product
You're done! Review the details and save: