Login UI Customization
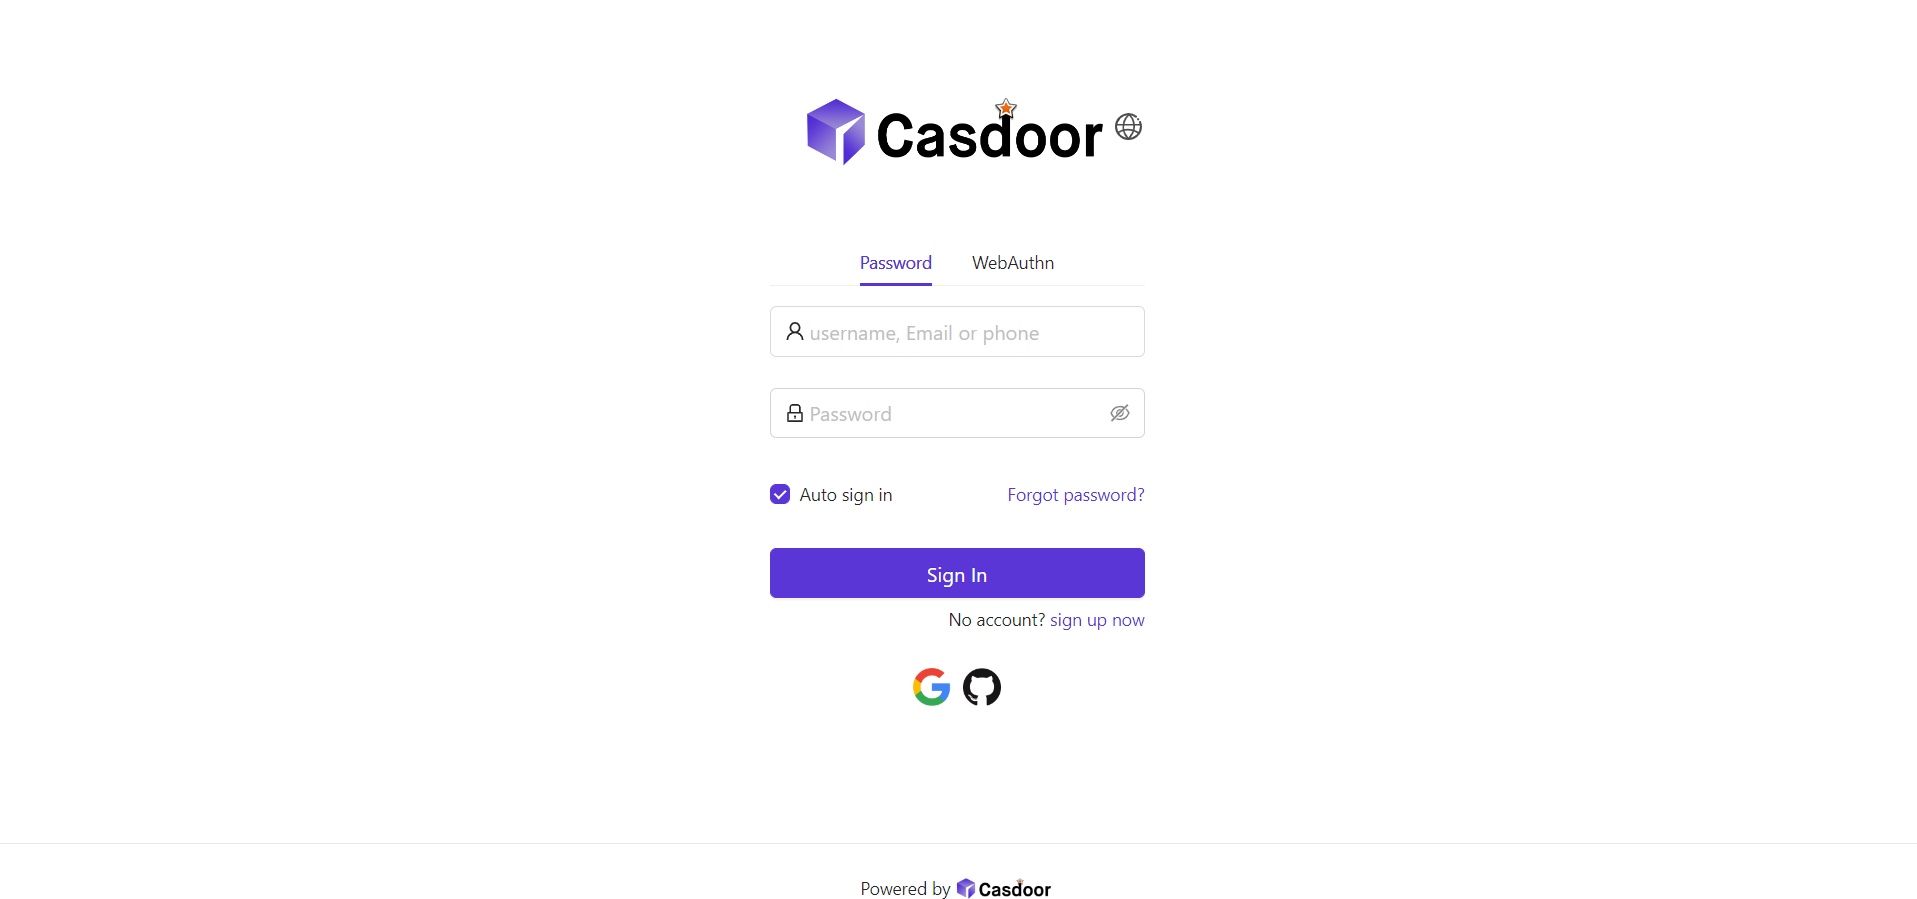
You have created the application. Now, let me show you how to customize the login page UI of your application. In this guide, we will create a customized login page for your application.
Let's get started!
Part 1: Add a background image
First, let's add a background image. The default background is white, which looks very simple.
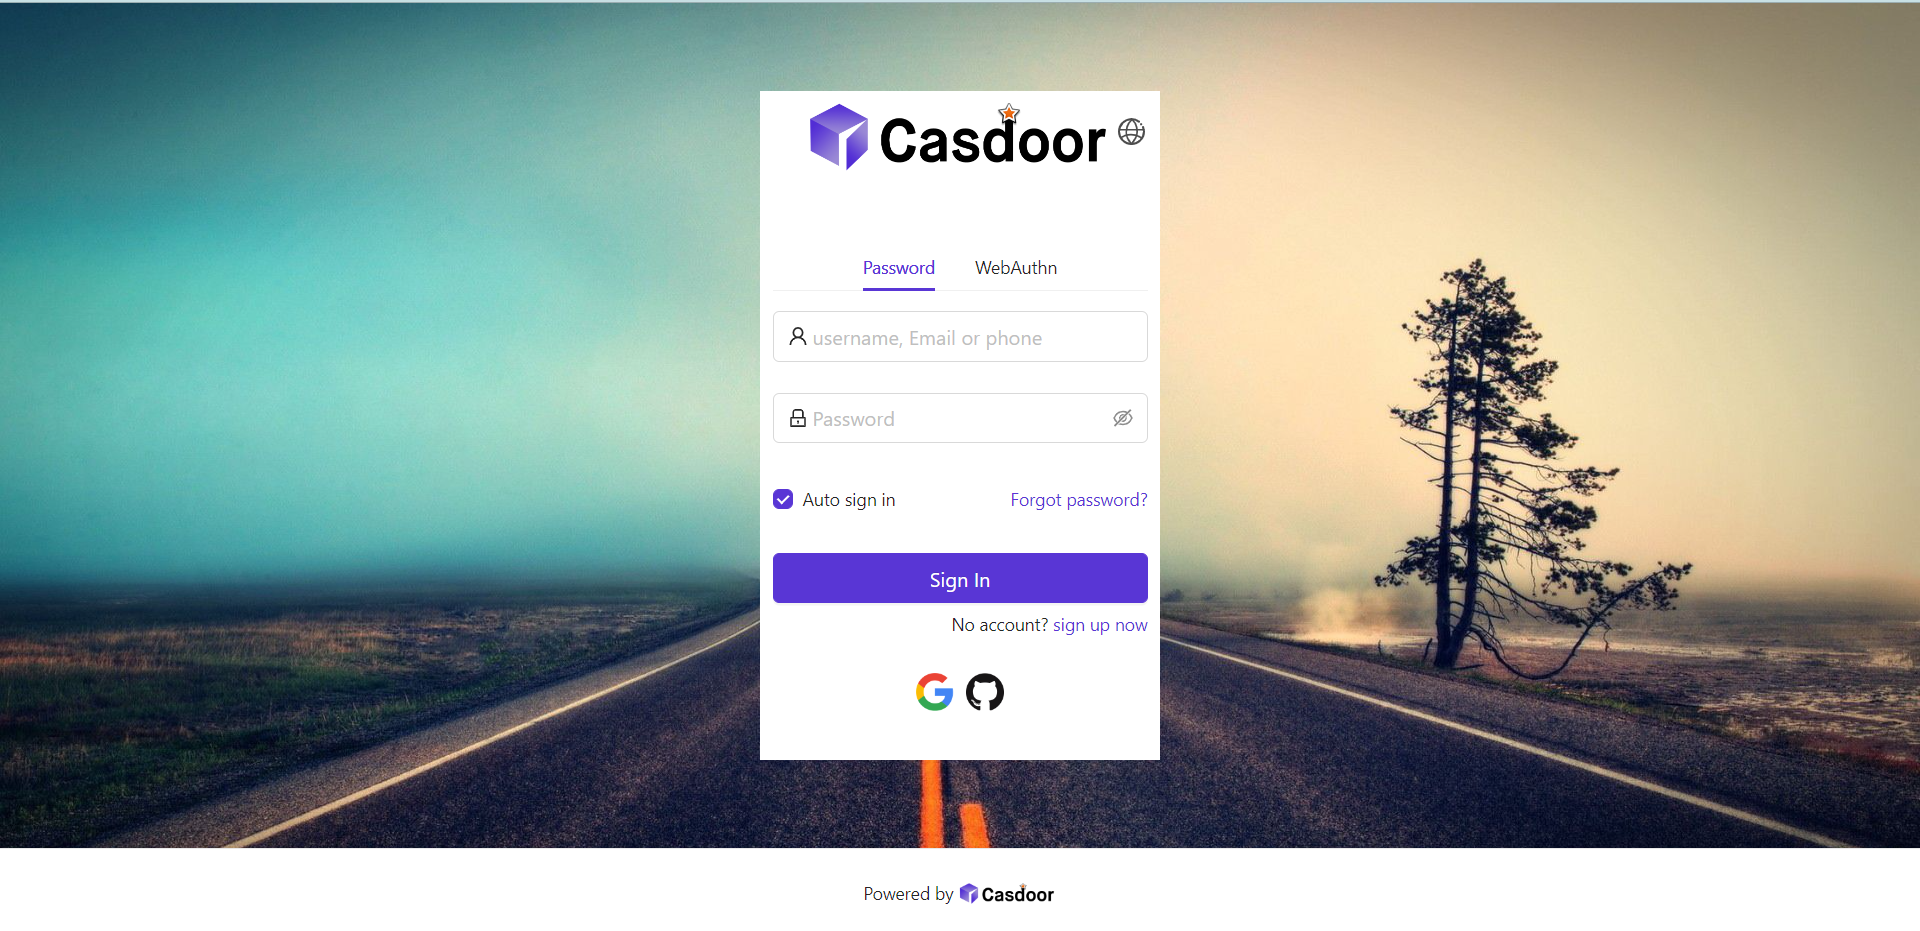
To add a background image, fill in the Background URL with the URL of the image you like. The preview area will display the image if the URL is valid.

Part 2: Customize the login panel
Here's where you were at the end of the first part:
To make the panel look nice, you need to add some CSS code to it. Copy the code below and paste it into the Form CSS field.
<style>
.login-panel{
    padding: 40px 30px 0 30px;
    border-radius: 10px;
    background-color: #ffffff;
    box-shadow: 0 0 30px 20px rgba(0, 0, 0, 0.20);
}
</style>
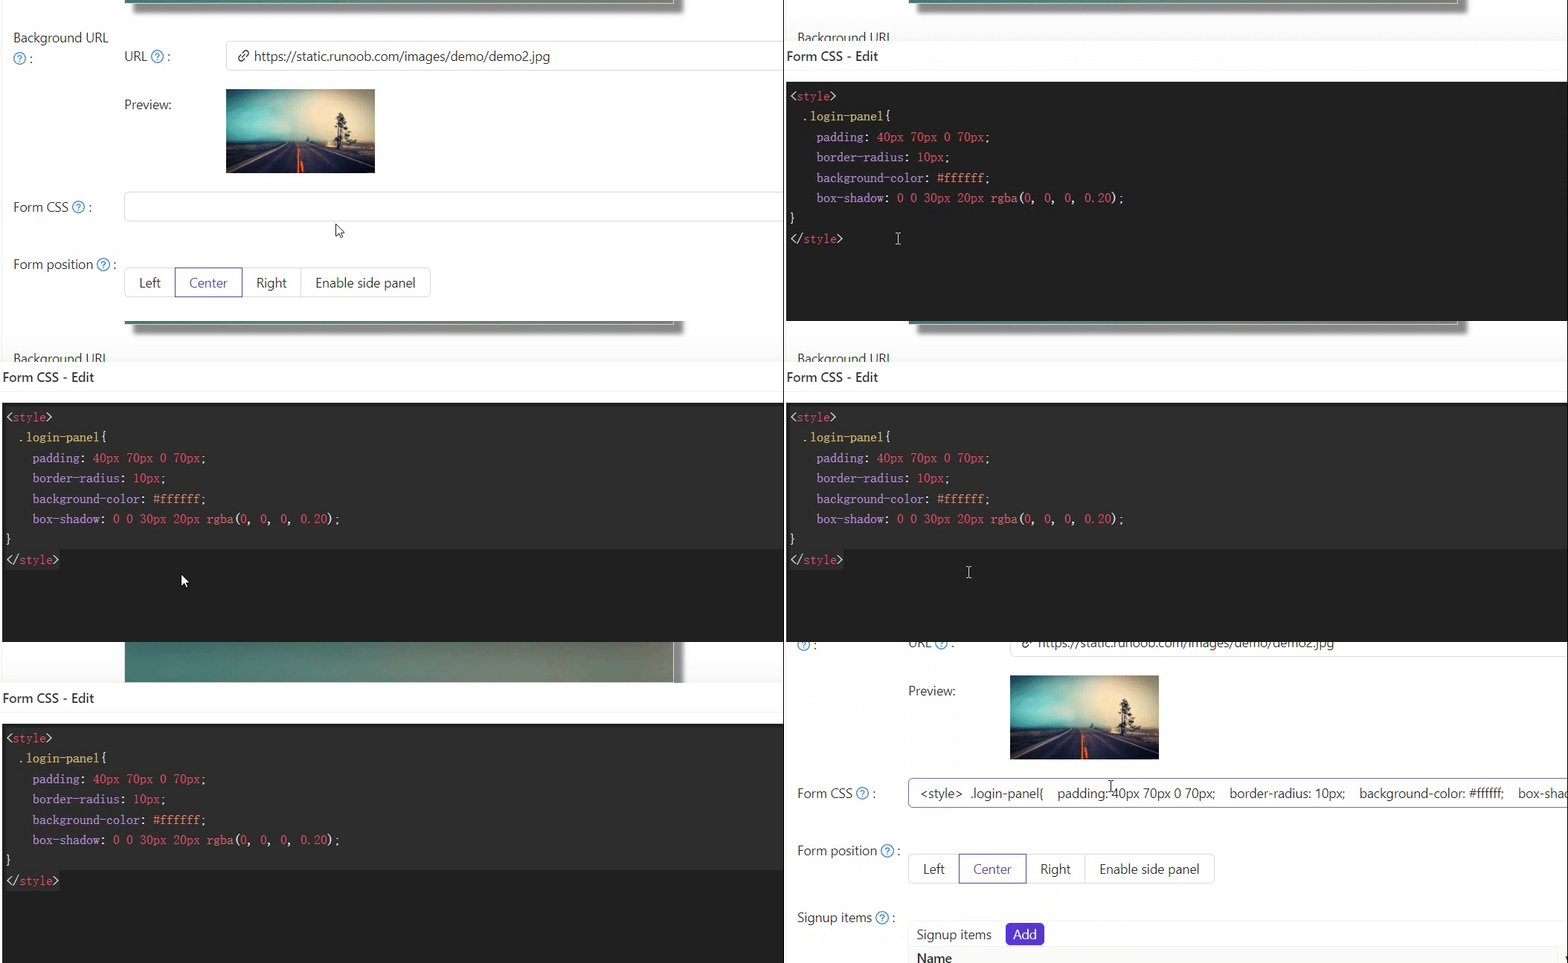
When editing the Form CSS, if the value is empty, the editor will show the default value. However, you still need to copy the content and paste it into the field.
After filling the Form CSS, don't forget to save the configuration at the bottom. Now, let's see the effect.
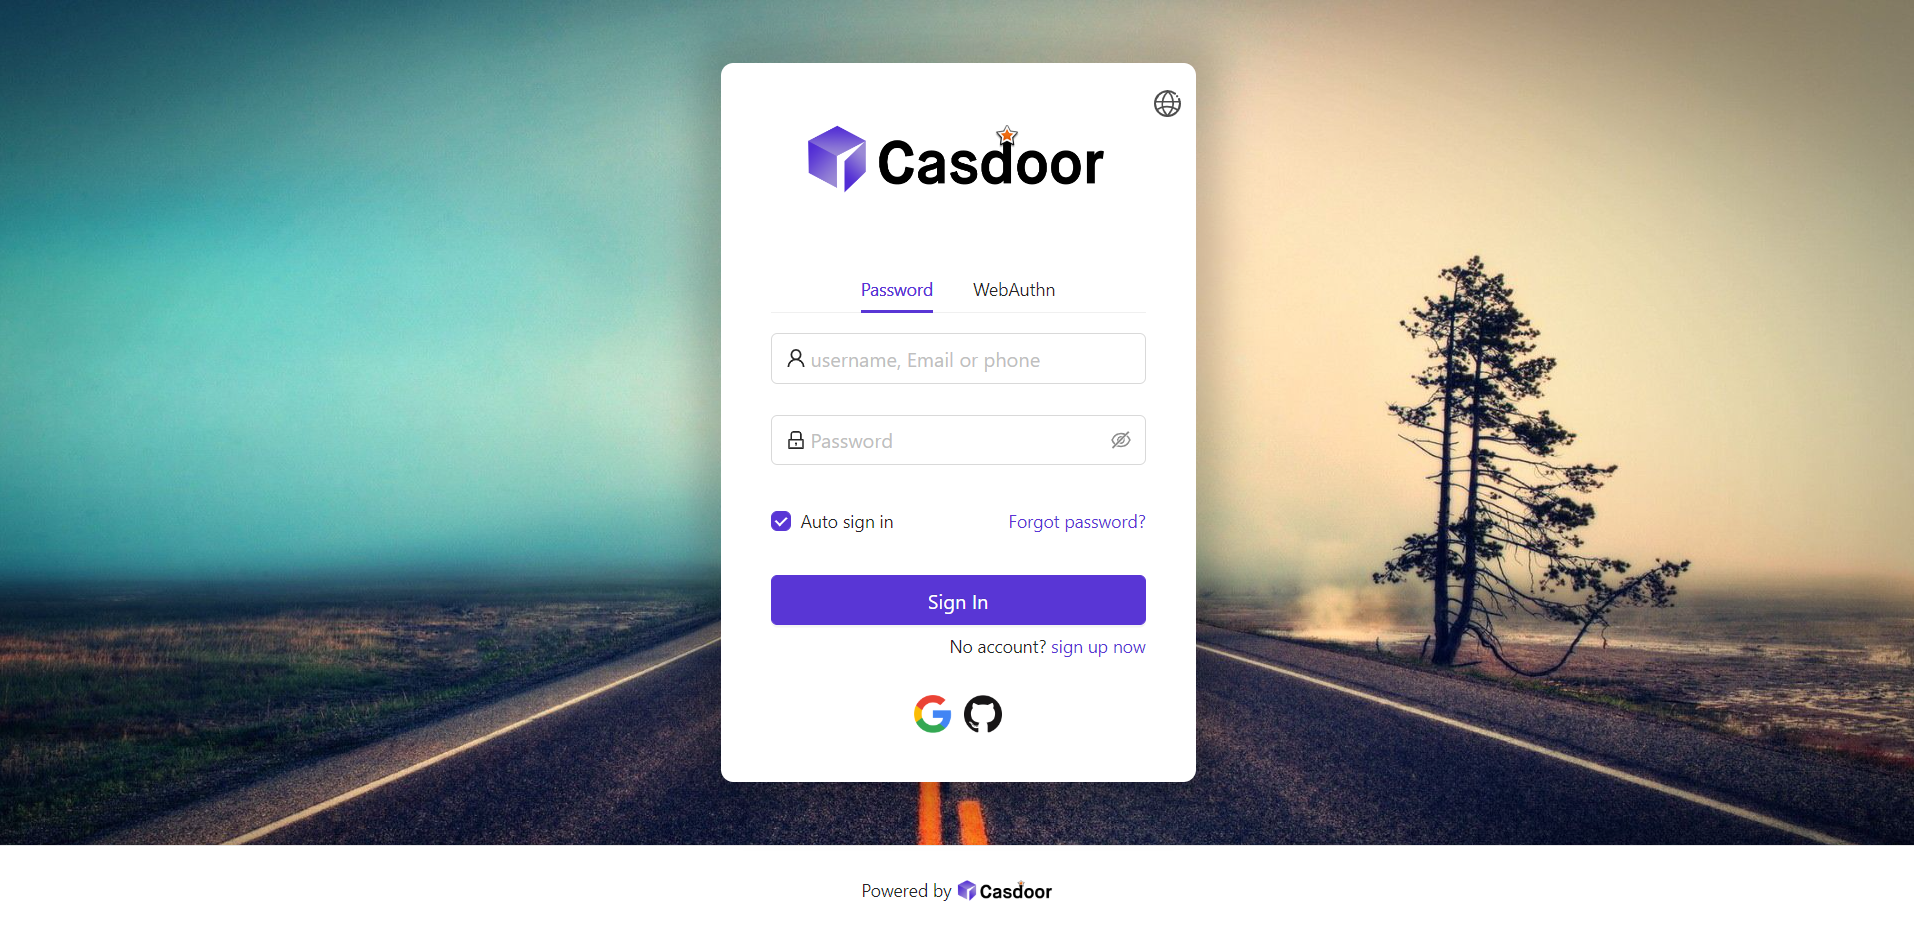
Part 3: Select the panel position
Now, the login page looks much prettier than before. We also provide three buttons for you to decide the position of the panel.
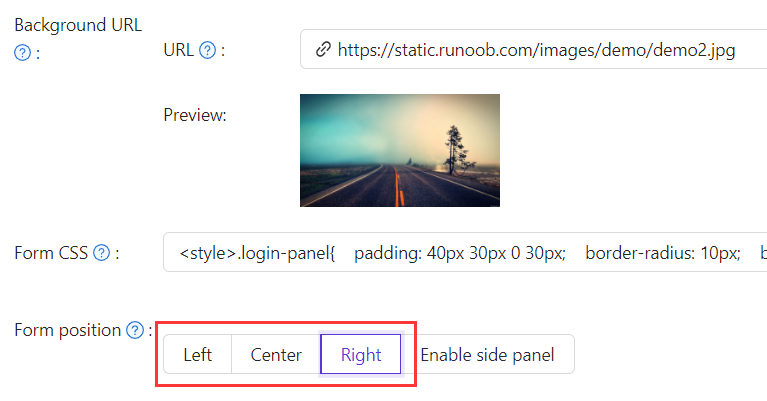
For example, let's select the Right button:
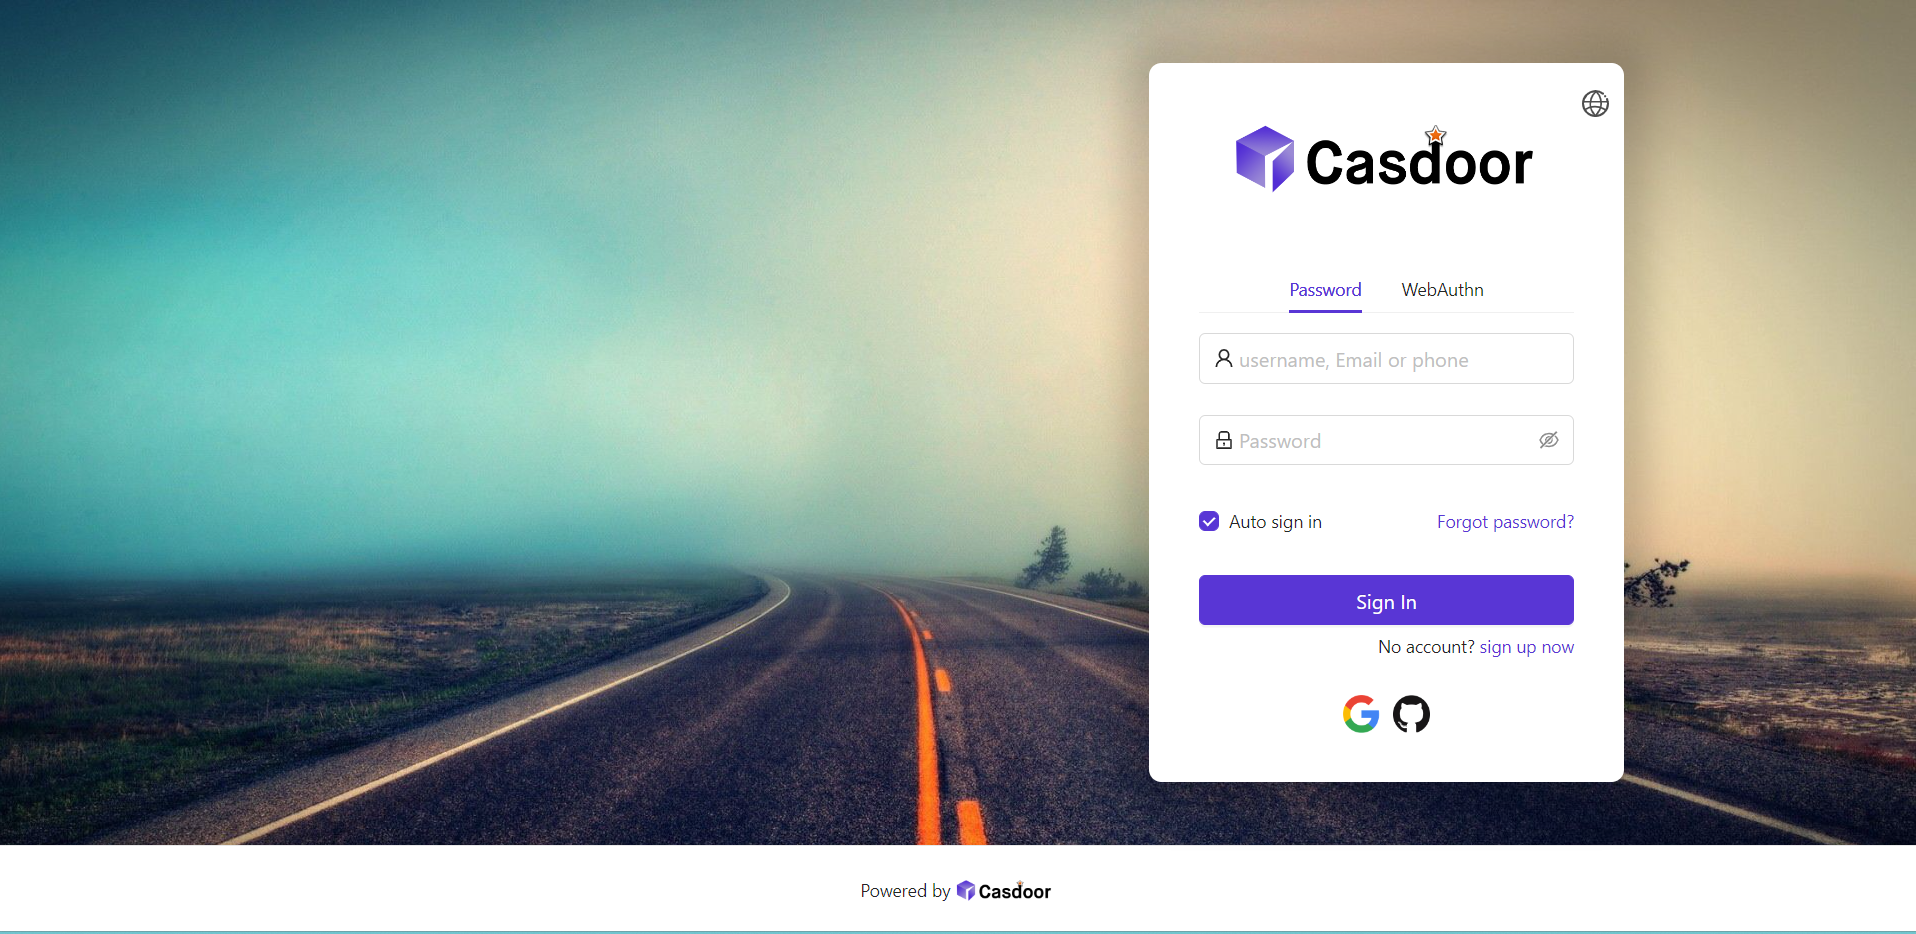
Part 4: Enable the side panel
Next, let's see how to enable a side panel and customize its style.
First, select the button. In the Enable Side Panel mode, the panel will be centered.
Then, edit the Side panel HTML, which determines the content that will be shown in the side panel. We provide a default template, so you can simply copy and paste it.
<style>
  .left-model{
    text-align: center;
    padding: 30px;
    background-color: #8ca0ed;
    position: absolute;
    transform: none;
    width: 100%;
    height: 100%;
  }
  .side-logo{
    display: flex;
    align-items: center;
  }
  .side-logo span {
    font-family: Montserrat, sans-serif;
    font-weight: 900;
    font-size: 2.4rem;
    line-height: 1.3;
    margin-left: 16px;
    color: #404040;
  }
  .img{
    max-width: none;
    margin: 41px 0 13px;
  }
</style>
<div class="left-model">
  <span class="side-logo"> <img src="https://cdn.casbin.org/img/casdoor-logo_1185x256.png" alt="Casdoor" style="width: 120px">
    <span>SSO</span>
  </span>
  <div class="img">
    <img src="https://cdn.casbin.org/img/casbin.svg" alt="Casdoor"/>
  </div>
</div>
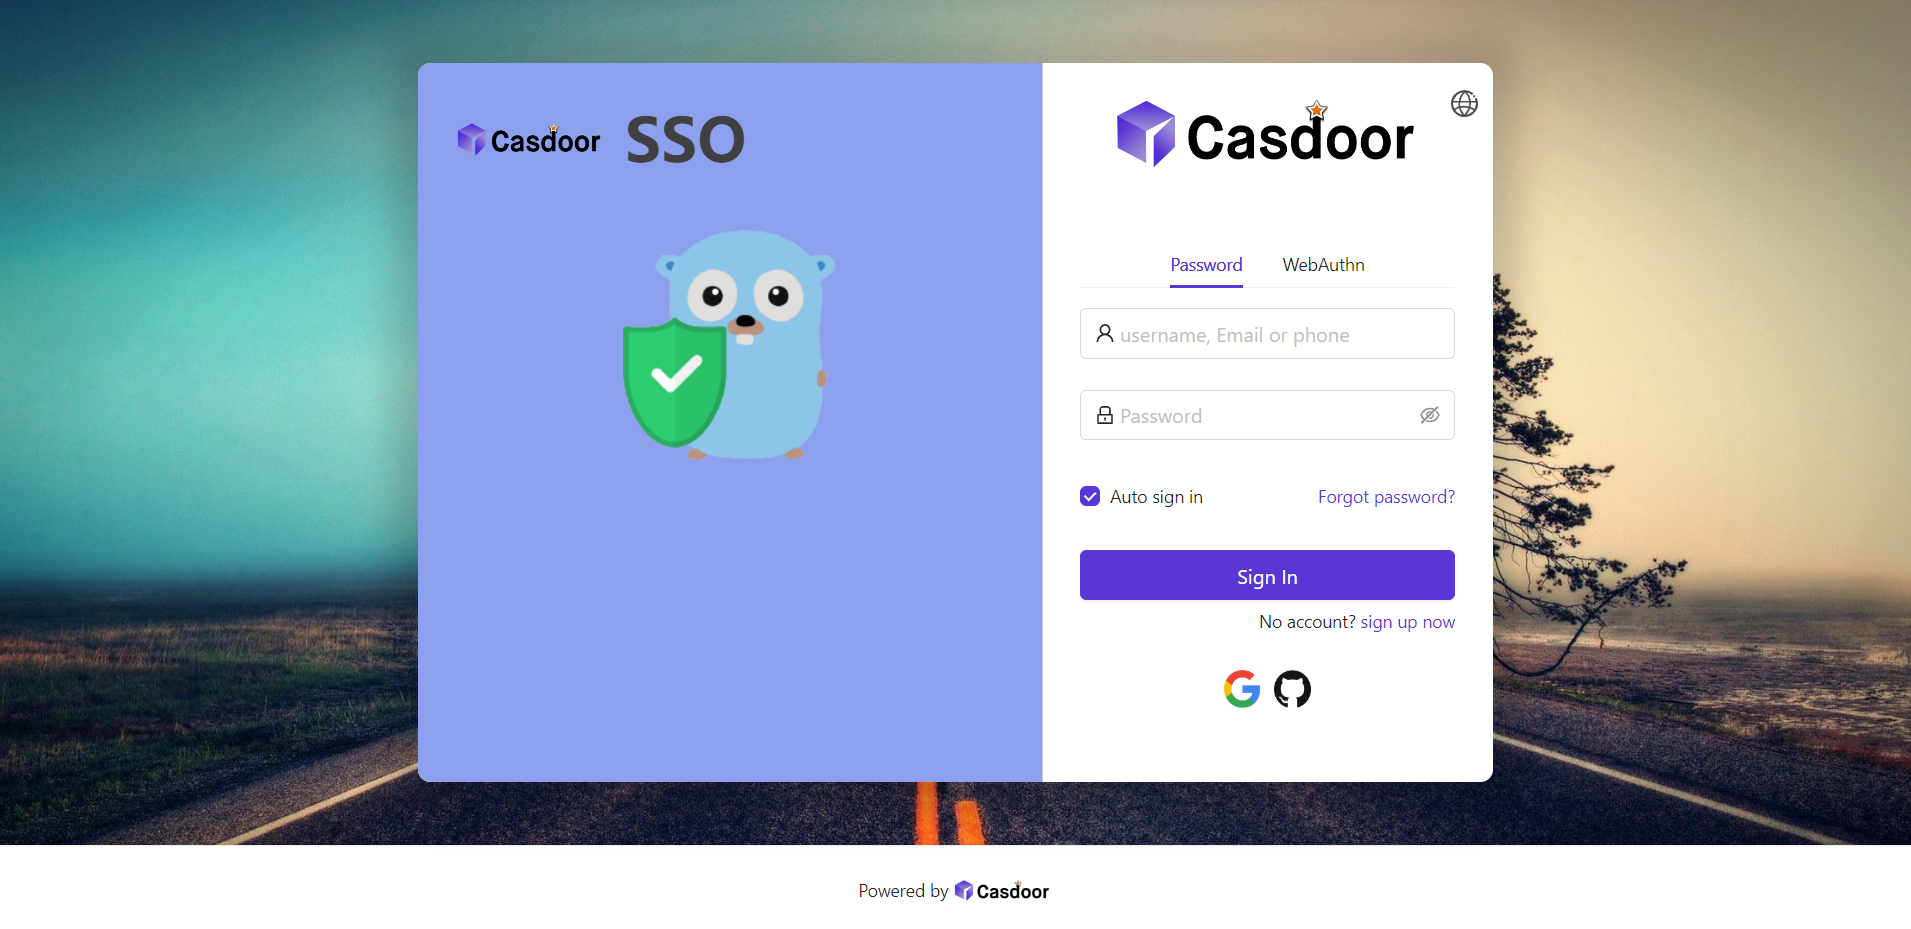
Let's see the effect. The side panel with a logo and image is shown, but the result is not satisfactory.
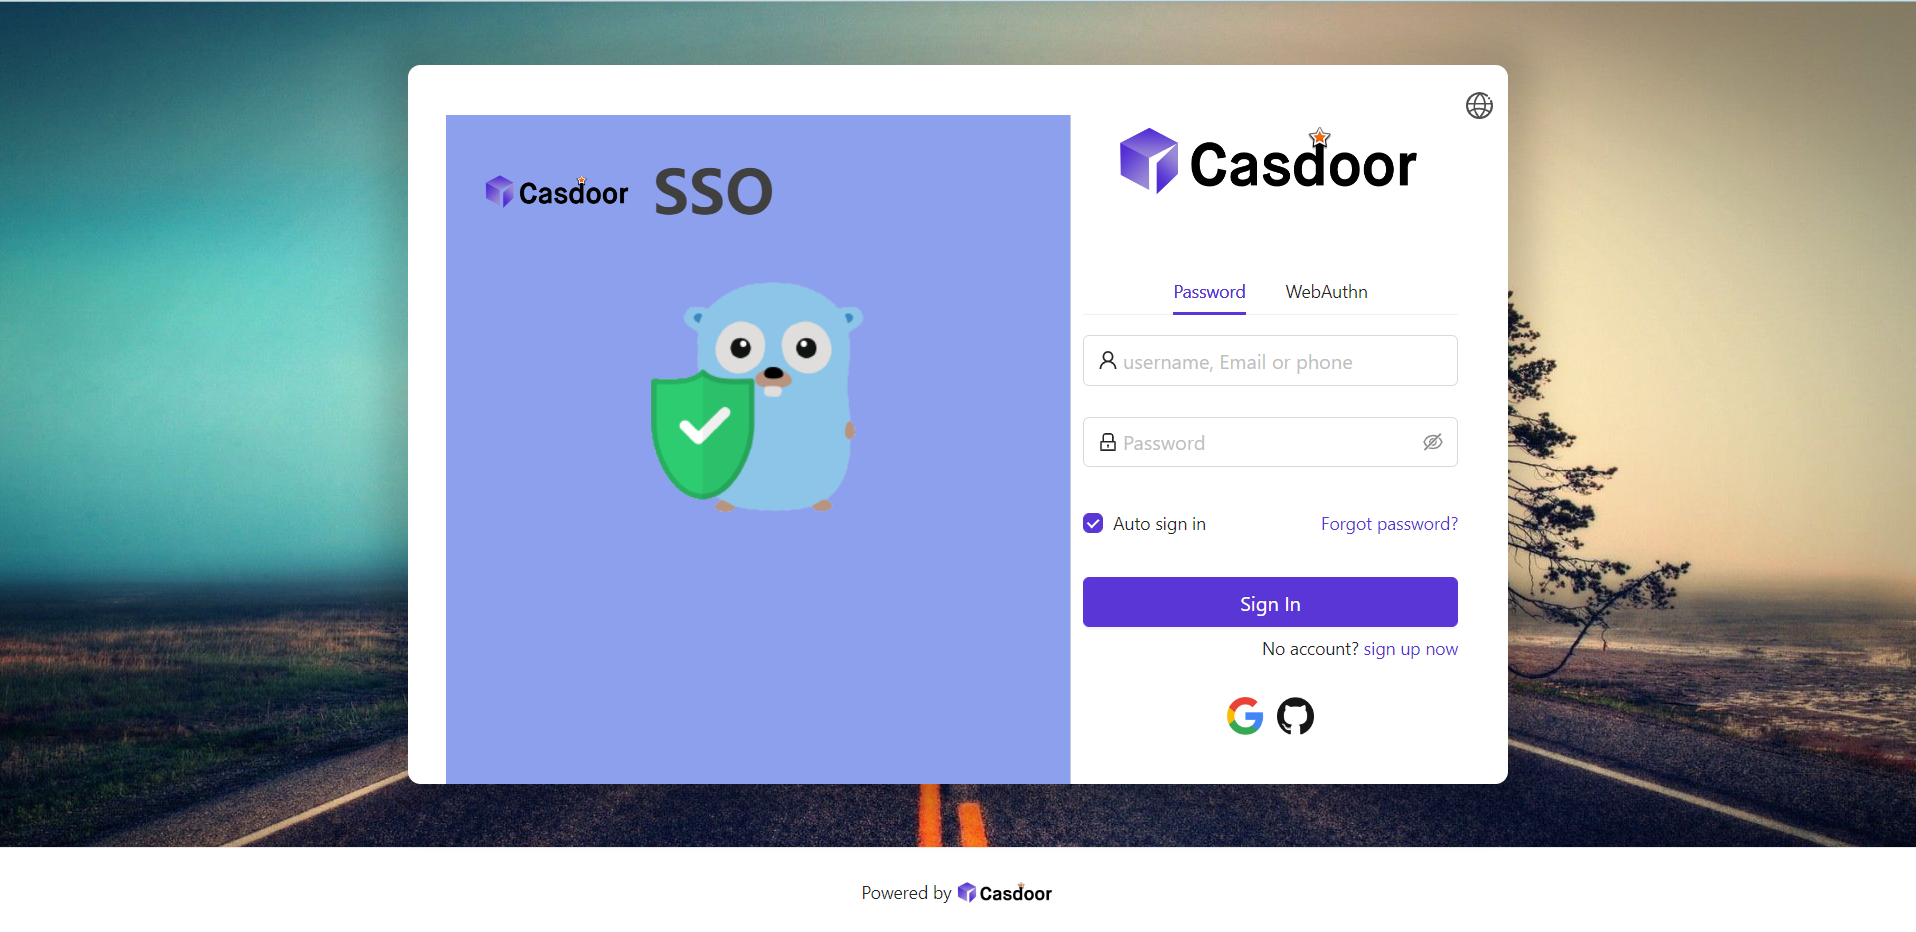
To improve the look, you need to modify and add some CSS in the Form CSS.
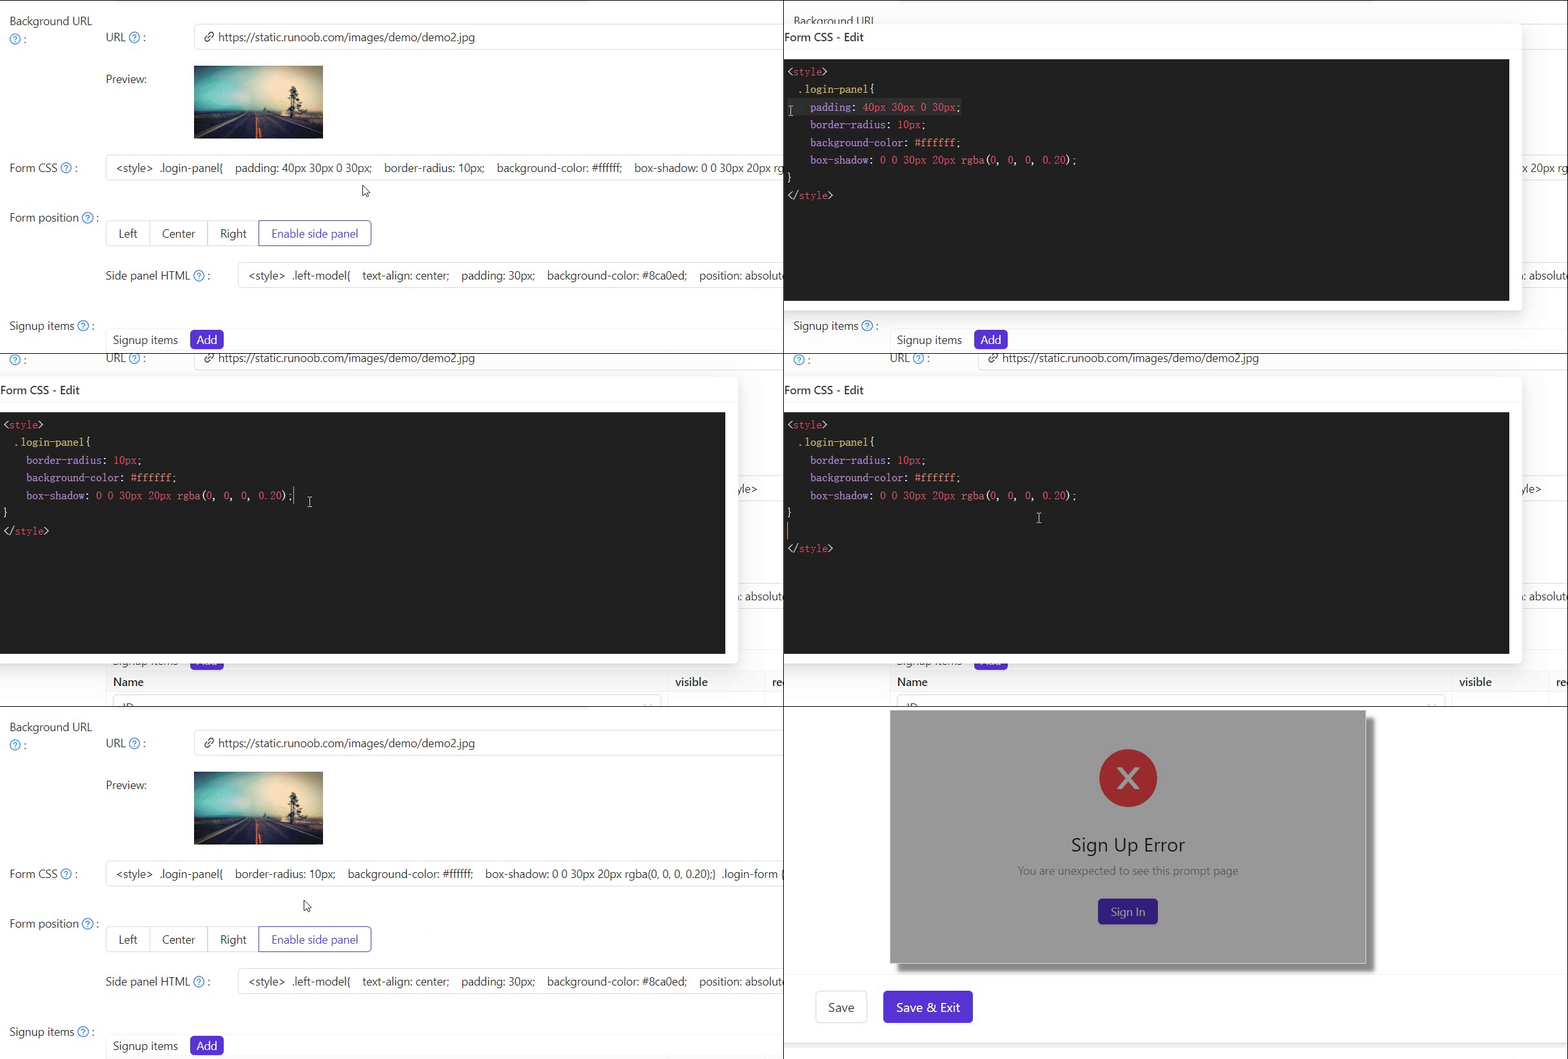
The final code is as follows.
<style>
  .login-panel{
    border-radius: 10px;
    background-color: #ffffff;
    box-shadow: 0 0 30px 20px rgba(0, 0, 0, 0.20);
  }
  .login-form {
    padding: 30px;
  }
</style>
.login-panel and .login-form are the class names of div elements. They correspond to different areas of the page. If you want to customize the login page further, you can write CSS code here, targeting these class names.
Finally, we have a beautiful login page!

Review
To summarize, we have added a background image, customized the login panel style, and enabled the side panel.
Here are some additional resources about application customization in Casdoor:
- Customize Theme: Customize the theme, including the primary color and border radius.
- Signup Items Table
- Application Config
Thank you for reading!