Spring Cloud Gateway
The casdoor-springcloud-gateway-example is an example of how to use the casdoor-spring-boot-starter as an OAuth2 plugin in Spring Cloud Gateway. The steps to use it are described below.
Step 1: Deploy Casdoor
Firstly, Casdoor should be deployed. You can refer to the official Casdoor documentation for the Server Installation. Please deploy your Casdoor instance in production mode.
After a successful deployment, you need to ensure the following:
- Open your favorite browser and visit http://localhost:8000. You will see the login page of Casdoor.
- Input
adminand123to test if the login functionality is working fine.
After that, you can quickly implement a Casdoor-based login page in your own app using the following steps.
Step 2: Initialize a Spring Cloud Gateway
You can use the code from this example directly or combine it with your own business code.
You need a gateway service and at least one business service. In this example, casdoor-gateway is the gateway service and casdoor-api is the business service.
Step 3: Include the dependency
Add the casdoor-spring-boot-starter dependency to your Spring Cloud Gateway project.
For Apache Maven:
<!-- https://mvnrepository.com/artifact/org.casbin/casdoor-spring-boot-starter -->
<dependency>
    <groupId>org.casbin</groupId>
    <artifactId>casdoor-spring-boot-starter</artifactId>
    <version>1.x.y</version>
</dependency>
For Gradle:
// https://mvnrepository.com/artifact/org.casbin/casdoor-spring-boot-starter
implementation group: 'org.casbin', name: 'casdoor-spring-boot-starter', version: '1.x.y'
Step 4: Configure your properties
Initialization requires 6 parameters, all of which are of type string.
| Name (in order) | Required | Description |
|---|---|---|
| endpoint | Yes | Casdoor Server URL, such as http://localhost:8000 |
| clientId | Yes | Application.client_id |
| clientSecret | Yes | Application.client_secret |
| certificate | Yes | Application.certificate |
| organizationName | Yes | Application.organization |
| applicationName | No | Application.name |
You can use Java properties or YAML files to initialize these parameters.
For properties:
casdoor.endpoint=http://localhost:8000
casdoor.clientId=<client-id>
casdoor.clientSecret=<client-secret>
casdoor.certificate=<certificate>
casdoor.organizationName=built-in
casdoor.applicationName=app-built-in
For YAML:
casdoor:
  endpoint: http://localhost:8000
  client-id: <client-id>
  client-secret: <client-secret>
  certificate: <certificate>
  organization-name: built-in
  application-name: app-built-in
In addition, you need to configure Gateway Routing. For YAML:
spring:
  application:
    name: casdoor-gateway
  cloud:
    gateway:
      routes:
        - id: api-route
          uri: http://localhost:9091
          predicates:
            - Path=/api/**
Step 5: Add the CasdoorAuthFilter
Add an implementation class of the GlobalFilter interface to the gateway for identity verification, such as the CasdoorAuthFilter used in this example.
If the authentication fails, it returns a 401 status code to the frontend to redirect them to the login interface.
@Component
public class CasdoorAuthFilter implements GlobalFilter, Ordered {

    private static final Logger LOGGER = LoggerFactory.getLogger(CasdoorAuthFilter.class);

    @Override public int getOrder() {
        return 0;
    }

    @Override public Mono<Void> filter(ServerWebExchange exchange, GatewayFilterChain chain) {
        return exchange.getSession().flatMap(webSession -> {
            CasdoorUser user = webSession.getAttribute("casdoorUser");
            if (user != null) {
                return chain.filter(exchange);
            }
            ServerHttpResponse response = exchange.getResponse();
            response.setStatusCode(HttpStatus.UNAUTHORIZED);
            response.getHeaders().add("Content-Type", "application/json");
            return response.setComplete();
        });
    }
}
Step 6: Get the Service and use it
Now provide 5 services: CasdoorAuthService, CasdoorUserService, CasdoorEmailService, CasdoorSmsService, and CasdoorResourceService.
You can create them as follows in the Gateway project.
@Resource
private CasdoorAuthService casdoorAuthService;
When you require authentication for accessing your app, you can send the target URL and redirect to the login page provided by Casdoor.
Please make sure that you have added the callback URL (e.g., http://localhost:9090/callback) in the application configuration in advance.
@RequestMapping("login")
public Mono<String> login() {
    return Mono.just("redirect:" + casdoorAuthService.getSigninUrl("http://localhost:9090/callback"));
}
After successful verification by Casdoor, it will be redirected back to your application with a code and state. You can get the code and call the getOAuthToken method to parse out the JWT token.
CasdoorUser contains the basic information about the user provided by Casdoor. You can use it as a keyword to set the session in your application.
@RequestMapping("callback")
public Mono<String> callback(String code, String state, ServerWebExchange exchange) {
    String token = "";
    CasdoorUser user = null;
    try {
        token = casdoorAuthService.getOAuthToken(code, state);
        user = casdoorAuthService.parseJwtToken(token);
    } catch(CasdoorAuthException e) {
        e.printStackTrace();
    }
    CasdoorUser finalUser = user;
    return exchange.getSession().flatMap(session -> {
        session.getAttributes().put("casdoorUser", finalUser);
        return Mono.just("redirect:/");
    });
}
Examples of the APIs are shown below.
- CasdoorAuthService
String token = casdoorAuthService.getOAuthToken(code, "app-built-in");CasdoorUser casdoorUser = casdoorAuthService.parseJwtToken(token);
- CasdoorUserService
CasdoorUser casdoorUser = casdoorUserService.getUser("admin");CasdoorUser casdoorUser = casdoorUserService.getUserByEmail("admin@example.com");CasdoorUser[] casdoorUsers = casdoorUserService.getUsers();CasdoorUser[] casdoorUsers = casdoorUserService.getSortedUsers("created_time", 5);int count = casdoorUserService.getUserCount("0");CasdoorResponse response = casdoorUserService.addUser(user);CasdoorResponse response = casdoorUserService.updateUser(user);CasdoorResponse response = casdoorUserService.deleteUser(user);
- CasdoorEmailService
CasdoorResponse response = casdoorEmailService.sendEmail(title, content, sender, receiver);
- CasdoorSmsService
CasdoorResponse response = casdoorSmsService.sendSms(randomCode(), receiver);
- CasdoorResourceService
CasdoorResponse response = casdoorResourceService.uploadResource(user, tag, parent, fullFilePath, file);CasdoorResponse response = casdoorResourceService.deleteResource(file.getName());
Step 7: Restart the project
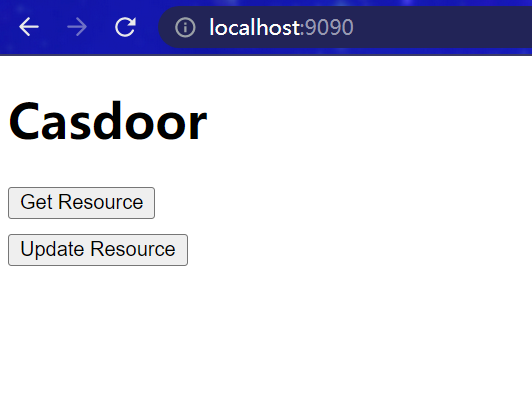
After starting the project, open your favorite browser and visit http://localhost:9090. Then click any button that requests resources from casdoor-api.

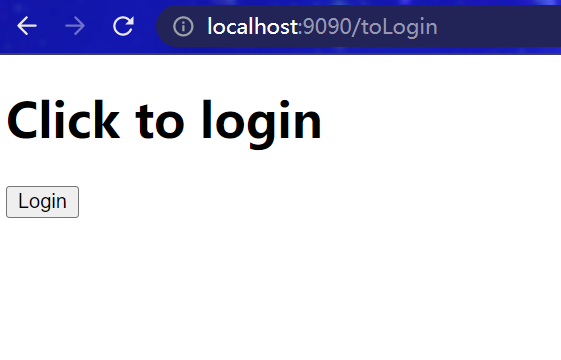
The gateway authentication logic will be triggered. Since you are not logged in, you will be redirected to the login interface. Click the Login button.

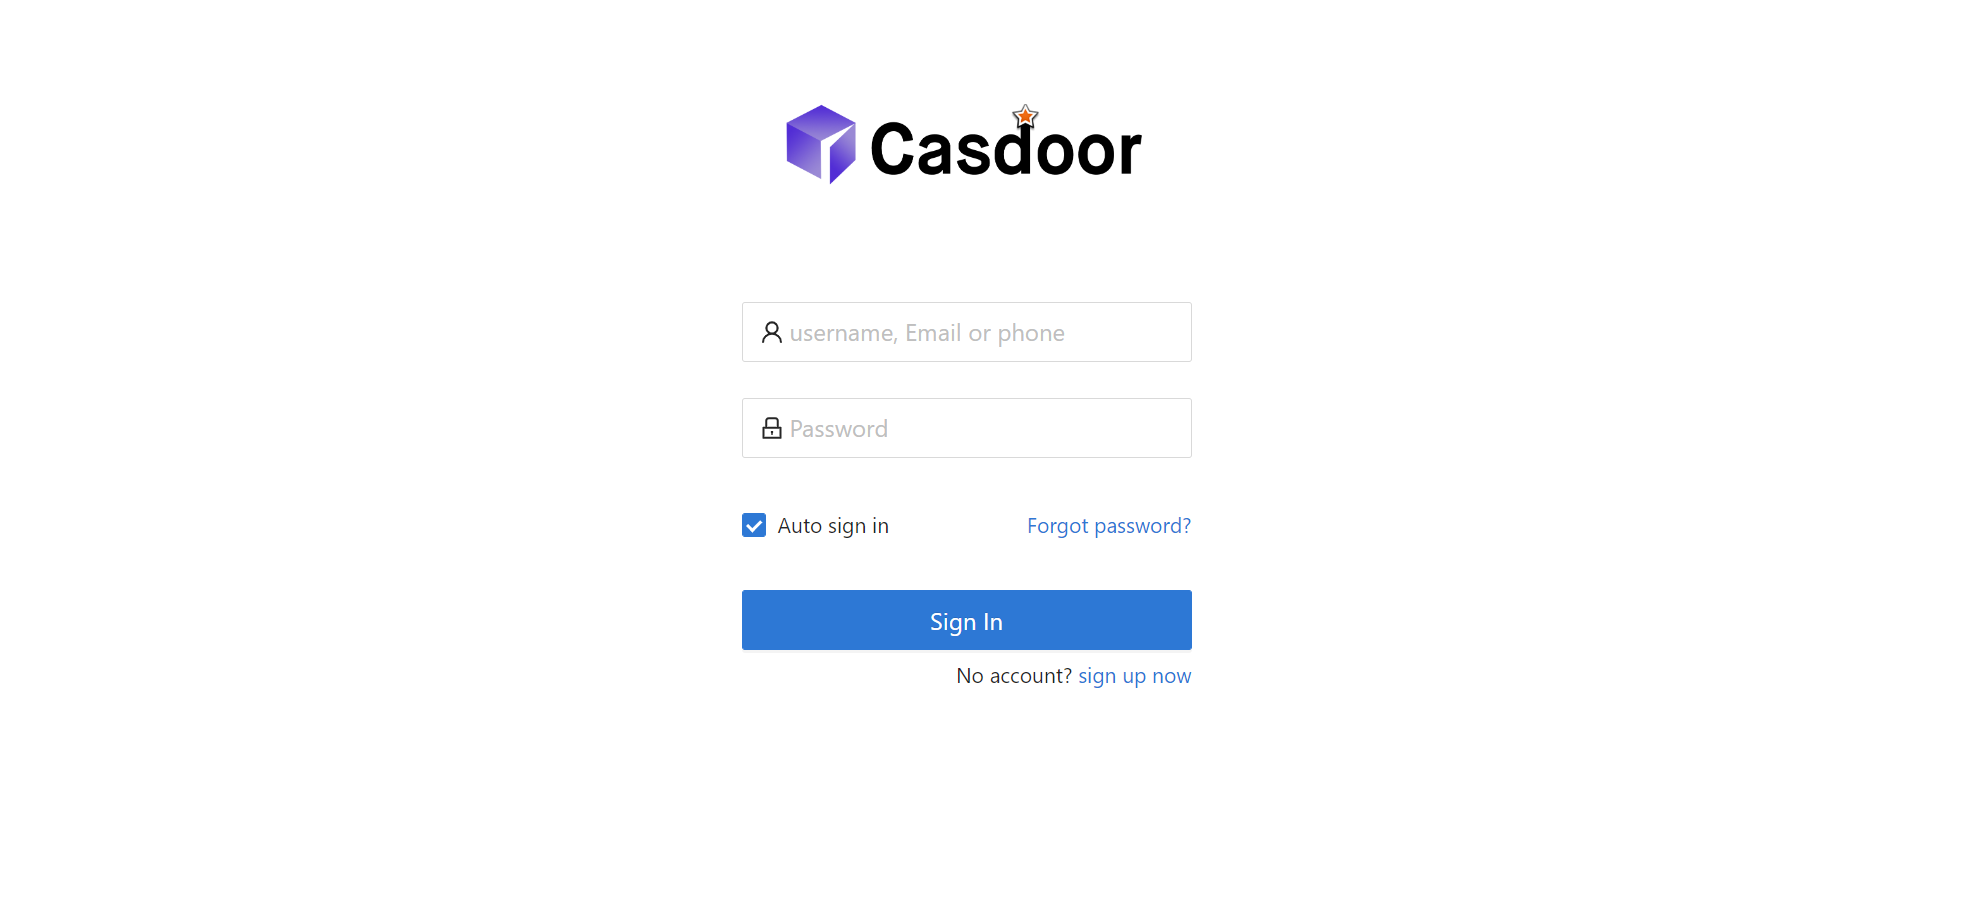
You can see the unified login platform of Casdoor.

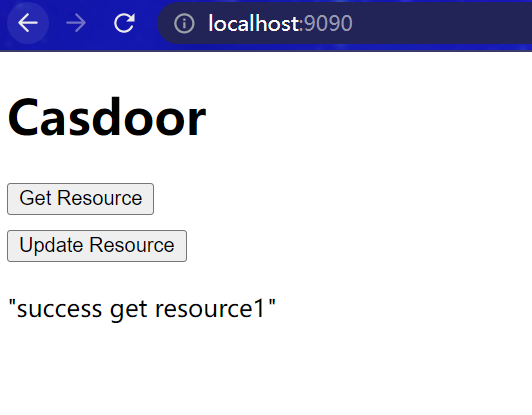
After a successful login, you will be redirected to the main interface. Now you can click any button.

What's more
You can explore the following projects/docs to learn more about the integration of Java with Casdoor.