Spring Security filter (OIDC)
This guide integrates Casdoor with your application using Spring Security Filter and OIDC.
Schritt 1: Casdoor bereitstellen
Deploy the Casdoor server. After deployment, confirm:
- The Casdoor server is running at
http://localhost:8000. - The Casdoor login page is at
http://localhost:7001. - Test login with credentials
adminand123.
Nachdem Sie diese Schritte überprüft haben, folgen Sie den untenstehenden Schritten, um Casdoor mit Ihrer Anwendung zu integrieren.
Step 2: Configure the Casdoor application
- Create or edit a Casdoor application and add your redirect URL (see next section for how to get it).
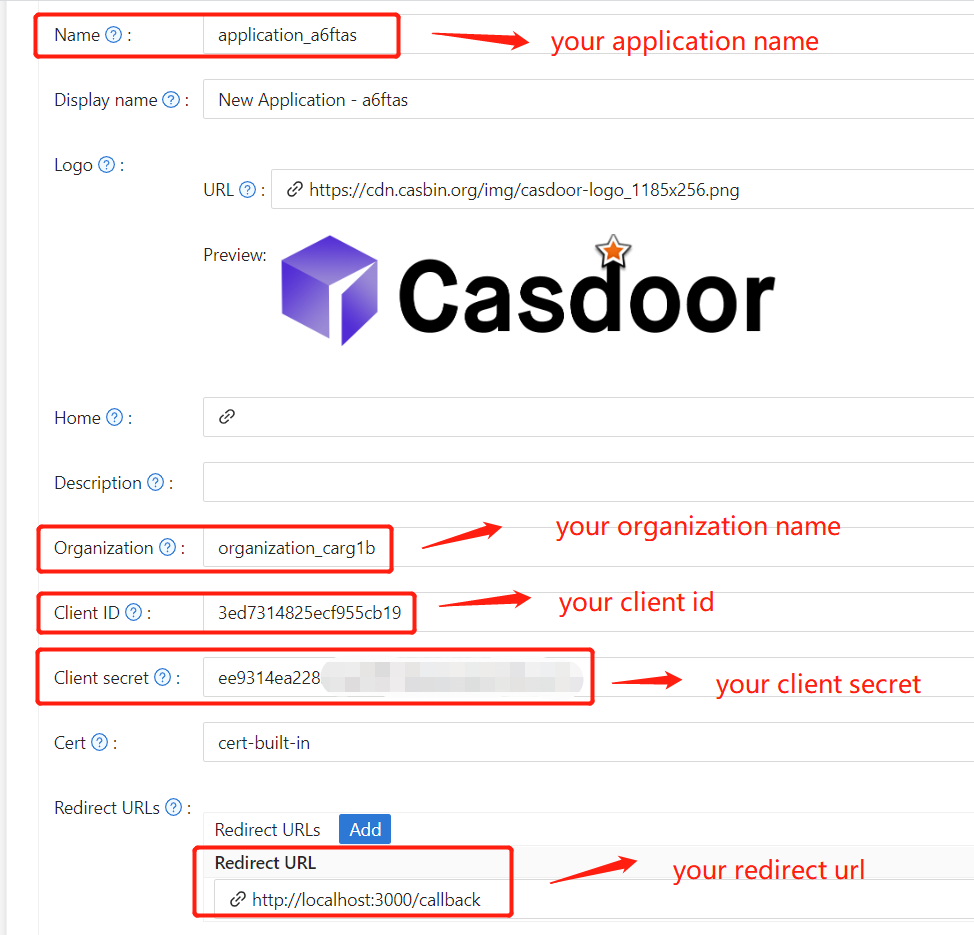
- Erhalten Sie Ihr
Zertifikatauf der Seite zur Bearbeitung von Zertifikaten.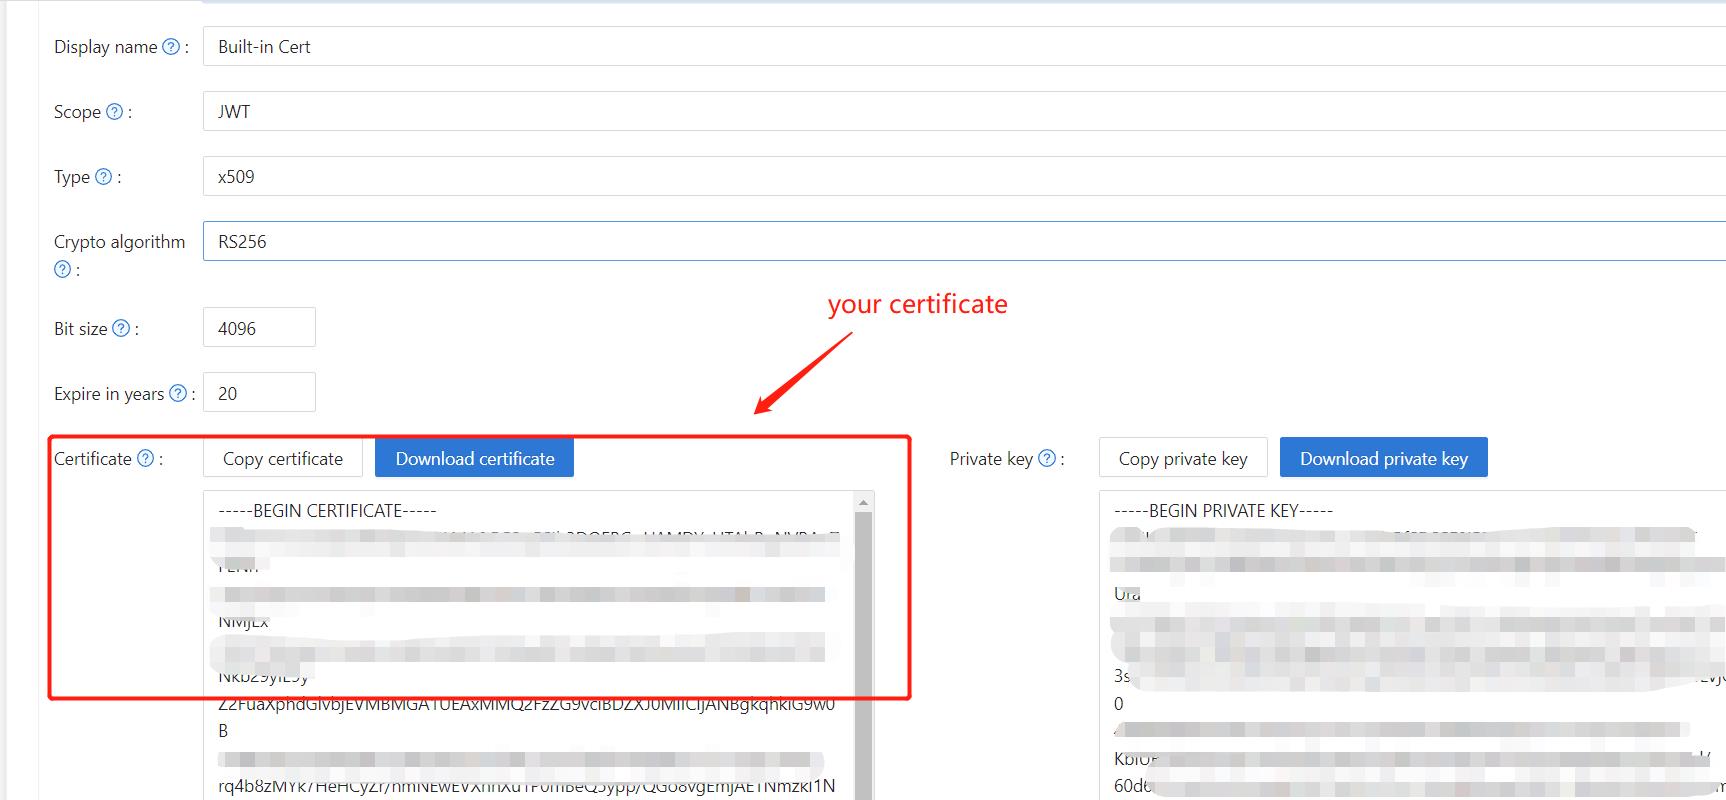
- Fügen Sie den Anbieter und andere Einstellungen nach Bedarf hinzu.
Note Application Name, Organization Name, Redirect URL, Client ID, Client Secret, and Certificate from the application page for the next step.
Schritt 3: Spring Security konfigurieren
Customize the Spring Security filter to process tokens:
Replace the placeholders with your own Casdoor instance (Client ID, Client secret, etc.).
server:
  port: 8080
casdoor:
  endpoint: http://CASDOOR_HOSTNAME:8000
  client-id: <Client ID>
  client-secret: <Client Secret>
  certificate: <Certificate>
  organization-name: <Organization Name>
  application-name: <Application Name>
  redirect-url: http://FRONTEND_HOSTNAME/callback
Default <FRONTEND_HOSTNAME> is localhost:3000; redirect URL is http://localhost:3000/callback. Add this redirect URL in the Casdoor application.
Schritt 4: Frontend konfigurieren
Install casdoor-js-sdk and configure it as follows:
-
Installiere
casdoor-js-sdk.npm i casdoor-js-sdk
# or
yarn add casdoor-js-sdk -
Richte
SDKein.import Sdk from "casdoor-js-sdk";
// Serverurl is the URL where spring security is deployed
export const ServerUrl = "http://BACKEND_HOSTNAME:8080";
const sdkConfig = {
serverUrl: "http://CASDOOR_HOSTNAME:8000",
clientId: "<your client id>",
appName: "<your application name>",
organizationName: "<your organization name>",
redirectPath: "/callback",
};
export const CasdoorSDK = new Sdk(sdkConfig);
Schritt 5: Ein Demo einrichten
-
Erstellen Sie eine Spring Boot-Anwendung.
-
Fügen Sie einige Konfigurationen hinzu, um JWT zu verarbeiten.
@EnableWebSecurity
public class SecurityConfig {

    private final JwtTokenFilter jwtTokenFilter;

    public SecurityConfig(JwtTokenFilter jwtTokenFilter) {
        this.jwtTokenFilter = jwtTokenFilter;
    }

    @Bean
    public SecurityFilterChain securityFilterChain(HttpSecurity http) throws Exception {
        // enable CORS and disable CSRF
        http = http.cors(corsConfig -> corsConfig
                .configurationSource(configurationSource())
        ).csrf().disable();

        // set session management to stateless
        http = http
                .sessionManagement()
                .sessionCreationPolicy(SessionCreationPolicy.STATELESS)
                .and();

        // set permissions on endpoints
        http.authorizeHttpRequests(authorize -> authorize
                .mvcMatchers("/api/redirect-url", "/api/signin").permitAll()
                .mvcMatchers("/api/**").authenticated()
        );

        // set unauthorized requests exception handler
        http = http
                .exceptionHandling()
                .authenticationEntryPoint(
                        (request, response, ex) -> ResponseUtils.fail(response, "unauthorized")
                )
                .and();

        // add JWT token filter
        http.addFilterBefore(
                jwtTokenFilter,
                UsernamePasswordAuthenticationFilter.class
        );
        return http.build();
    }

    // ...


} -
Fügen Sie einen einfachen JWT-Filter hinzu, um Anfragen zu unterbrechen, die eine Token-Überprüfung erfordern.
@Component
public class JwtTokenFilter extends OncePerRequestFilter {

    private final CasdoorAuthService casdoorAuthService;

    public JwtTokenFilter(CasdoorAuthService casdoorAuthService) {
        this.casdoorAuthService = casdoorAuthService;
    }

    @Override
    protected void doFilterInternal(HttpServletRequest request,
                                    HttpServletResponse response,
                                    FilterChain chain)
            throws ServletException, IOException {
        // get authorization header and validate
        final String header = request.getHeader(HttpHeaders.AUTHORIZATION);
        if (!StringUtils.hasText(header) || !header.startsWith("Bearer ")) {
            chain.doFilter(request, response);
            return;
        }

        // get jwt token and validate
        final String token = header.split(" ")[1].trim();

        // get user identity and set it on the spring security context
        UserDetails userDetails = null;
        try {
            CasdoorUser casdoorUser = casdoorAuthService.parseJwtToken(token);
            userDetails = new CustomUserDetails(casdoorUser);
        } catch (CasdoorAuthException exception) {
            logger.error("casdoor auth exception", exception);
            chain.doFilter(request, response);
            return;
        }

        UsernamePasswordAuthenticationToken authentication = new UsernamePasswordAuthenticationToken(
                userDetails,
                null,
                AuthorityUtils.createAuthorityList("ROLE_casdoor")
        );

        authentication.setDetails(
                new WebAuthenticationDetailsSource().buildDetails(request)
        );

        SecurityContextHolder.getContext().setAuthentication(authentication);
        chain.doFilter(request, response);
    }

}
Wenn der Benutzer auf die Schnittstelle zugreift, die eine Authentifizierung erfordert, wird
JwtTokenFilterdas Token aus dem Anfrage-HeaderAuthorizationentnehmen und es verifizieren. -
Definieren Sie einen
Controller, um zu handhaben, wenn sich der Benutzer bei Casdoor anmeldet. Nachdem sich der Benutzer angemeldet hat, wird er zum Server weitergeleitet und trägt dencodeundstate. Der Server muss dann die Identität des Benutzers von Casdoor überprüfen und dastokendurch diese beiden Parameter erhalten.@RestController
public class UserController {
private static final Logger logger = LoggerFactory.getLogger(UserController.class);
private final CasdoorAuthService casdoorAuthService;
// ...
@PostMapping("/api/signin")
public Result signin(@RequestParam("code") String code, @RequestParam("state") String state) {
try {
String token = casdoorAuthService.getOAuthToken(code, state);
return Result.success(token);
} catch (CasdoorAuthException exception) {
logger.error("casdoor auth exception", exception);
return Result.failure(exception.getMessage());
}
}
// ...
}
Schritt 6: Das Demo ausprobieren
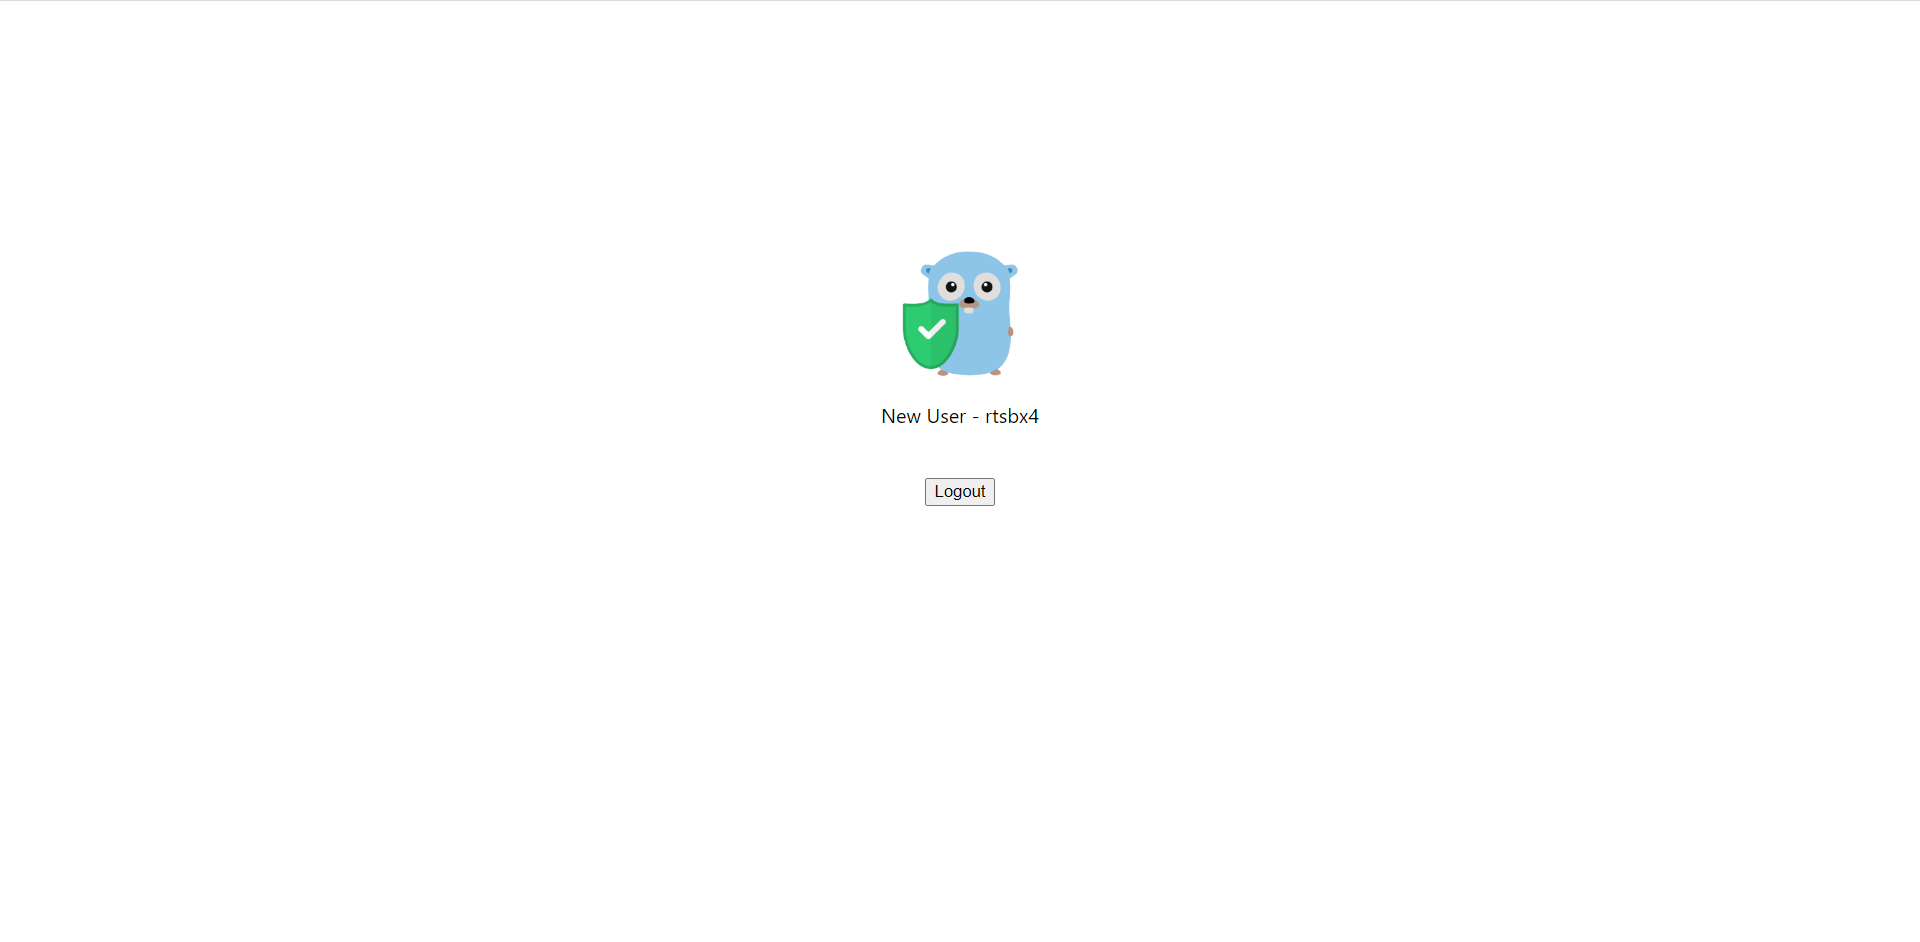
Open the frontend in a browser. When not logged in, a login button is shown; clicking it redirects to the Casdoor login page.
Wenn Sie Ihre Startseite besuchen,
Klicken Sie auf den Casdoor Login-Button, und die Seite wird zur Anmeldeseite von Casdoor weitergeleitet. 
After login, the app redirects to /.