ตัวอย่างแอป Electron สำหรับ Casdoor
ตัวอย่าง แอป Electron ที่แสดงความสามารถในการรวมกับ Casdoor.
วิธีการรันตัวอย่าง
การเริ่มต้น
คุณต้องเริ่มต้น 6 พารามิเตอร์, ทั้งหมดเป็นประเภทสตริง:
| ชื่อ | คำอธิบาย | ที่อยู่ของไฟล์ |
|---|---|---|
| serverUrl | URL เซิร์ฟเวอร์ Casdoor ของคุณ | src/App.js |
| clientId | Client ID ของแอปพลิเคชัน Casdoor ของคุณ | src/App.js |
| appName | ชื่อของแอปพลิเคชัน Casdoor ของคุณ | src/App.js |
| redirectPath | ที่อยู่ของ URL สำหรับการเปลี่ยนเส้นทางของแอปพลิเคชัน Casdoor ของคุณ, จะเป็น /callback หากไม่ได้ระบุ | src/App.js |
| clientSecret | Client Secret ของแอปพลิเคชัน Casdoor ของคุณ | src/App.js |
| casdoorServiceDomain | URL เซิร์ฟเวอร์ Casdoor ของคุณ | public/electron.js |
หากคุณไม่ได้ตั้งค่าพารามิเตอร์เหล่านี้, โปรเจกต์นี้จะใช้ Casdoor online demo เป็นเซิร์ฟเวอร์ Casdoor และใช้ Casnode เป็นแอปพลิเคชัน Casdoor โดยค่าเริ่มต้น.
คำสั่งที่ใช้ได้
ในไดเรกทอรีโปรเจกต์, คุณสามารถรันคำสั่ง:
npm run dev หรือ yarn dev
สร้างแอป Electron และรันแอปนี้.
npm run make หรือ yarn make
แพ็คเกจและกระจายแอปพลิเคชันของคุณ. มันจะสร้างโฟลเดอร์ out ที่แพ็คเกจของคุณจะอยู่:
// Example for macOS out/
├── out/make/zip/darwin/x64/casdoor-electron-example-darwin-x64-1.0.0.zip
├── ...
└── out/casdoor-electron-example-darwin-x64/casdoor-electron-example.app/Contents/MacOS/casdoor-electron-example
ตัวอย่าง
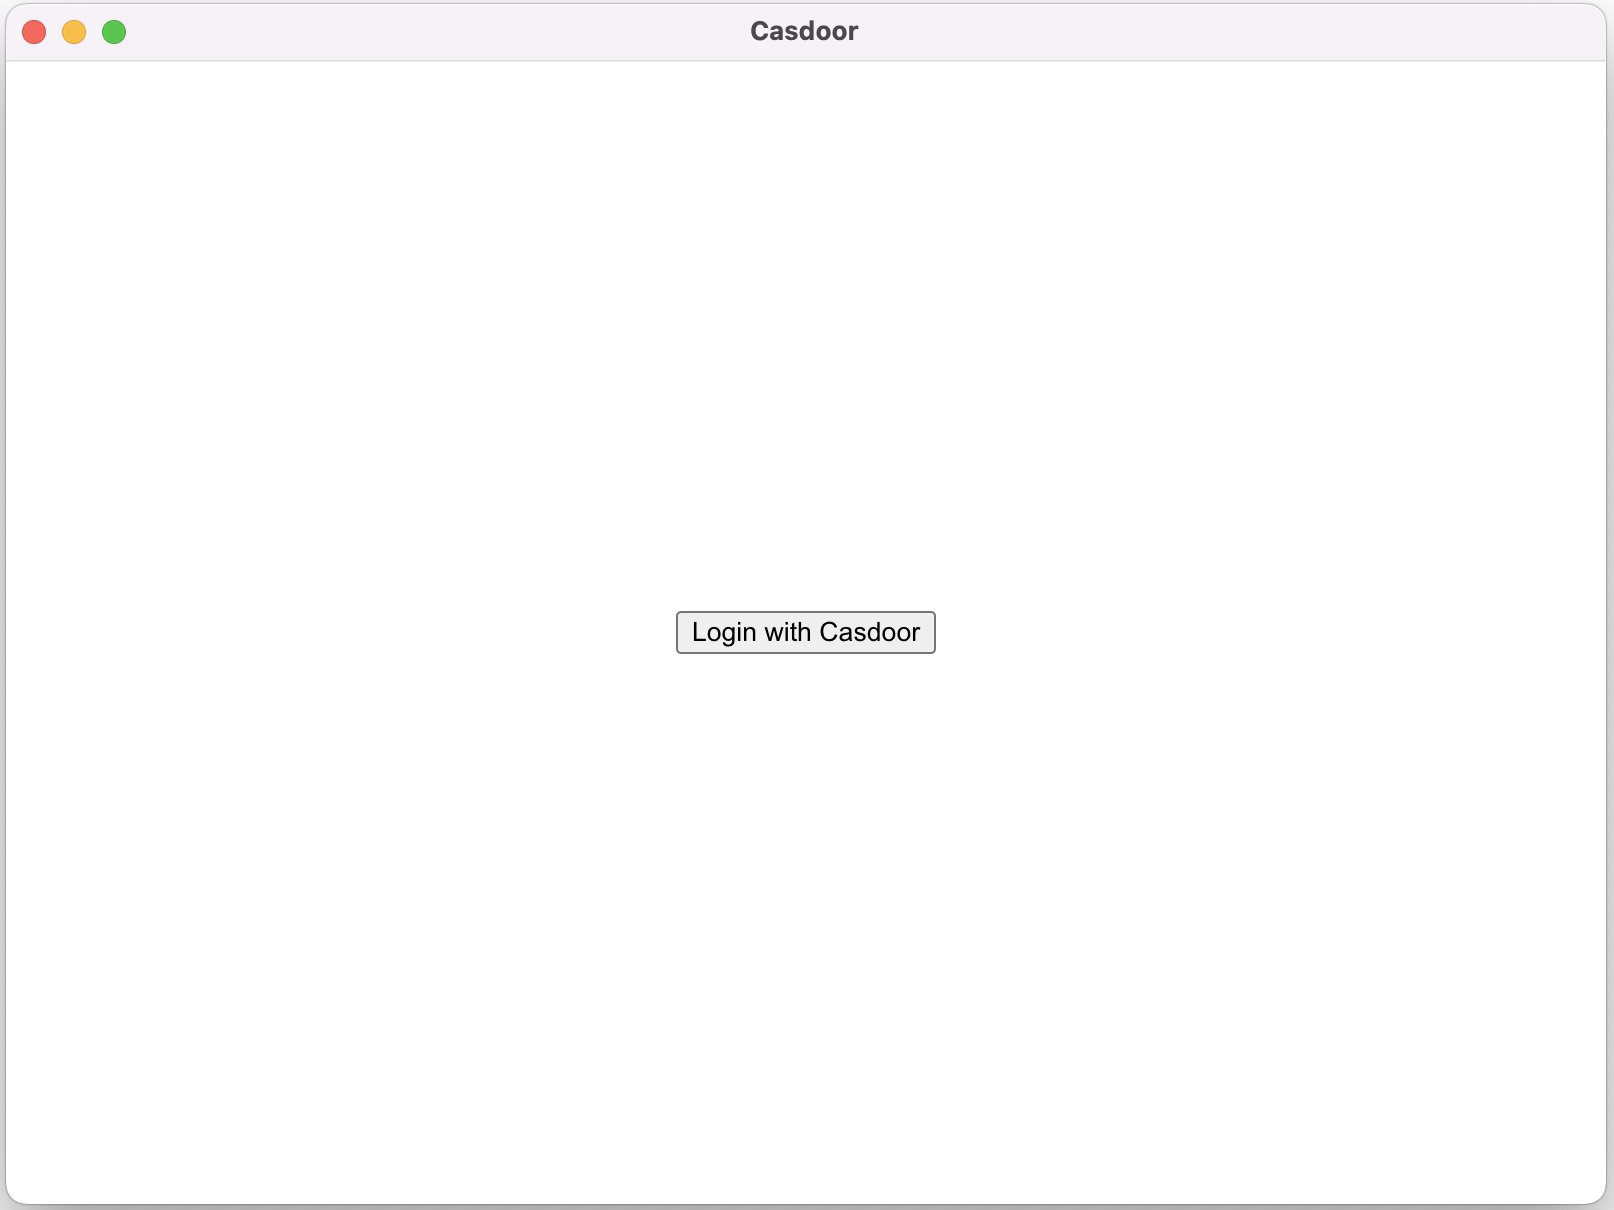
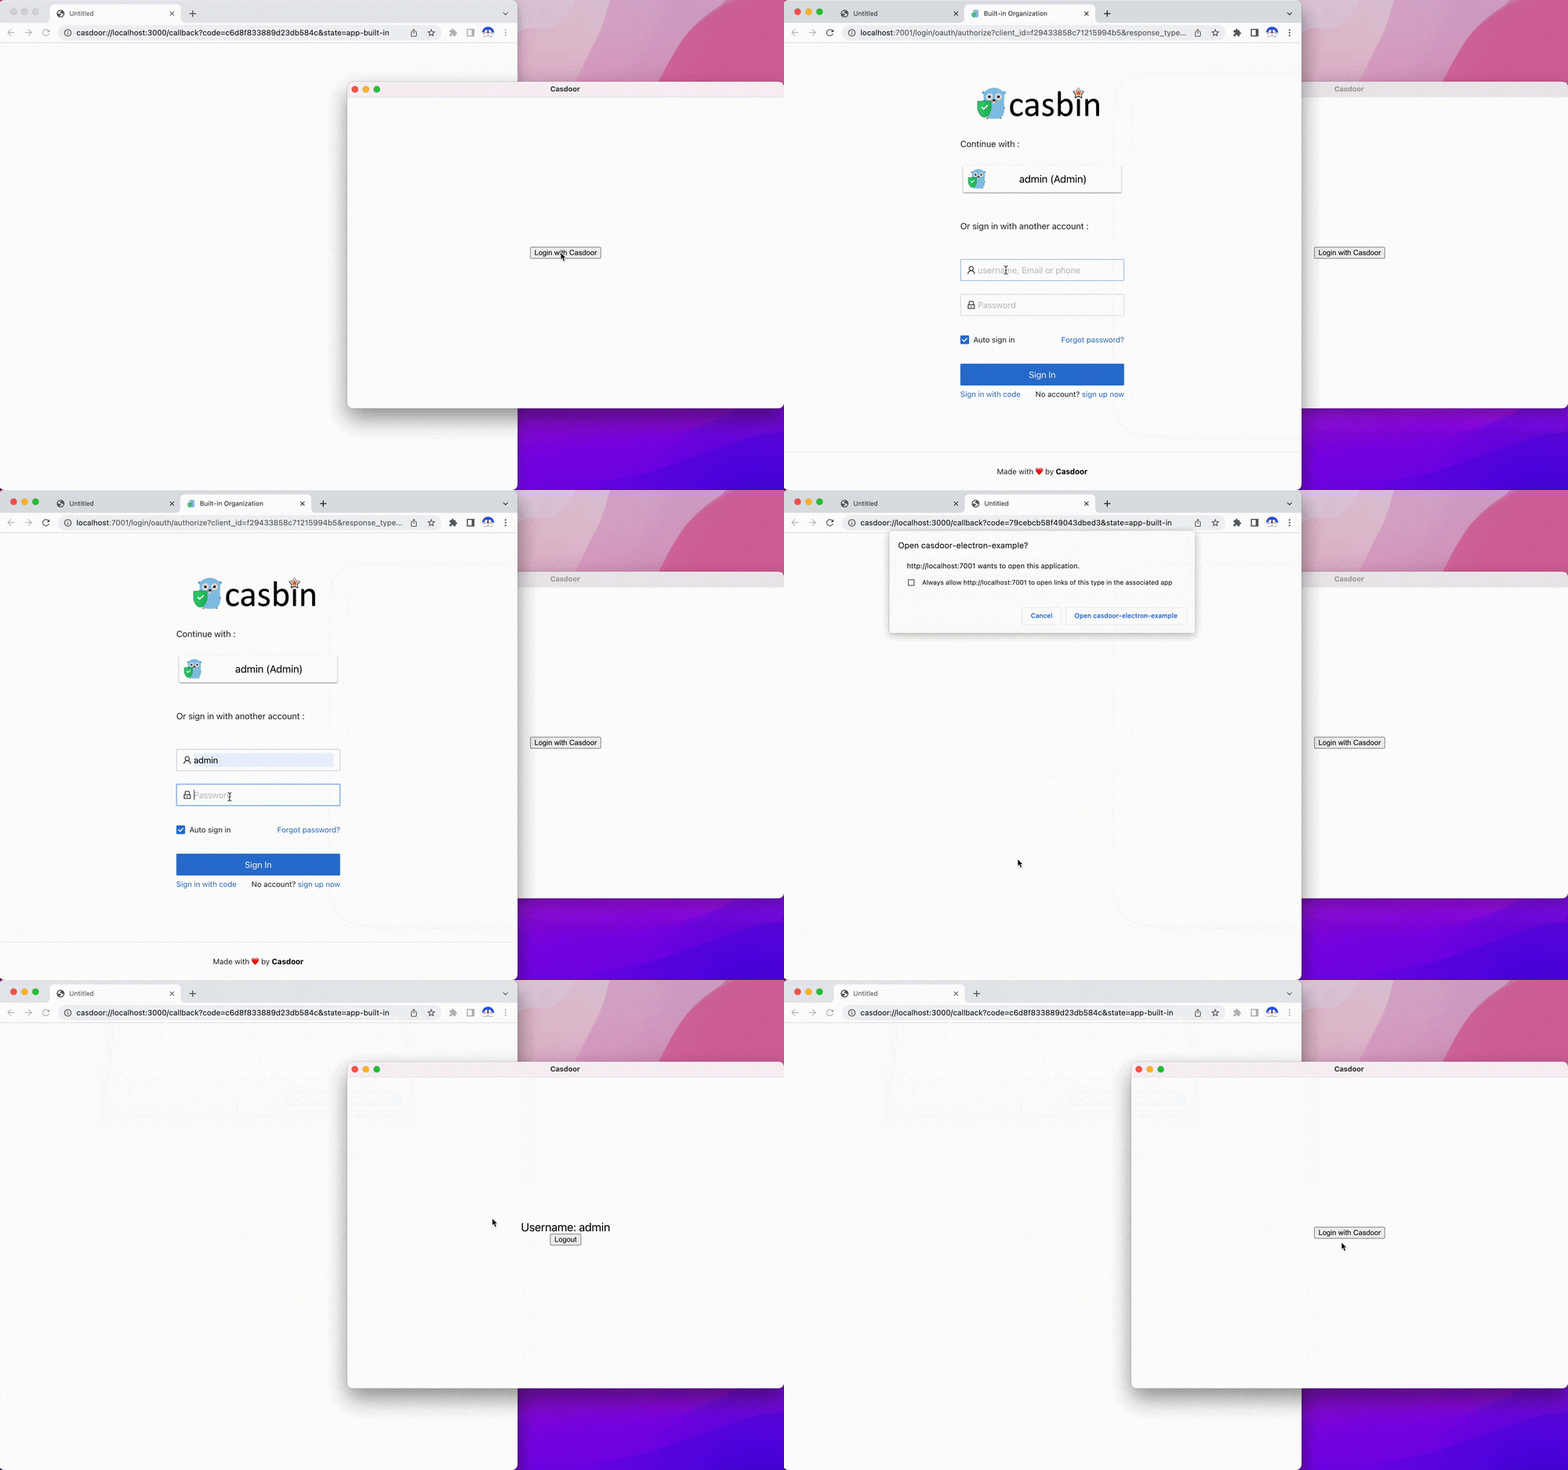
เมื่อคุณรันแอปพลิเคชัน Electron นี้, หน้าต่างใหม่จะปรากฏบนหน้าจอของคุณ.  หากคุณคลิกปุ่ม
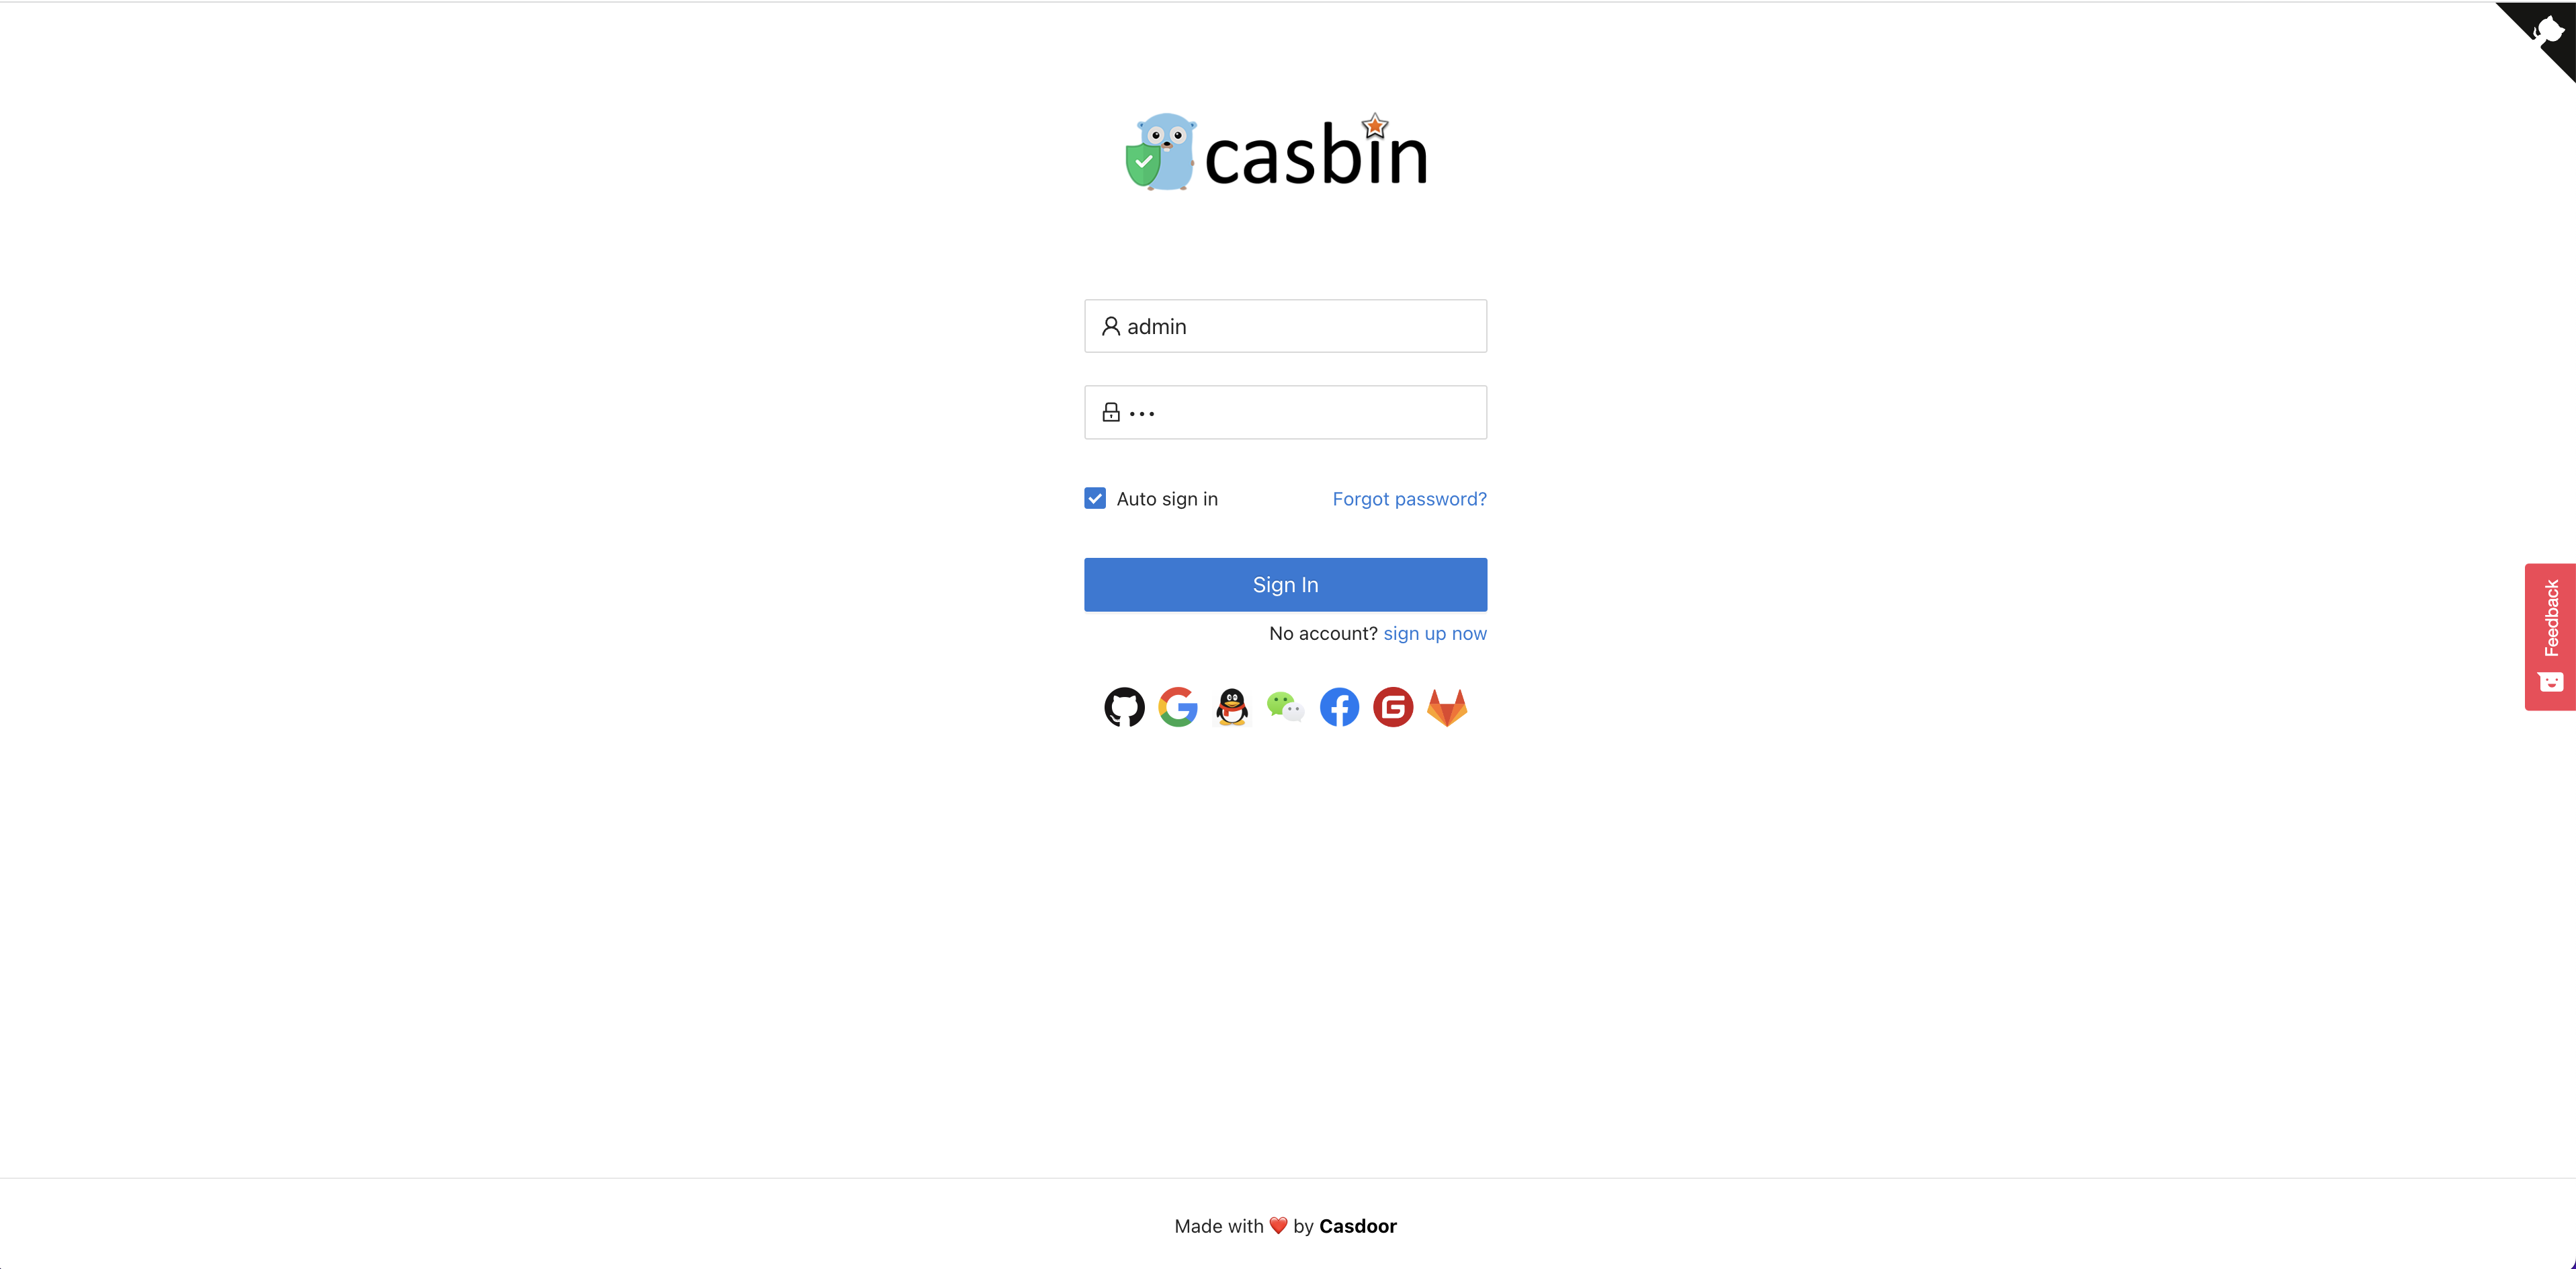
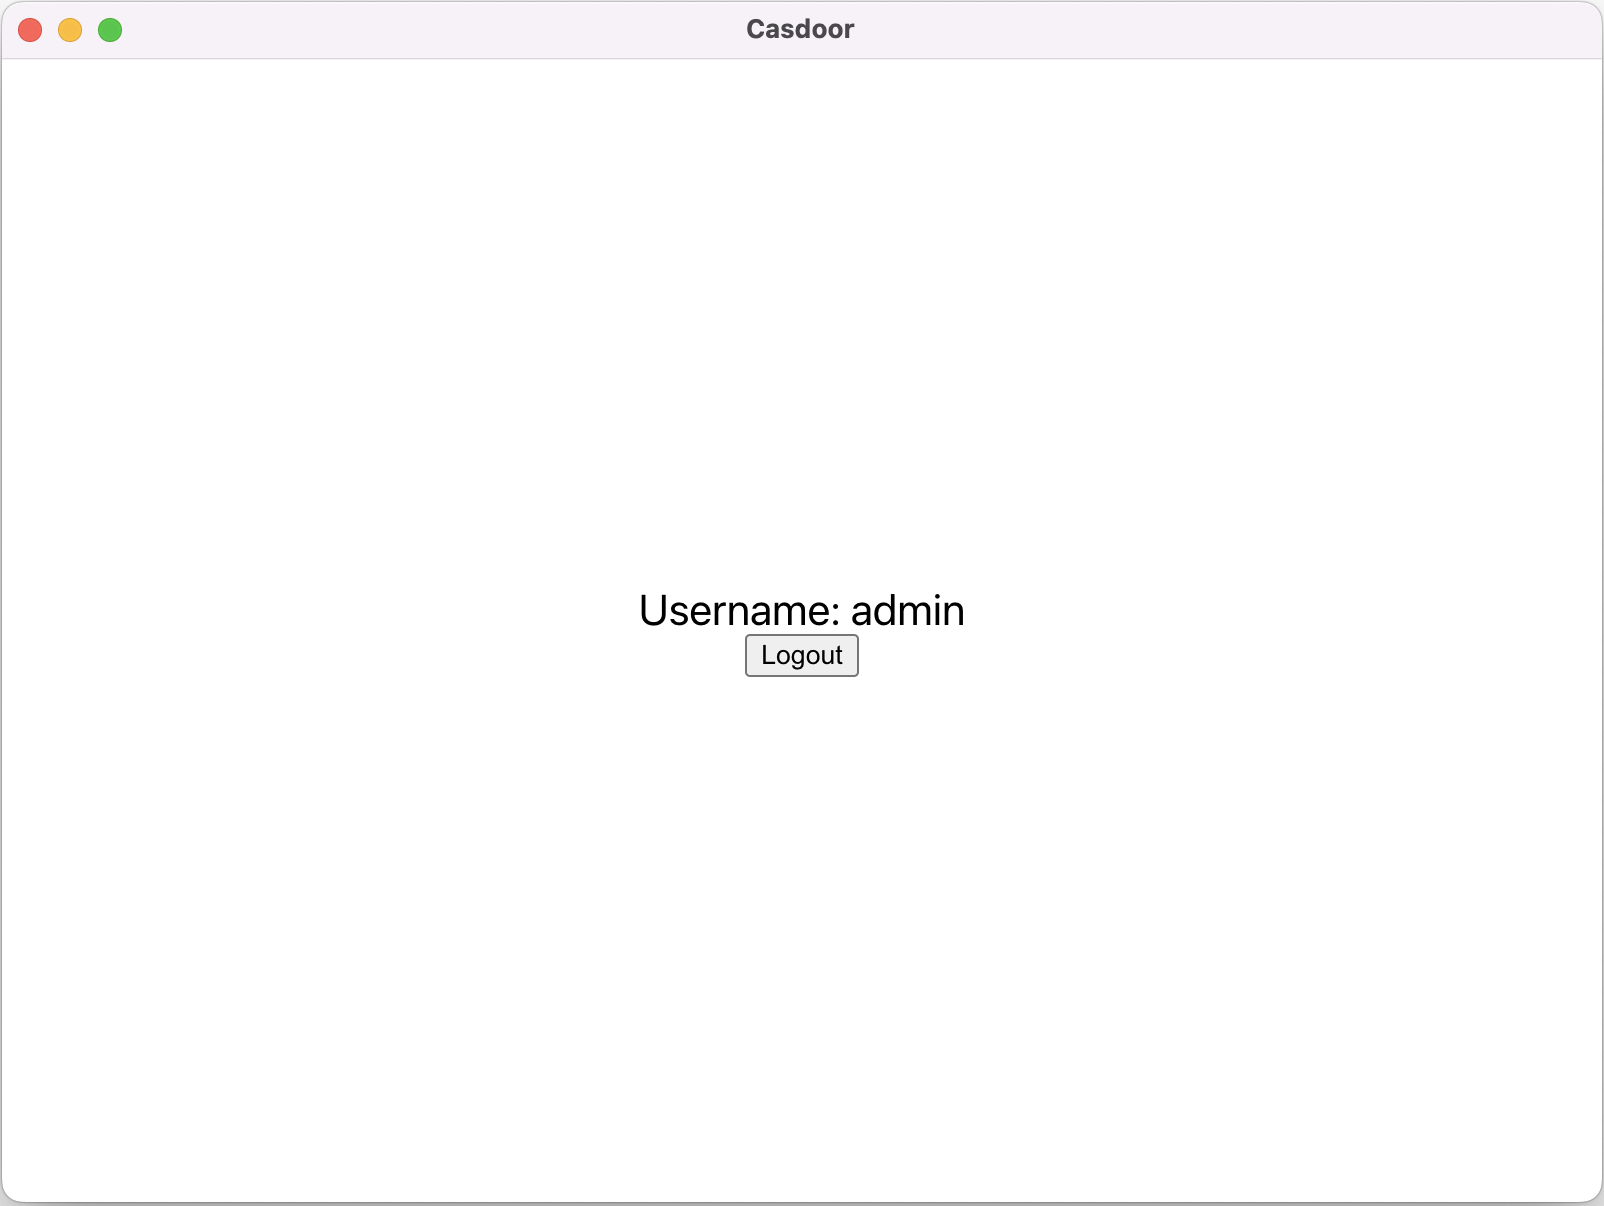
 Login with Casdoor, เบราว์เซอร์เริ่มต้นของคุณจะเปิดขึ้นโดยอัตโนมัติและแสดงหน้าล็อกอิน.  หลังจากล็อกอินสำเร็จ, แอปพลิเคชัน Electron ของคุณจะเปิดขึ้น, และชื่อผู้ใช้ของคุณจะแสดงบนแอปพลิเคชันของคุณ.
  คุณสามารถดูตัวอย่างกระบวนการทั้งหมดในภาพ gif ด้านล่าง.
ขั้นตอนการรวม
ตั้งค่าโปรโตคอลที่กำหนดเอง
ขั้นแรก, คุณต้องตั้งค่าโปรโตคอลที่กำหนดเองชื่อ casdoor.
const protocol = "casdoor";

if (process.defaultApp) {
  if (process.argv.length >= 2) {
    app.setAsDefaultProtocolClient(protocol, process.execPath, [
      path.resolve(process.argv[1]),
    ]);
  }
} else {
  app.setAsDefaultProtocolClient(protocol);
}
สิ่งนี้จะช่วยให้เบราว์เซอร์เปิดแอปพลิเคชัน Electron ของคุณและส่งข้อมูลล็อกอินไปยังแอปพลิเคชัน Electron.
เปิด URL ล็อกอินในเบราว์เซอร์
const serverUrl = "https://door.casdoor.com";
const appName = "app-casnode";
const redirectPath = "/callback";
const clientId = "014ae4bd048734ca2dea";
const clientSecret = "f26a4115725867b7bb7b668c81e1f8f7fae1544d";

const redirectUrl = "casdoor://localhost:3000" + redirectPath;

const signinUrl = `${serverUrl}/login/oauth/authorize?client_id=${clientId}&response_type=code&redirect_uri=${encodeURIComponent(redirectUrl)}&scope=profile&state=${appName}&noRedirect=true`;

shell.openExternal(signinUrl); //Open the login url in the browser
คุณสามารถเปลี่ยนแปลง 5 พารามิเตอร์แรกได้.
ฟังก์ชันเมื่อเปิดแอปพลิเคชัน
เมื่อคุณล็อกอินสำเร็จผ่านเบราว์เซอร์, เบราว์เซอร์จะเปิดแอปพลิเคชัน Electron ของคุณ. ดังนั้น, คุณต้องฟังก์ชันเมื่อเปิดแอปพลิเคชัน.
const gotTheLock = app.requestSingleInstanceLock();
const ProtocolRegExp = new RegExp(`^${protocol}://`);

if (!gotTheLock) {
  app.quit();
} else {
  app.on("second-instance", (event, commandLine, workingDirectory) => {
    if (mainWindow) {
      if (mainWindow.isMinimized()) mainWindow.restore();
      mainWindow.focus();
      commandLine.forEach((str) => {
        if (ProtocolRegExp.test(str)) {
          const params = url.parse(str, true).query;
          if (params && params.code) {
            store.set("casdoor_code", params.code);
            mainWindow.webContents.send("receiveCode", params.code);
          }
        }
      });
    }
  });
  app.whenReady().then(createWindow);

  app.on("open-url", (event, openUrl) => {
    const isProtocol = ProtocolRegExp.test(openUrl);
    if (isProtocol) {
      const params = url.parse(openUrl, true).query;
      if (params && params.code) {
        store.set("casdoor_code", params.code);
        mainWindow.webContents.send("receiveCode", params.code);
      }
    }
  });
}
คุณสามารถรับโค้ดจากเบราว์เซอร์, ซึ่งเป็น casdoor_code หรือ params.code.
แยกวิเคราะห์โค้ดและรับข้อมูลผู้ใช้
async function getUserInfo(clientId, clientSecret, code) {
  const { data } = await axios({
    method: "post",
    url: authCodeUrl,
    headers: {
      "content-type": "application/json",
    },
    data: JSON.stringify({
      grant_type: "authorization_code",
      client_id: clientId,
      client_secret: clientSecret,
      code: code,
    }),
  });
  const resp = await axios({
    method: "get",
    url: `${getUserInfoUrl}?accessToken=${data.access_token}`,
  });
  return resp.data;
}

ipcMain.handle("getUserInfo", async (event, clientId, clientSecret) => {
  const code = store.get("casdoor_code");
  const userInfo = await getUserInfo(clientId, clientSecret, code);
  store.set("userInfo", userInfo);
  return userInfo;
});
สุดท้าย, คุณสามารถแยกวิเคราะห์โค้ดและรับข้อมูลผู้ใช้ตาม หน้าเอกสาร OAuth.