Electron app
The casdoor-electron-example shows Casdoor sign-in in an Electron app (custom protocol + browser OAuth).
Run the example
初期化
Set these 6 string parameters:
| 名前 | 説明 | パス |
|---|---|---|
| serverUrl | あなたのCasdoorサーバーURL | src/App.js |
| clientId | あなたのCasdoorアプリケーションのクライアントID | src/App.js |
| appName | あなたのCasdoorアプリケーションの名前 | src/App.js |
| redirectPath | あなたのCasdoorアプリケーションのリダイレクトURLのパス、提供されていない場合は/callbackになります | src/App.js |
| clientSecret | あなたのCasdoorアプリケーションのクライアントシークレット | src/App.js |
| casdoorServiceDomain | あなたのCasdoorサーバーURL | public/electron.js |
Defaults: Casdoor demo and app-casnode if not set.
Commands
In the project directory:
npm run dev または yarn dev
Electronアプリをビルドしてこのアプリを実行します。
npm run make または yarn make
アプリケーションをパッケージ化して配布します。 これにより、パッケージが配置される out フォルダが作成されます:
// Example for macOS out/
├── out/make/zip/darwin/x64/casdoor-electron-example-darwin-x64-1.0.0.zip
├── ...
└── out/casdoor-electron-example-darwin-x64/casdoor-electron-example.app/Contents/MacOS/casdoor-electron-example
プレビュー
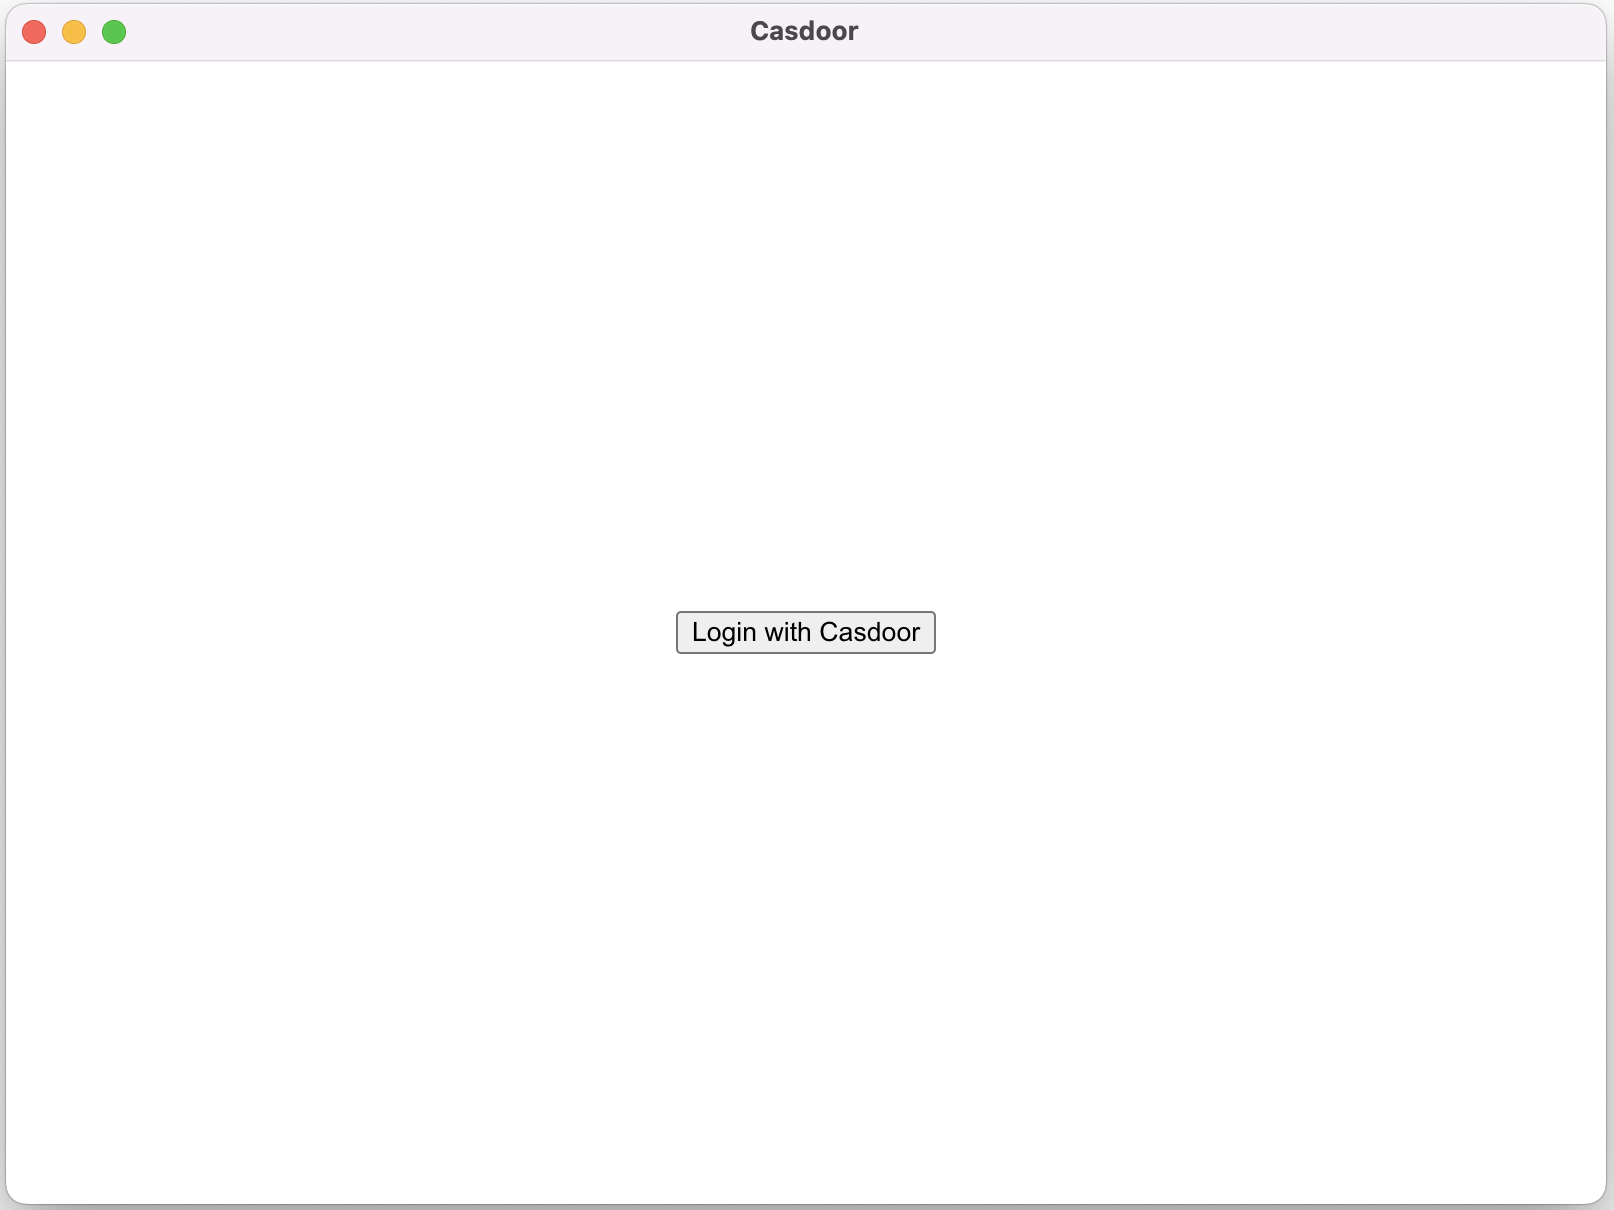
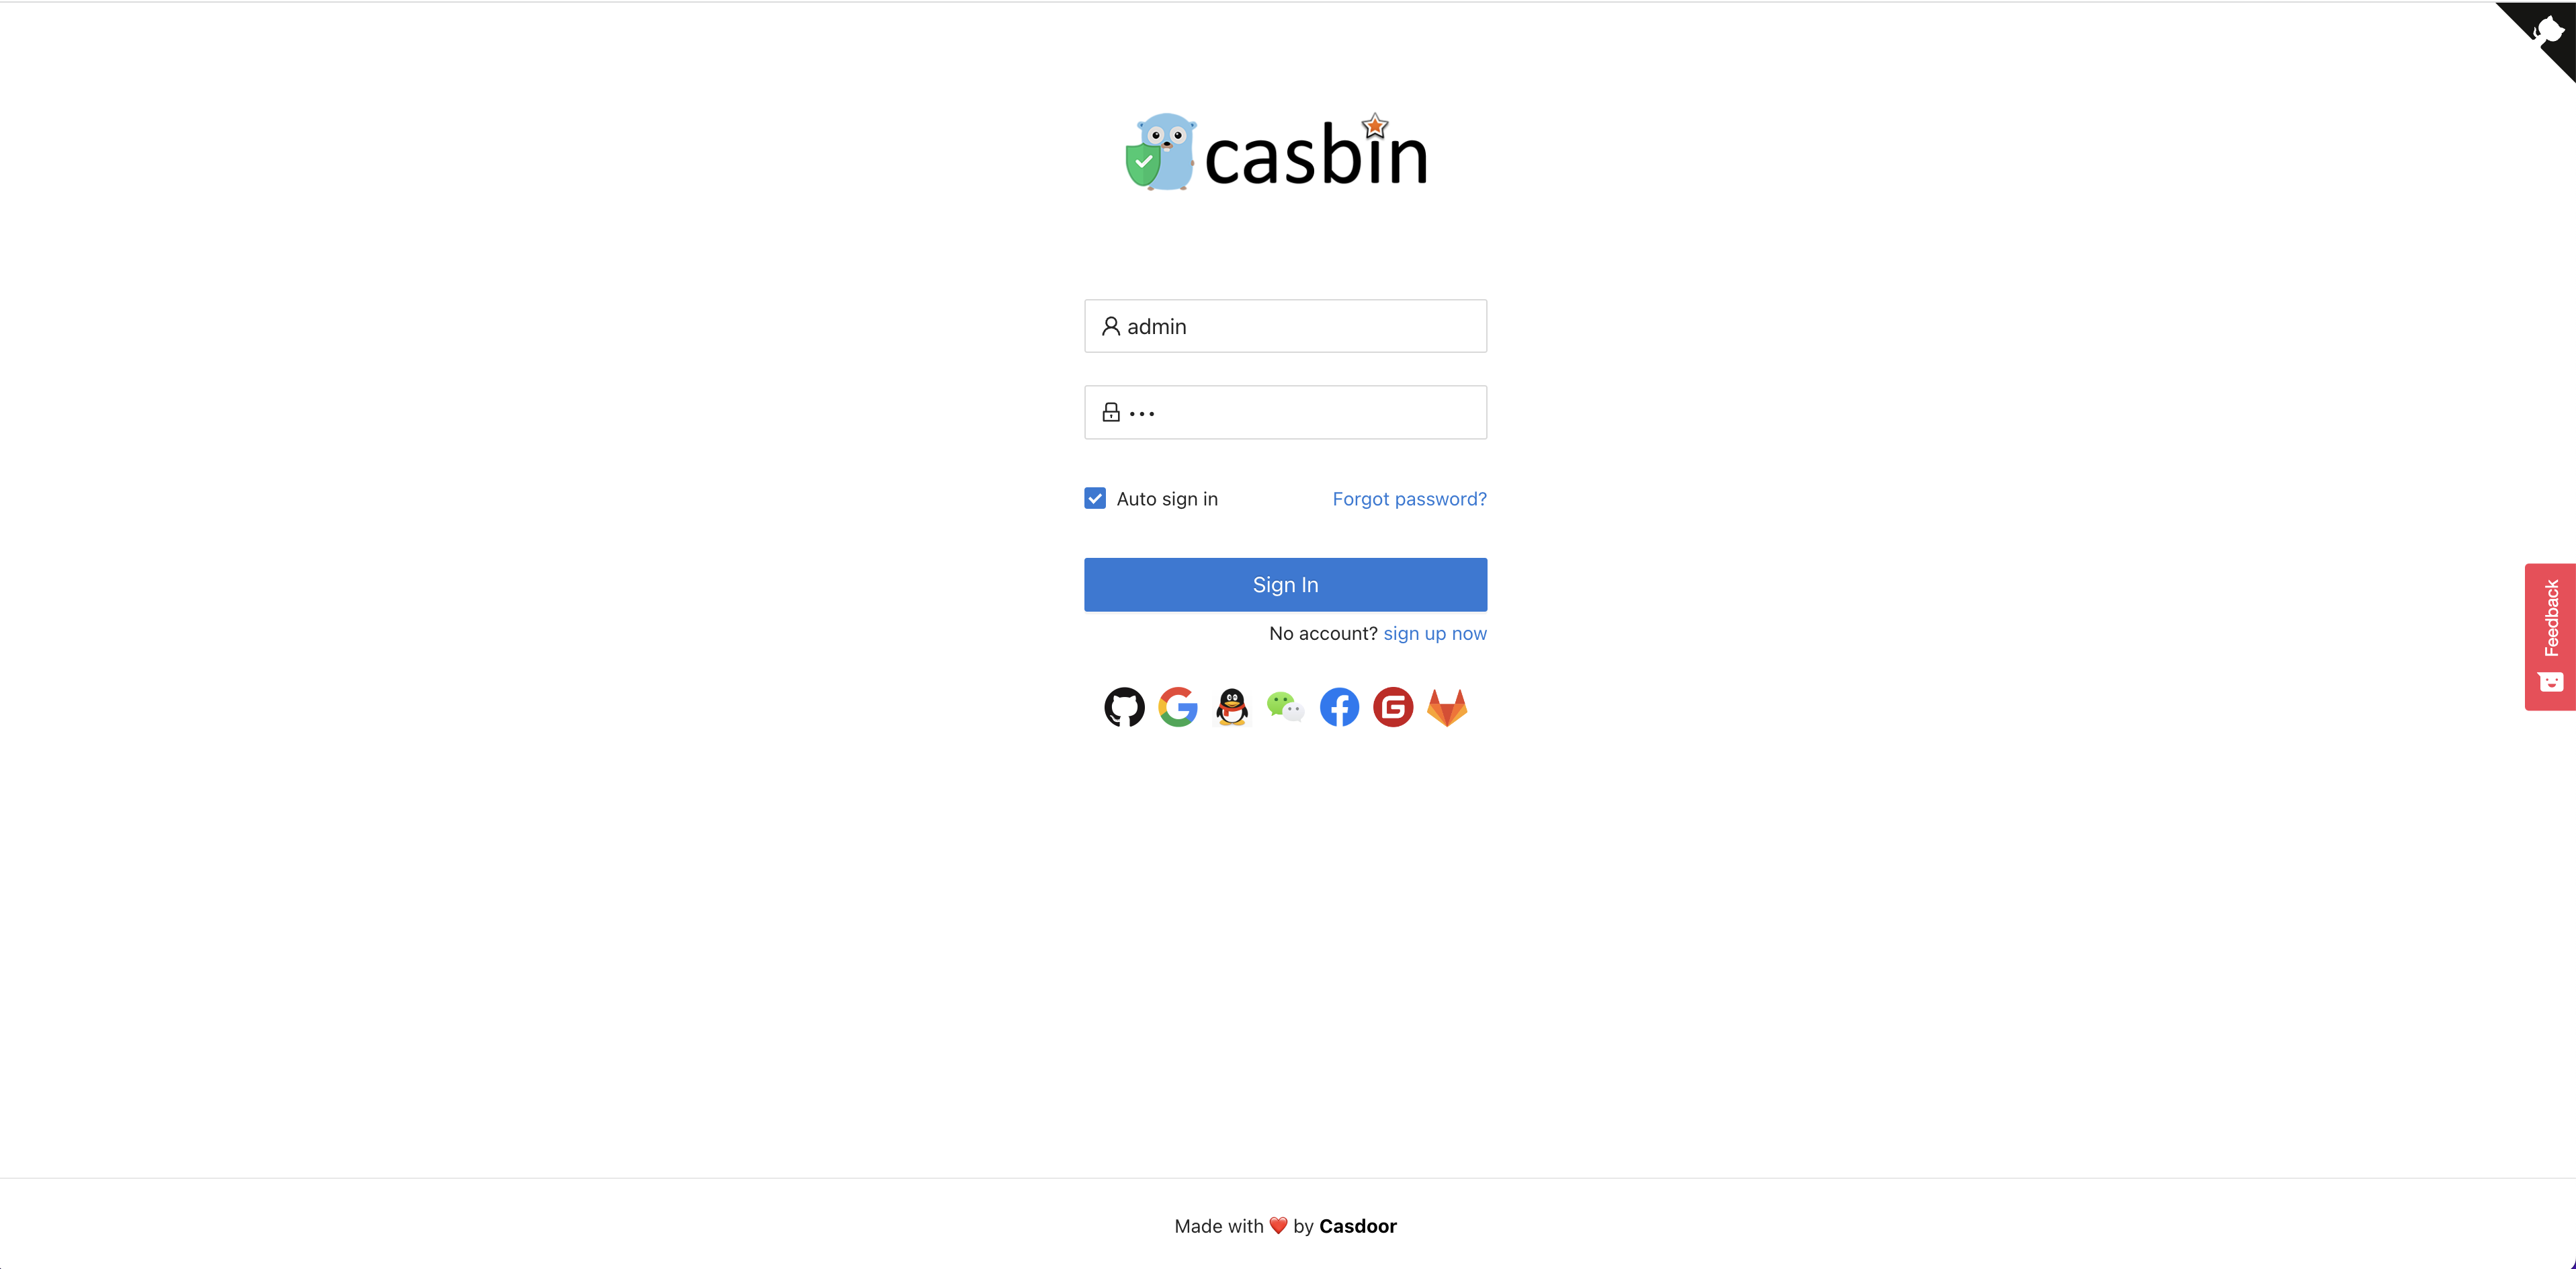
Running the app opens a window. Click Login with Casdoor to open the Casdoor login page in your browser.
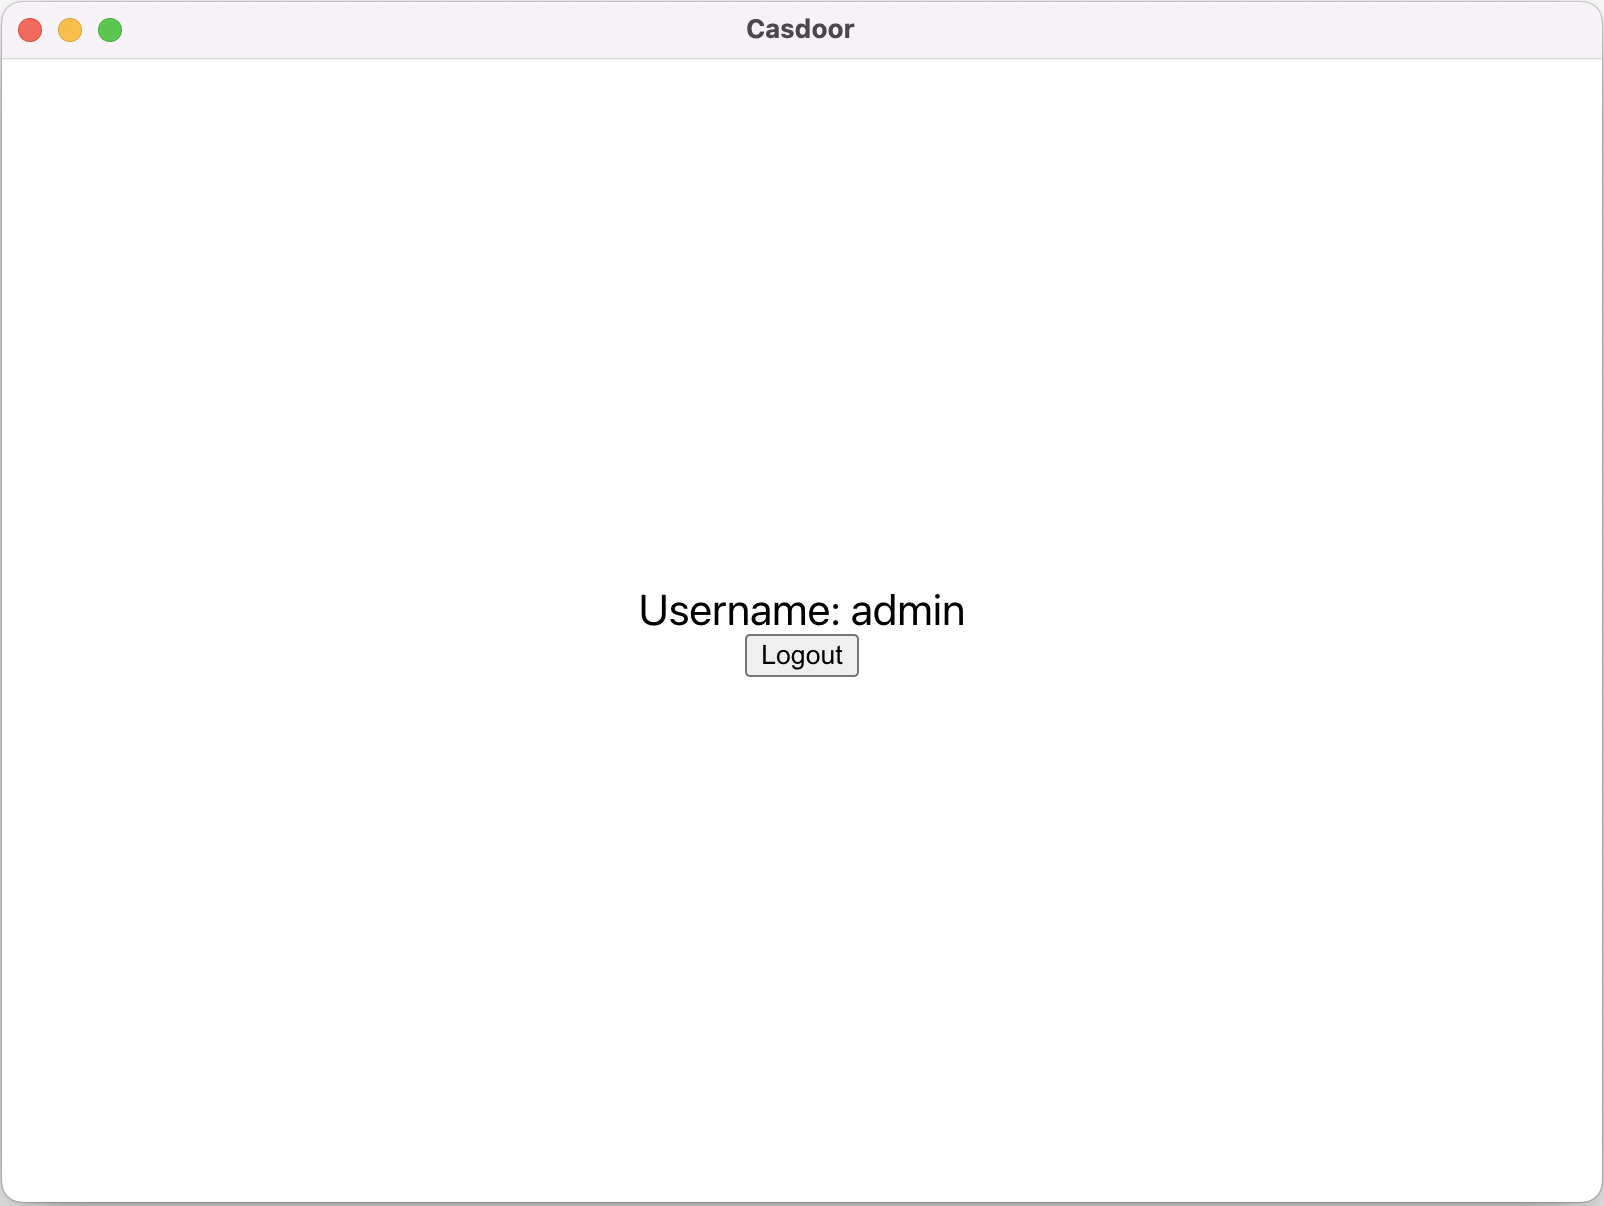
After sign-in, the app opens and shows your username.
Integration steps
1. カスタムプロトコルを設定する
Register the casdoor custom protocol:
const protocol = "casdoor";

if (process.defaultApp) {
  if (process.argv.length >= 2) {
    app.setAsDefaultProtocolClient(protocol, process.execPath, [
      path.resolve(process.argv[1]),
    ]);
  }
} else {
  app.setAsDefaultProtocolClient(protocol);
}
The browser can then open your app and pass the auth code via the protocol.
2. 以下のgif画像で、プロセス全体をプレビューできます。
const serverUrl = "https://door.casdoor.com";
const appName = "app-casnode";
const redirectPath = "/callback";
const clientId = "014ae4bd048734ca2dea";
const clientSecret = "f26a4115725867b7bb7b668c81e1f8f7fae1544d";

const redirectUrl = "casdoor://localhost:3000" + redirectPath;

const signinUrl = `${serverUrl}/login/oauth/authorize?client_id=${clientId}&response_type=code&redirect_uri=${encodeURIComponent(redirectUrl)}&scope=profile&state=${appName}&noRedirect=true`;

shell.openExternal(signinUrl); //Open the login url in the browser
Adjust the first five variables for your Casdoor instance.
3. Listen for the app being opened
After sign-in in the browser, the browser opens your app via the custom protocol. Listen for that event:
const gotTheLock = app.requestSingleInstanceLock();
const ProtocolRegExp = new RegExp(`^${protocol}://`);

if (!gotTheLock) {
  app.quit();
} else {
  app.on("second-instance", (event, commandLine, workingDirectory) => {
    if (mainWindow) {
      if (mainWindow.isMinimized()) mainWindow.restore();
      mainWindow.focus();
      commandLine.forEach((str) => {
        if (ProtocolRegExp.test(str)) {
          const params = url.parse(str, true).query;
          if (params && params.code) {
            store.set("casdoor_code", params.code);
            mainWindow.webContents.send("receiveCode", params.code);
          }
        }
      });
    }
  });
  app.whenReady().then(createWindow);

  app.on("open-url", (event, openUrl) => {
    const isProtocol = ProtocolRegExp.test(openUrl);
    if (isProtocol) {
      const params = url.parse(openUrl, true).query;
      if (params && params.code) {
        store.set("casdoor_code", params.code);
        mainWindow.webContents.send("receiveCode", params.code);
      }
    }
  });
}
The auth code is in casdoor_code or params.code.
4. Exchange the code for user info
async function getUserInfo(clientId, clientSecret, code) {
  const { data } = await axios({
    method: "post",
    url: authCodeUrl,
    headers: {
      "content-type": "application/json",
    },
    data: JSON.stringify({
      grant_type: "authorization_code",
      client_id: clientId,
      client_secret: clientSecret,
      code: code,
    }),
  });
  const resp = await axios({
    method: "get",
    url: `${getUserInfoUrl}?accessToken=${data.access_token}`,
  });
  return resp.data;
}

ipcMain.handle("getUserInfo", async (event, clientId, clientSecret) => {
  const code = store.get("casdoor_code");
  const userInfo = await getUserInfo(clientId, clientSecret, code);
  store.set("userInfo", userInfo);
  return userInfo;
});
See OAuth for the full flow.