自定义登录界面
您已创建应用程序。 现在, 让我为你展示如何自定义应用的登录页面的UI. 在这个指南中, 我们将创建一个应用的自定义登录页面.
让我们开始吧
Part 1: 增加背景图片
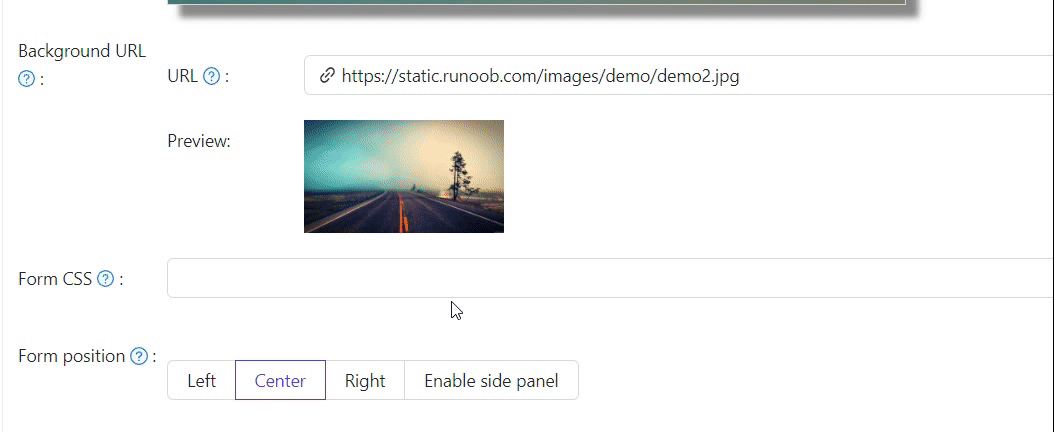
首先,我们要添加背景图像。 默认背景是白色的,看起来非常简单。
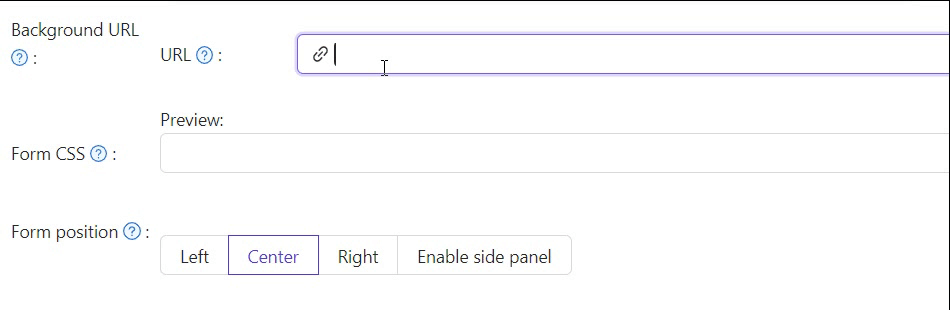
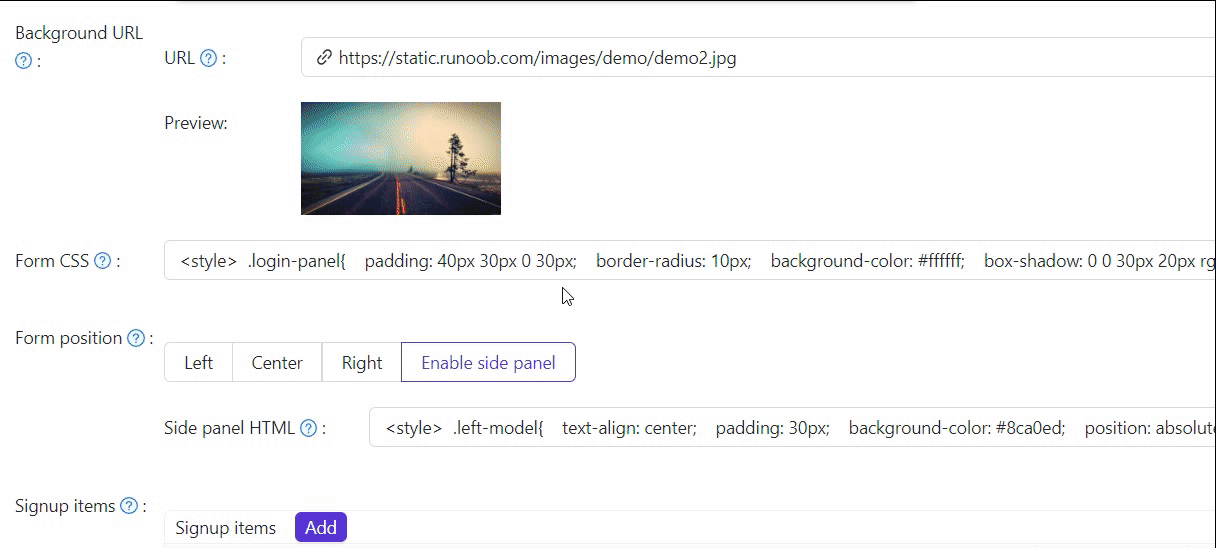
若要添加背景图像,请使用您喜欢的图像的 URL,填写 背景 URL。 如果您填写了有效的URL,预览区域将会显示您所选择的图像。
Part 2: 自定义登录面板
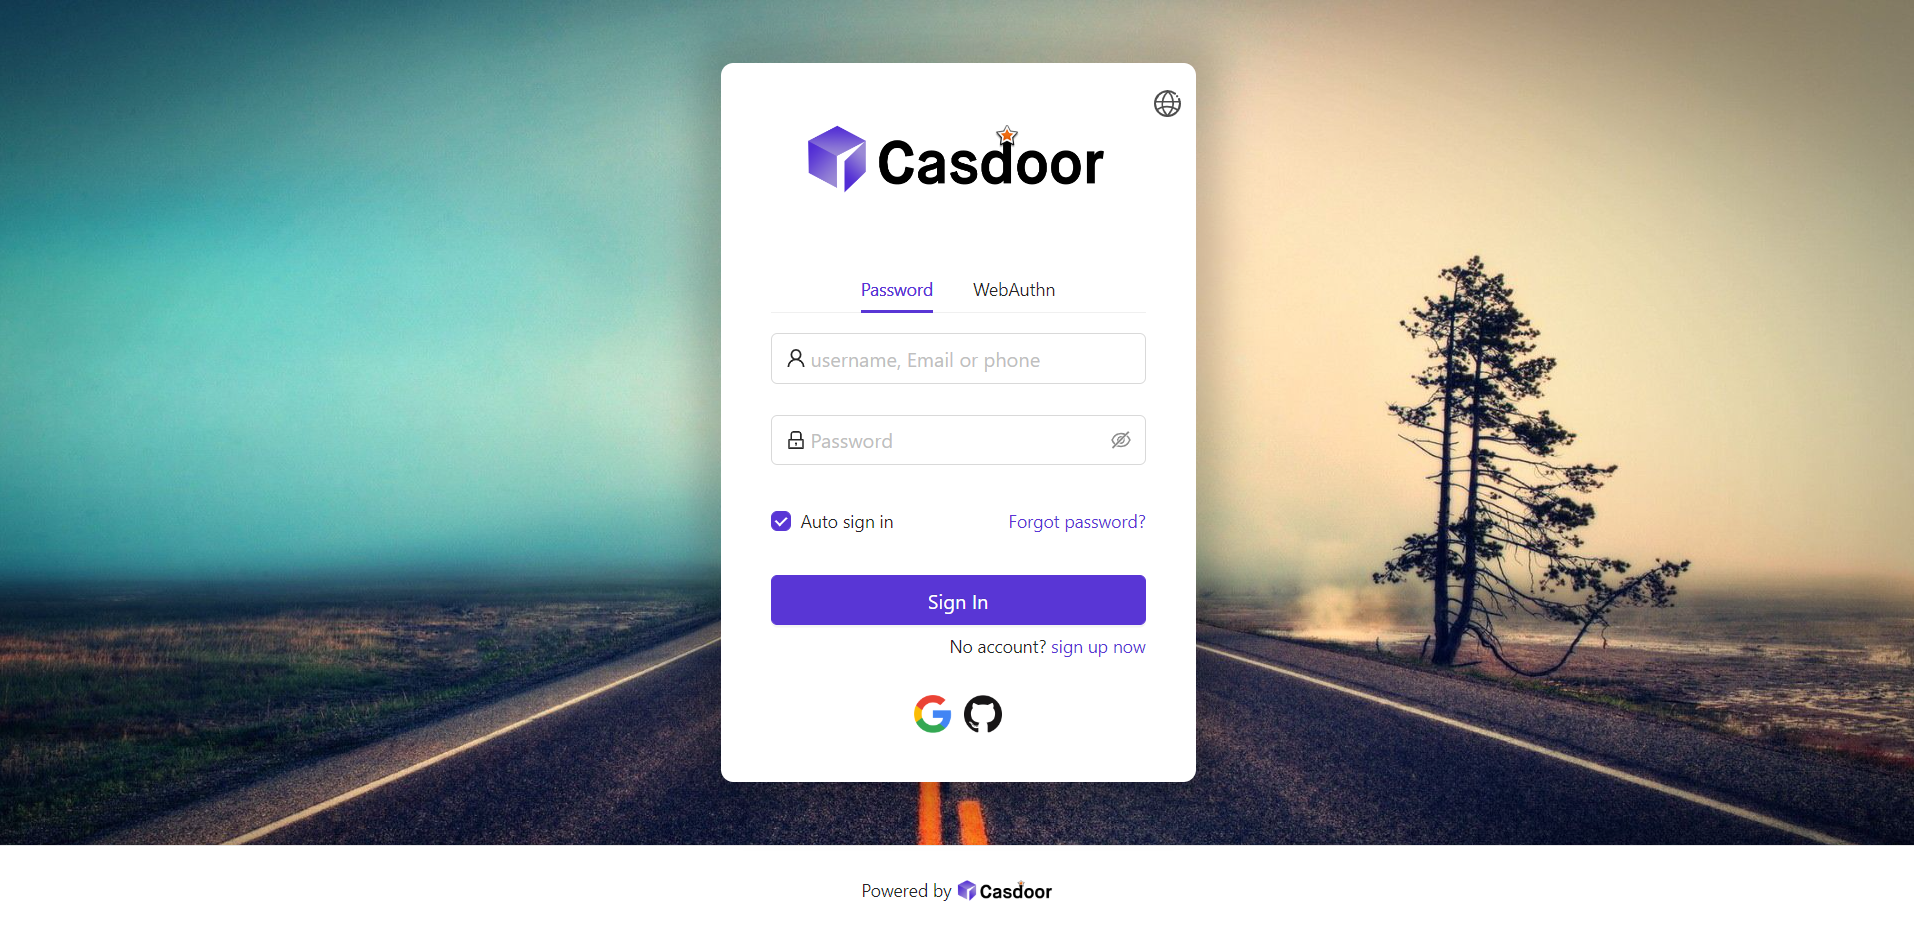
现在我们在第一步操作结束的页面:
为了让面板看起来很好,您需要添加一些CSS 代码。 复制下面的代码并粘贴到 表单 CSS 字段。
<style>
.login-panel{
    padding: 40px 30px 0 30px;
    border-radius: 10px;
    background-color: #ffffff;
    box-shadow: 0 0 30px 20px rgba(0, 0, 0, 0.20);
}
</style>
提示
当您编辑 form CSS时,如果值为空,编辑器将显示默认值。 然而,您仍然需要复制内容并将其粘贴到字段。
:::
填写 表单 CSS后,不要忘记在底部保存配置。 好,让我们看看效果。
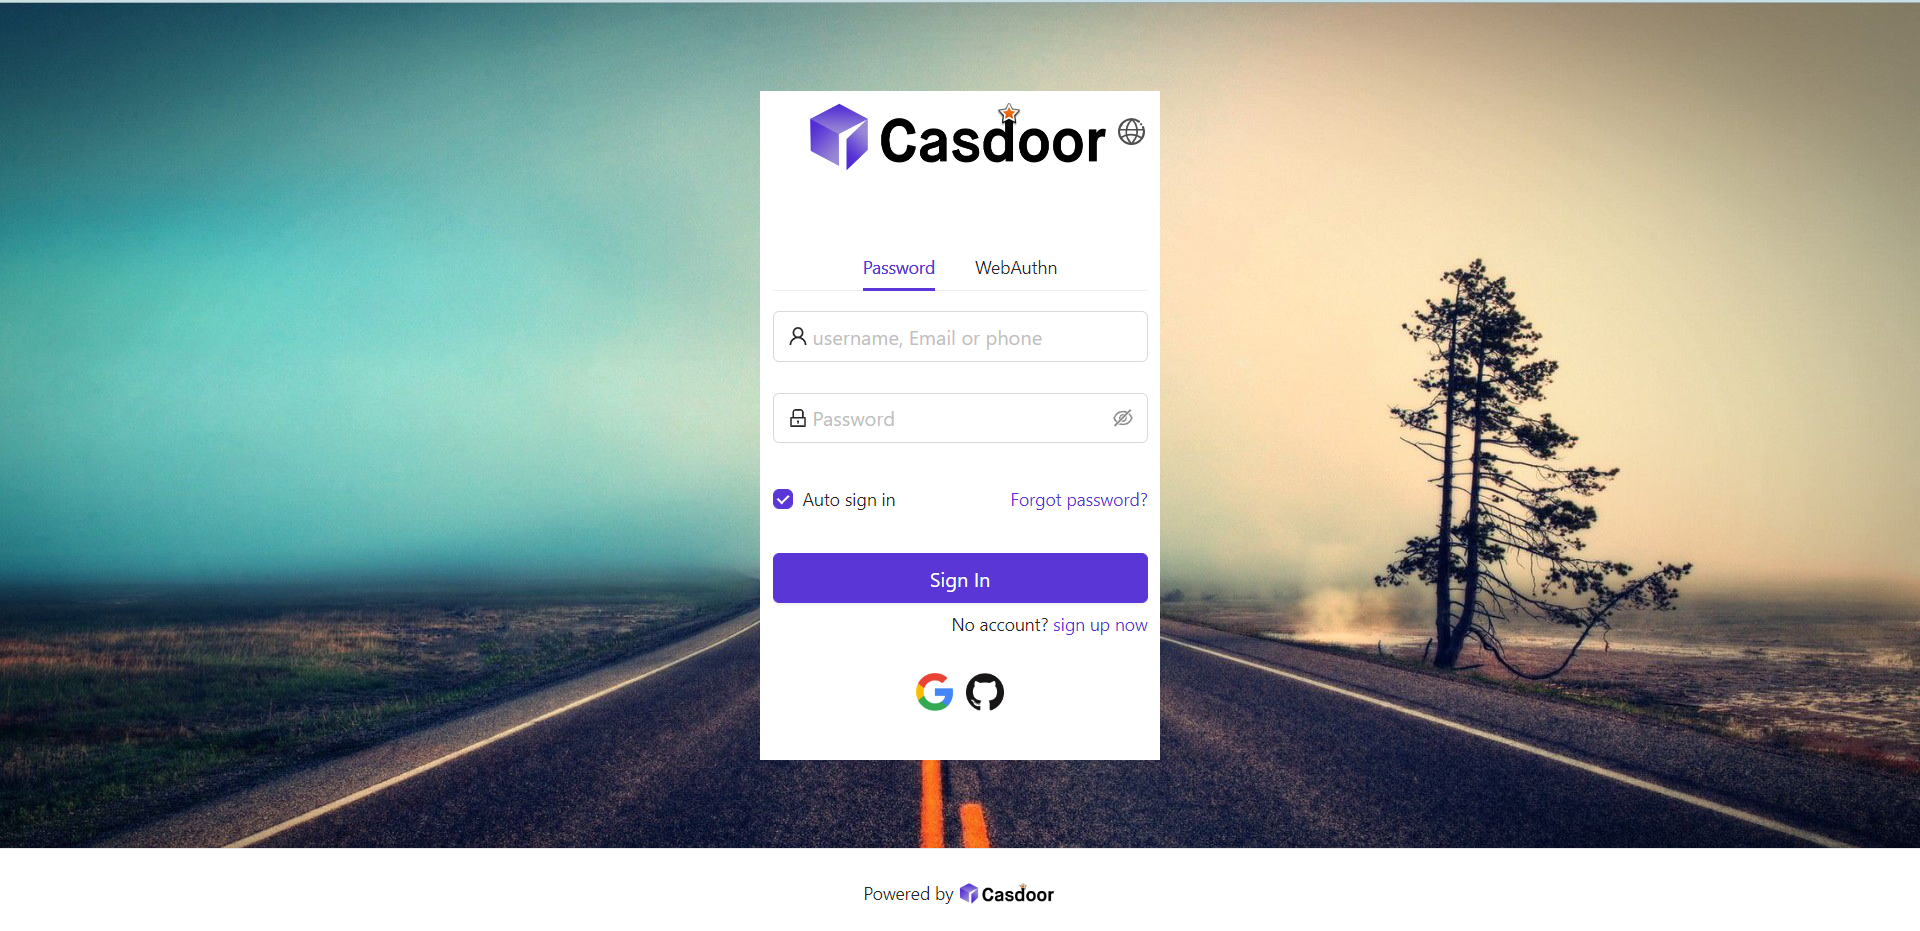
Part 3: 选择面板位置
现在登录页面就比刚开始的页面更为美观。 我们还为您提供了三个按钮,可以决定面板的位置。
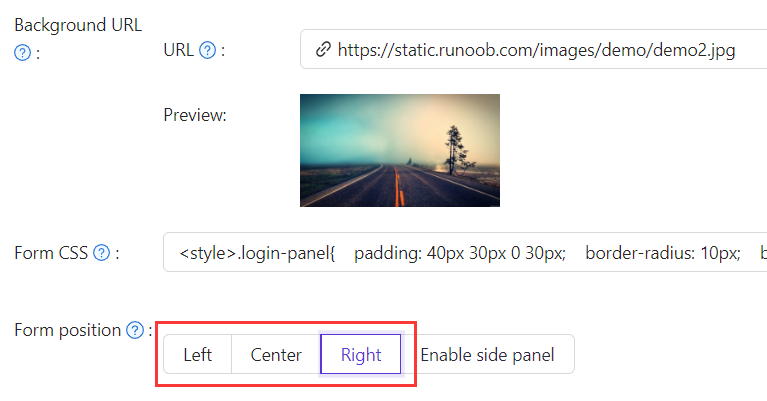
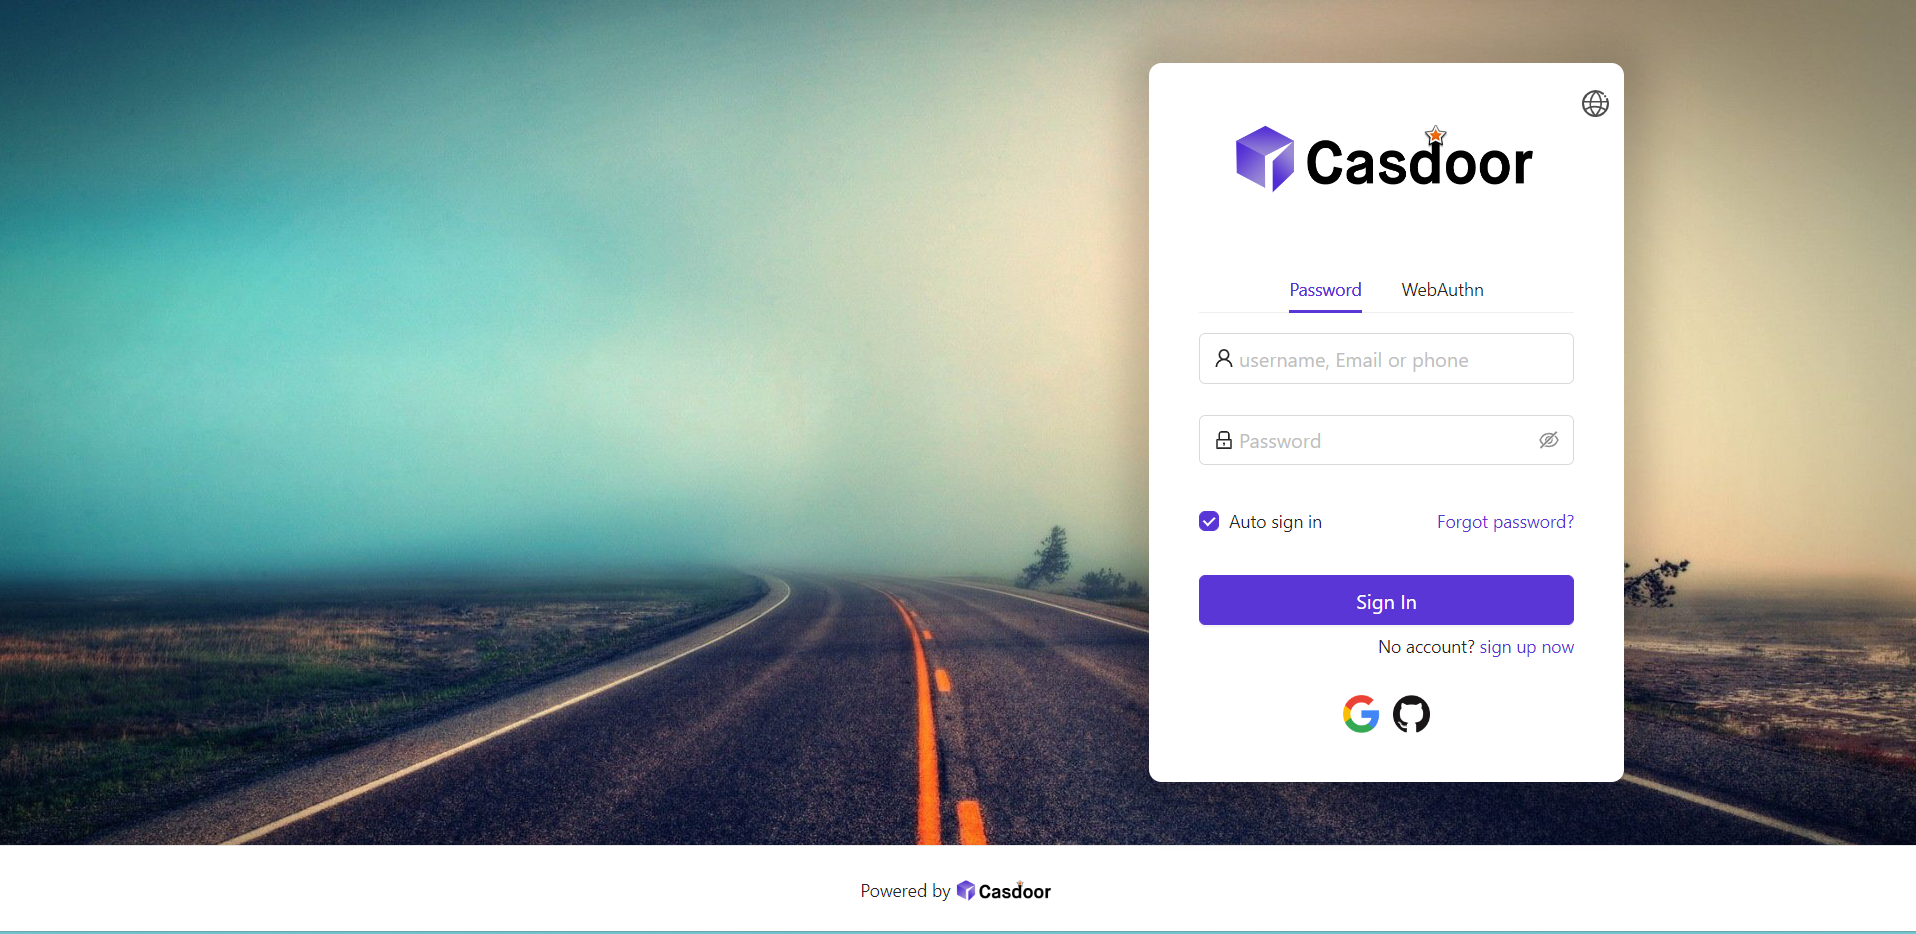
例如,选择 Right 按钮:
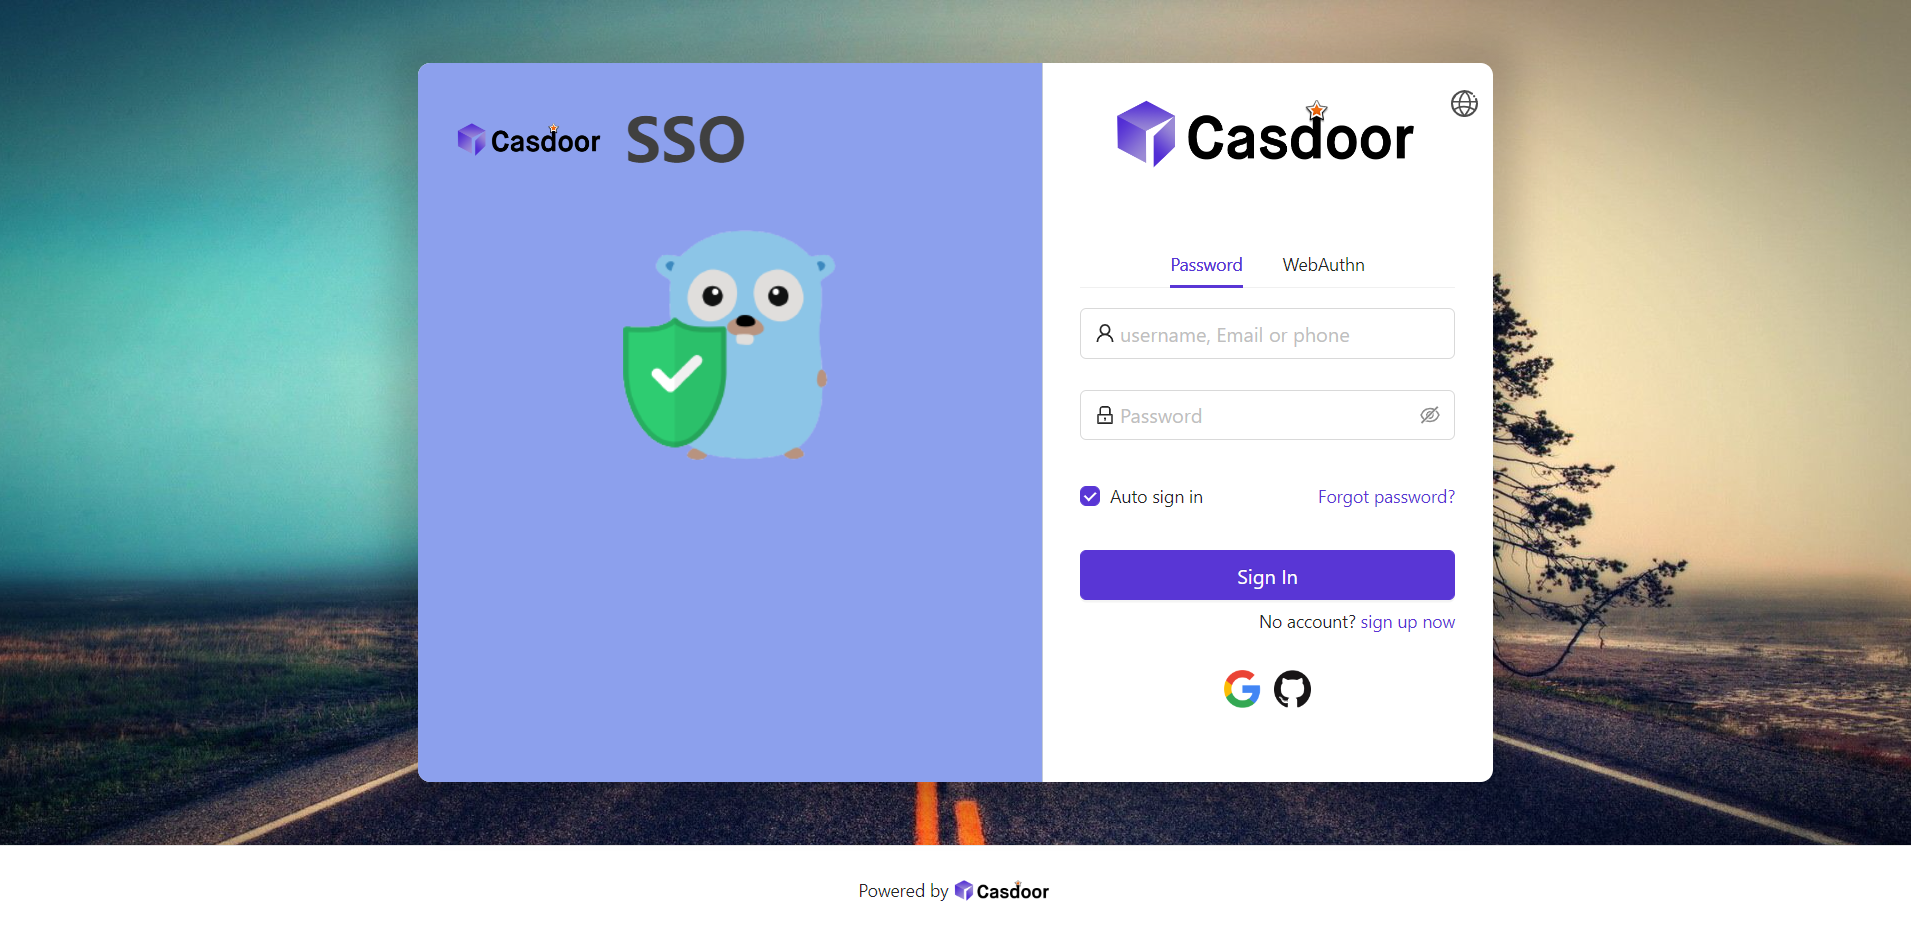
Part 4: 启用侧边面板
接下来,让我们看看如何启用侧面板并自定义其样式。
首先选择按钮。 在 启用侧面板 模式时,面板会在中间位置。

然后编辑 侧面板 HTML, 它决定了将显示在侧面板中的内容。 我们提供了一个默认模板,所以您可以简单地复制并粘贴它。
<style>
  .left-model{
    text-align: center;
    padding: 30px;
    background-color: #8ca0ed;
    position: absolute;
    transform: none;
    width: 100%;
    height: 100%;
  }
  .side-logo{
    display: flex;
    align-items: center;
  }
  .side-logo span {
    font-family: Montserrat, sans-serif;
    font-weight: 900;
    font-size: 2.4rem;
    line-height: 1.3;
    margin-left: 16px;
    color: #404040;
  }
  .img{
    max-width: none;
    margin: 41px 0 13px;
  }
</style>
<div class="left-model">
  <span class="side-logo"> <img src="https://cdn.casbin.org/img/casdoor-logo_1185x256.png" alt="Casdoor" style="width: 120px">
    <span>SSO</span>
  </span>
  <div class="img">
    <img src="https://cdn.casbin.org/img/casbin.svg" alt="Casdoor"/>
  </div>
</div>
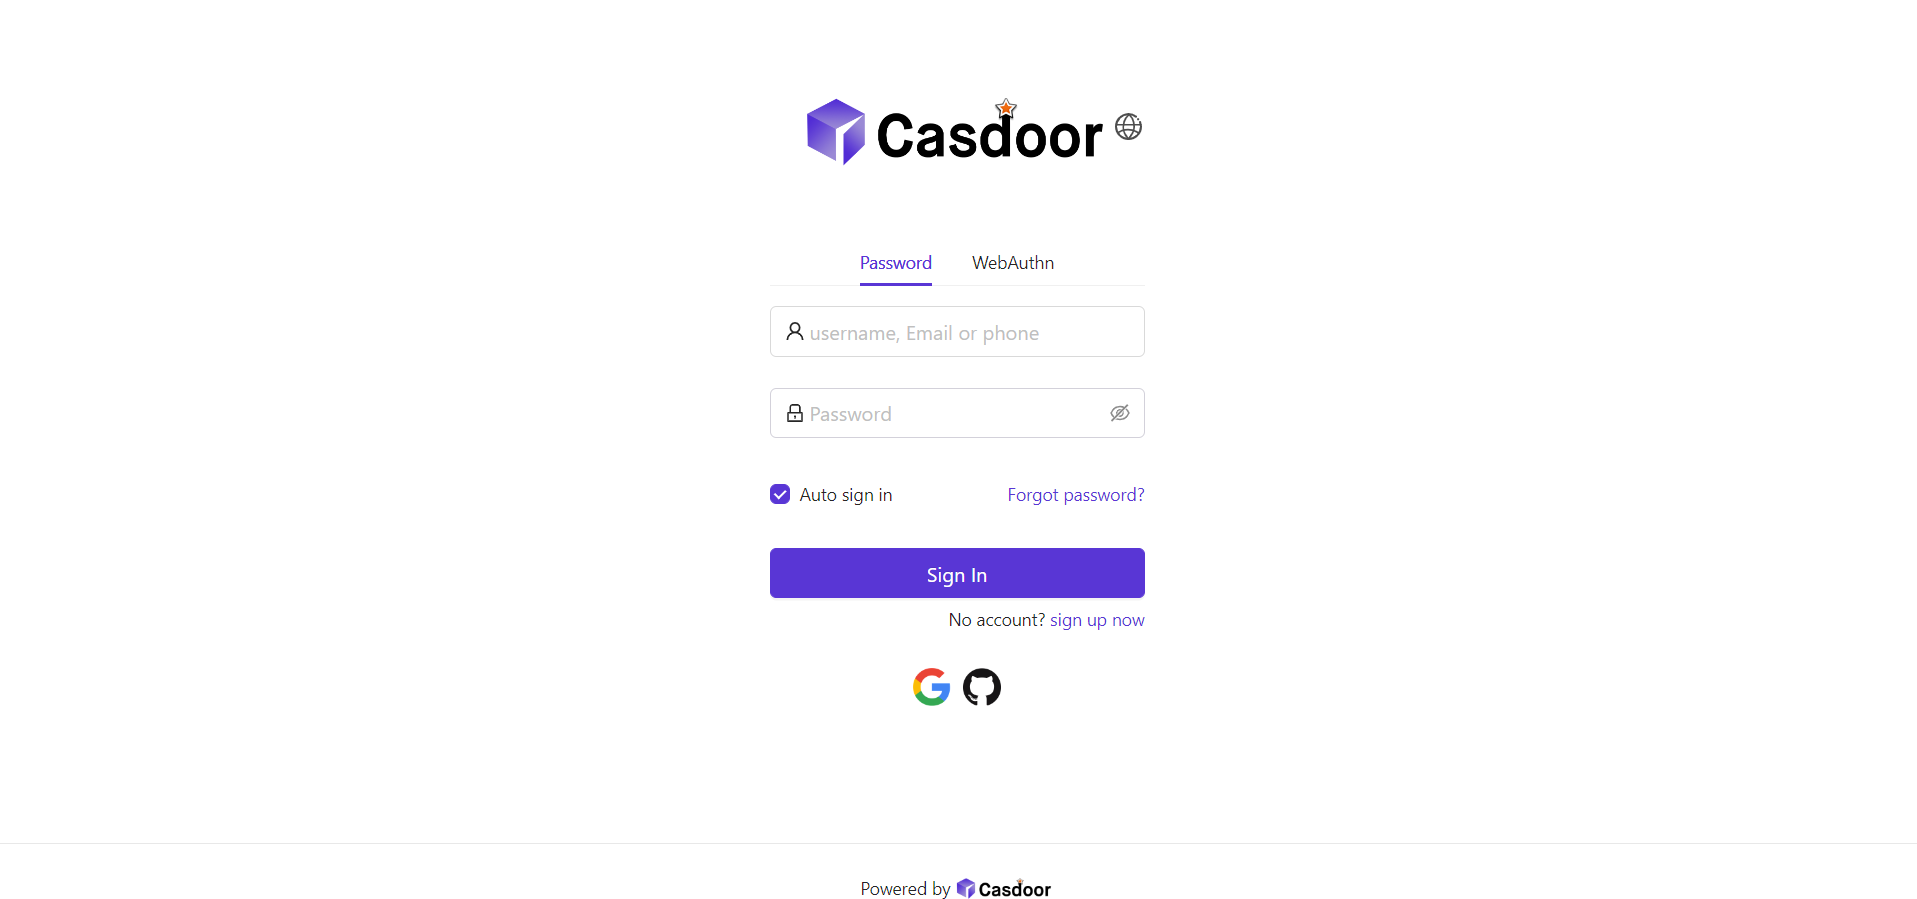
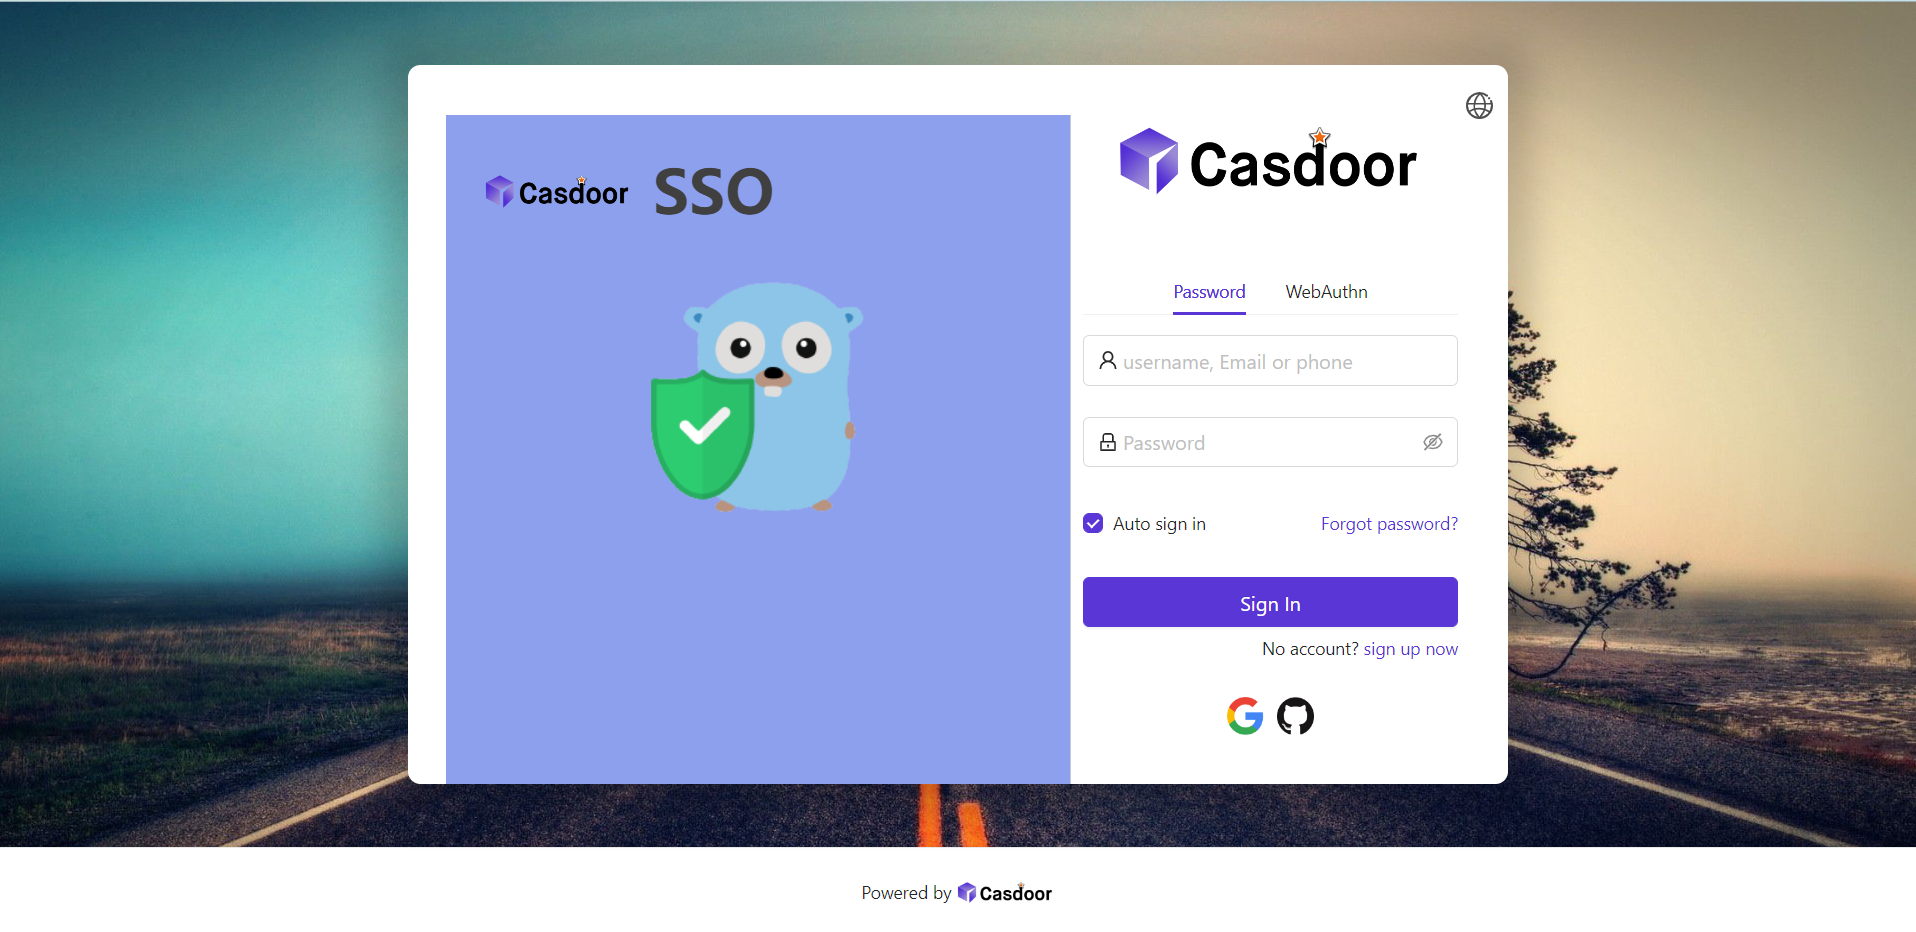
好,让我们看看效果。 显示带有标志和图像的侧面板,但结果不能令人满意。
为了改进外观,您需要在 表单 CSS 中修改和添加一些CSS 。
最后代码如下。
<style>
  .login-panel{
    border-radius: 10px;
    background-color: #ffffff;
    box-shadow: 0 0 30px 20px rgba(0, 0, 0, 0.20);
  }
  .login-form {
    padding: 30px;
  }
</style>
信息
.login-panel 和 .login-form 是div的类名。 它们对应于页面的不同区域。 如果你想要进一步自定义登录页面, 你可以在这里写CSS代码, 目标是这些类名称。
最后,我们有了一个美丽的登录页面!
总结
我们来总结一下:我们已添加背景图像,自定义了登录面板的风格,并且启用了侧边板。
下面是一些关于定制Cassdooro应用程序的额外资源:
感谢你的阅读!