Casdoor SDKs
简介
与标准的 OIDC 协议相比,Casdoor 在 SDK 中提供了更多的功能,如用户管理、资源上传等。 通过 Casdoor SDK 连接到Casdoor 的成本比使用 OIDC 标准客户端库更低,并将提供灵活性最佳和最强大的 API。
Casdoor SDK可分为两类:
- 前端 SDK: 用于网站的Javascript SDK和Vue SDK,用于应用的Android或iOS SDK。 Casdoor支持为网站和移动应用程序提供身份验证。
- 后端 SDK: Go, Java, Node.js, Python, PHP 等后端语言的 SDK 。
如果您的网站是采用后端分离的方式开发, 您可以使用 Javascript SDK: casdoor-js-sdk 或 Vue SDK: casdoor-vue-sdk 将Cassdoor 整合到前端。 如果您的网页应用程序是由 JSP 或 PHP 开发的传统网站,那您就只能使用后端SDK。 示例: casdoor-Python-vue-sdk示例
| 移动SDK | 描述 | SDK 代码库 | 示例 |
|---|---|---|---|
| Android SDK | 适用于Android应用 | casdoor-android-sdk | casdoor-android-example |
| iOS SDK | 针对iOS应用程序 | casdoor-ios-sdk | casdoor-ios-example |
| React Native SDK | 对于React Native应用程序 | casdoor-react-native-sdk | casdoor-react-native-example |
| Flutter SDK | 适用于Flutter应用 | casdoor-flutter-sdk | casdoor-flutter-example |
| Firebase SDK | 适用于Google Firebase应用 | casdoor-firebase-example | |
| Unity游戏SDK | 适用于Unity 2D/3D PC/移动游戏 | casdoor-dotnet-sdk | casdoor-unity-example |
| uni-app SDK | 对于uni-app应用程序 | casdoor-uniapp-sdk | casdoor-uniapp-example |
| 桌面版SDK | 描述 | SDK代码 | 示例 |
|---|---|---|---|
| Electron SDK | 对于Electron应用 | casdoor-js-sdk | casdoor-electron-example |
| .NET 桌面 SDK | 适用于 .NET 桌面应用 | casdoor-dotnet-sdk | WPF: casdoor-dotnet-desktop-example WinForms: casdoor-dotnet-winform-example Avalonia UI: casdoor-dotnet-avalonia-example |
| C/C++ SDK | 用于C/C++桌面应用程序 | casdoor-cpp-sdk | casdoor-cpp-qt-example |
| Web前端SDK | 描述 | SDK 代码 | 示例代码 |
|---|---|---|---|
| Javascript SDK | 对于传统的非SPA网站 | casdoor-js-sdk | Nodejs 后端:casdoor-raw-js-example Go 后端:casdoor-go-react-sdk-example |
| 仅前端的SDK | 仅用于前端的SPA网站 | casdoor-js-sdk | casdoor-react-only-example |
| React SDK | 适用于React网站 | casdoor-react-sdk | Nodejs 后端:casdoor-nodejs-react-example Java 后端:casdoor-spring-security-react-example |
| Next.js SDK | 针对Next.js网站 | nextjs-auth | |
| Nuxt SDK | 对于Nuxt网站 | nuxt-auth | |
| Vue SDK | For Vue websites | casdoor-vue-sdk | casdoor-python-vue-sdk-example |
| Angular SDK | For Angular websites | casdoor-angular-sdk | casdoor-nodejs-angular-example |
| Flutter SDK | For Flutter Web websites | casdoor-flutter-sdk | casdoor-flutter-example |
| ASP.NET SDK | For ASP.NET Blazor WASM websites | Blazor.BFF.OpenIDConnect.Template | casdoor-dotnet-blazorwasm-oidc-example |
| Firebase SDK | 适用于 Google Firebase 应用 | casdoor-firebase-example |
接下来,根据您后端的语言,可以选择使用下面的后端SDK之一:
| Web后端SDK | 描述 | Sdk 代码 | 示例代码 |
|---|---|---|---|
| Go SDK | 对于Go后端 | casdoor-go-sdk | casdoor-go-react-sdk-example |
| Java SDK | 针对Java后端 | casdoor-java-sdk | casdoor-spring-boot-starter, casdoor-spring-boot-example, casdoor-spring-security-react-example |
| Node.js SDK | 针对Node.js后端 | casdoor-nodejs-sdk | casdoor-nodejs-react-example |
| Python SDK | 针对Python后端 | casdoor-python-sdk | Flask: casdoor-python-vue-sdk-example Django: casdoor-django-js-sdk-example FastAPI: casdoor-fastapi-js-sdk-example |
| PHP SDK | 针对PHP后端 | casdoor-php-sdk | wordpress-casdoor-plugin |
| .NET SDK | 针对ASP.NET后端 | casdoor-dotnet-sdk | casdoor-dotnet-sdk-example |
| Rust SDK | 针对Rust后端 | casdoor-rust-sdk | casdoor-rust-example |
| C/C++ SDK | 针对 C/C++ 后端 | casdoor-cpp-sdk | casdoor-cpp-qt-example |
| Dart SDK | 针对Dart后端 | casdoor-dart-sdk | |
| Ruby SDK | 针对Ruby后端 | casdoor-ruby-sdk |
要查看官方Casdoor SDK的完整列表,请参阅:https://github.com/orgs/casdoor/repositories?q=sdk&type=all&language=&sort=
如何使用 Casdoor SDK ?
1. 后端 SDK 配置
当您的应用程序启动时,您需要调用 InitConfig() 函数来初始化Casdoor SDK 配置。 以casdoor-go-sdk为例:https://github.com/casbin/casnode/blob/6d4c55f5c9a3c4bd8c85f2493abad3553b9c7ac0/controllers/account.go#L51-L64
var CasdoorEndpoint = "https://door.casdoor.com"
var ClientId = "541738959670d221d59d"
var ClientSecret = "66863369a64a5863827cf949bab70ed560ba24bf"
var CasdoorOrganization = "casbin"
var CasdoorApplication = "app-casnode"

//go:embed token_jwt_key.pem
var JwtPublicKey string

func init() {
    auth.InitConfig(CasdoorEndpoint, ClientId, ClientSecret, JwtPublicKey, CasdoorOrganization, CasdoorApplication)
}
InitConfig() 的所有参数解释为:
| 参数 | 必须 | 描述 |
|---|---|---|
| 端点 | 是 | Casdoor 服务器 URL,例如 https://door.casdoor.com 或 http://localhost:8000 |
| clientId | 是 | Casdoor应用程序的客户端ID |
| clientSecret | 是 | Casdoor应用程序的客户端密钥 |
| jwtPublicKey | 是 | Casdoor应用程序的证书的公钥 |
| 组织名称 | 是 | Casdoor组织的名称 |
| 应用程序名称 | 不 | Casdoor应用程序的名称 |
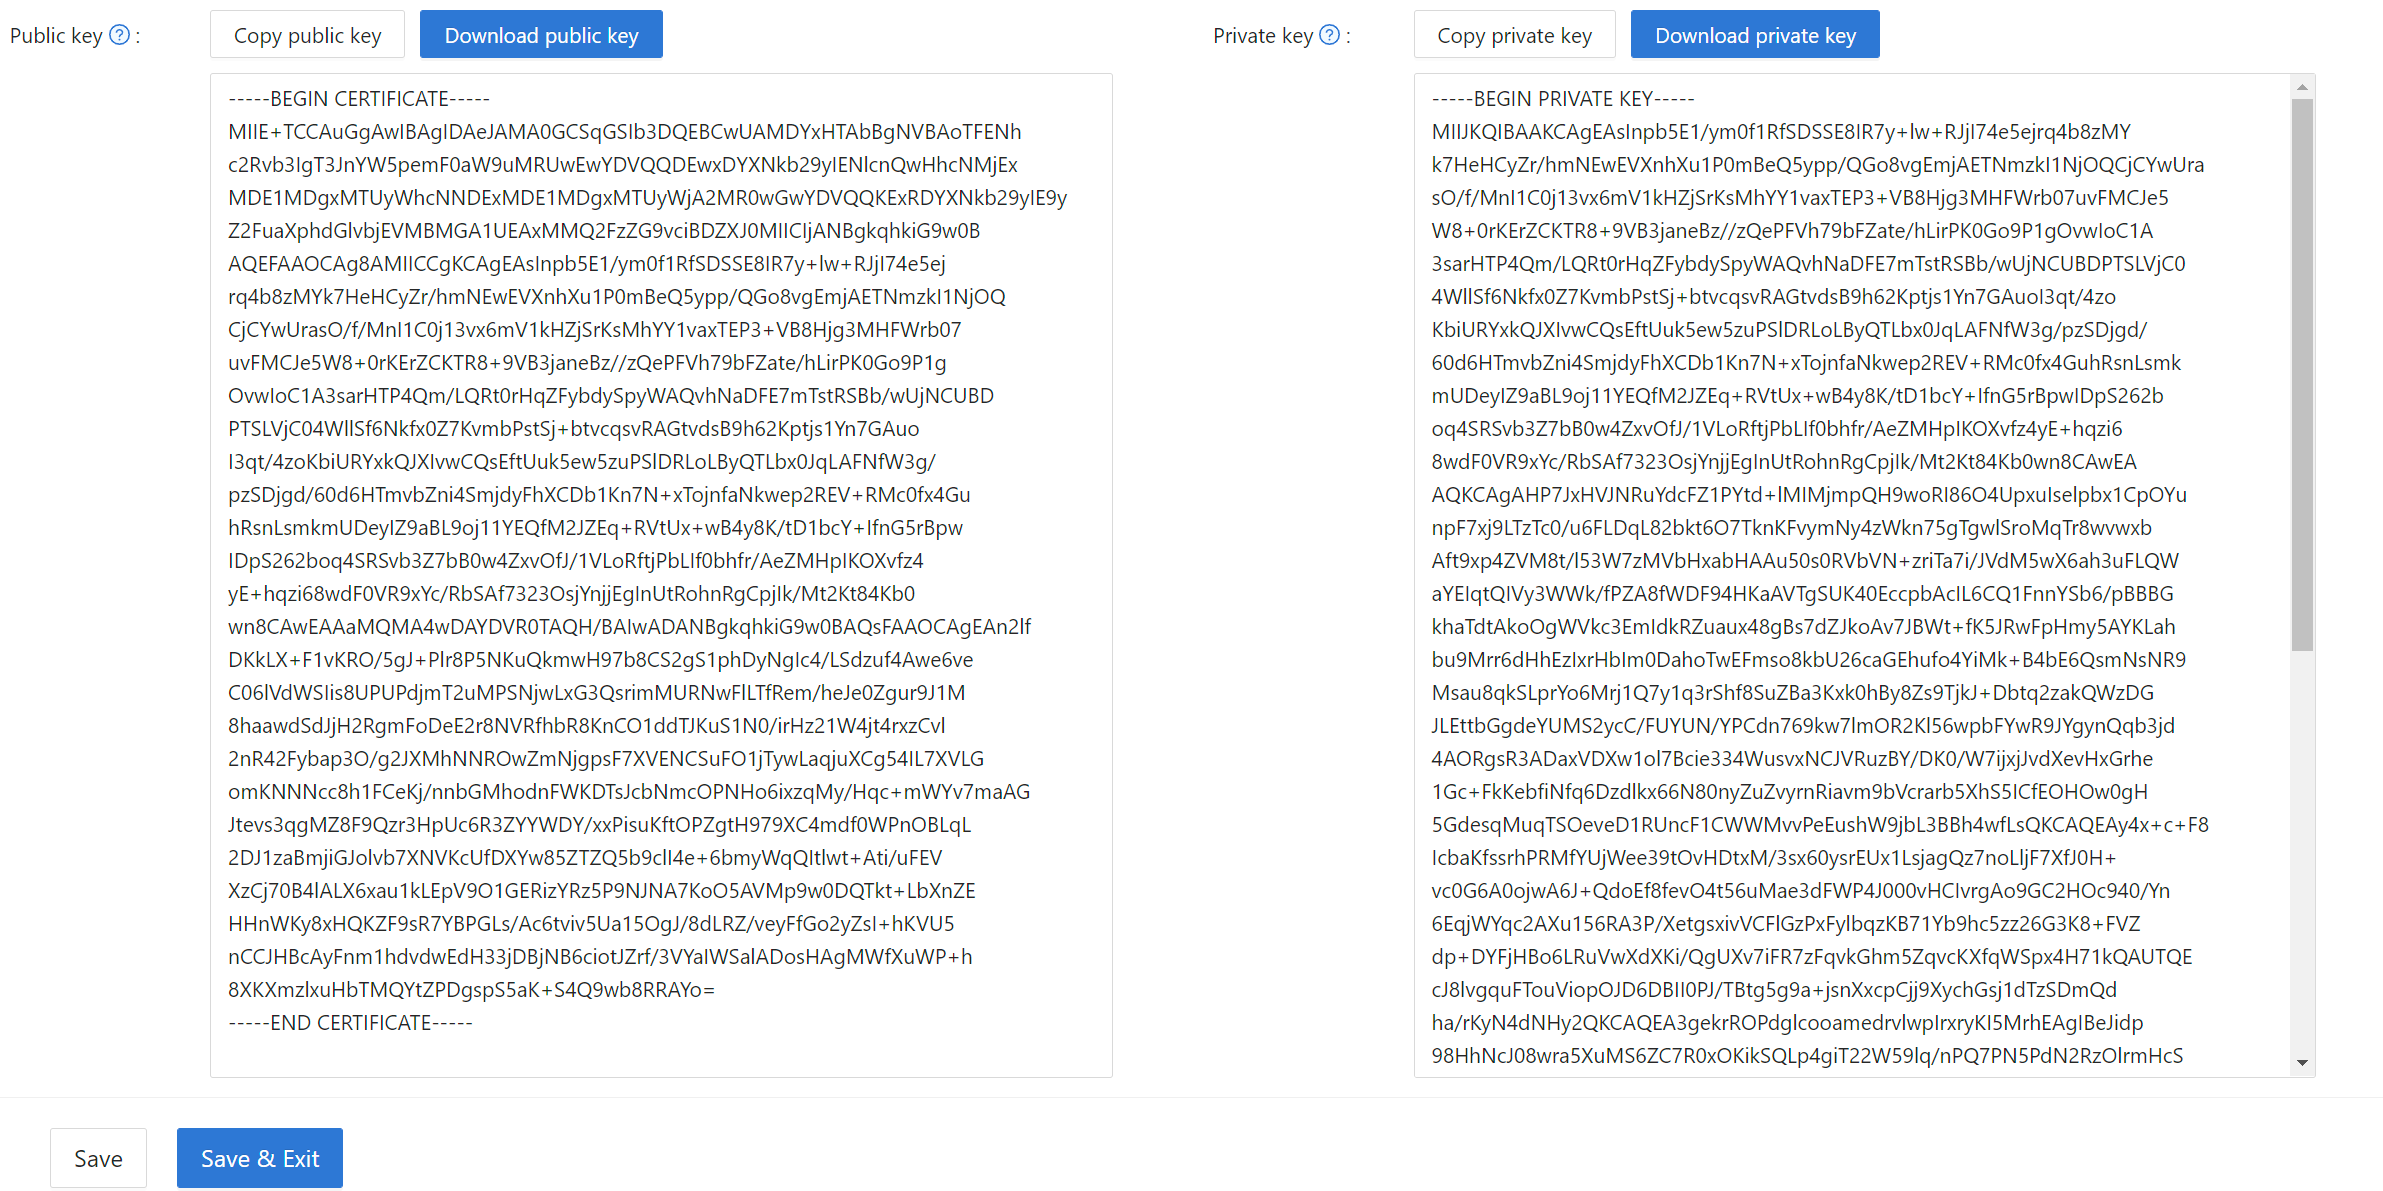
jwtPublicKey 可以在 Certs 页面中进行管理。

您可以在证书编辑页面中找到公钥,复制或下载它以供 sdk 使用。
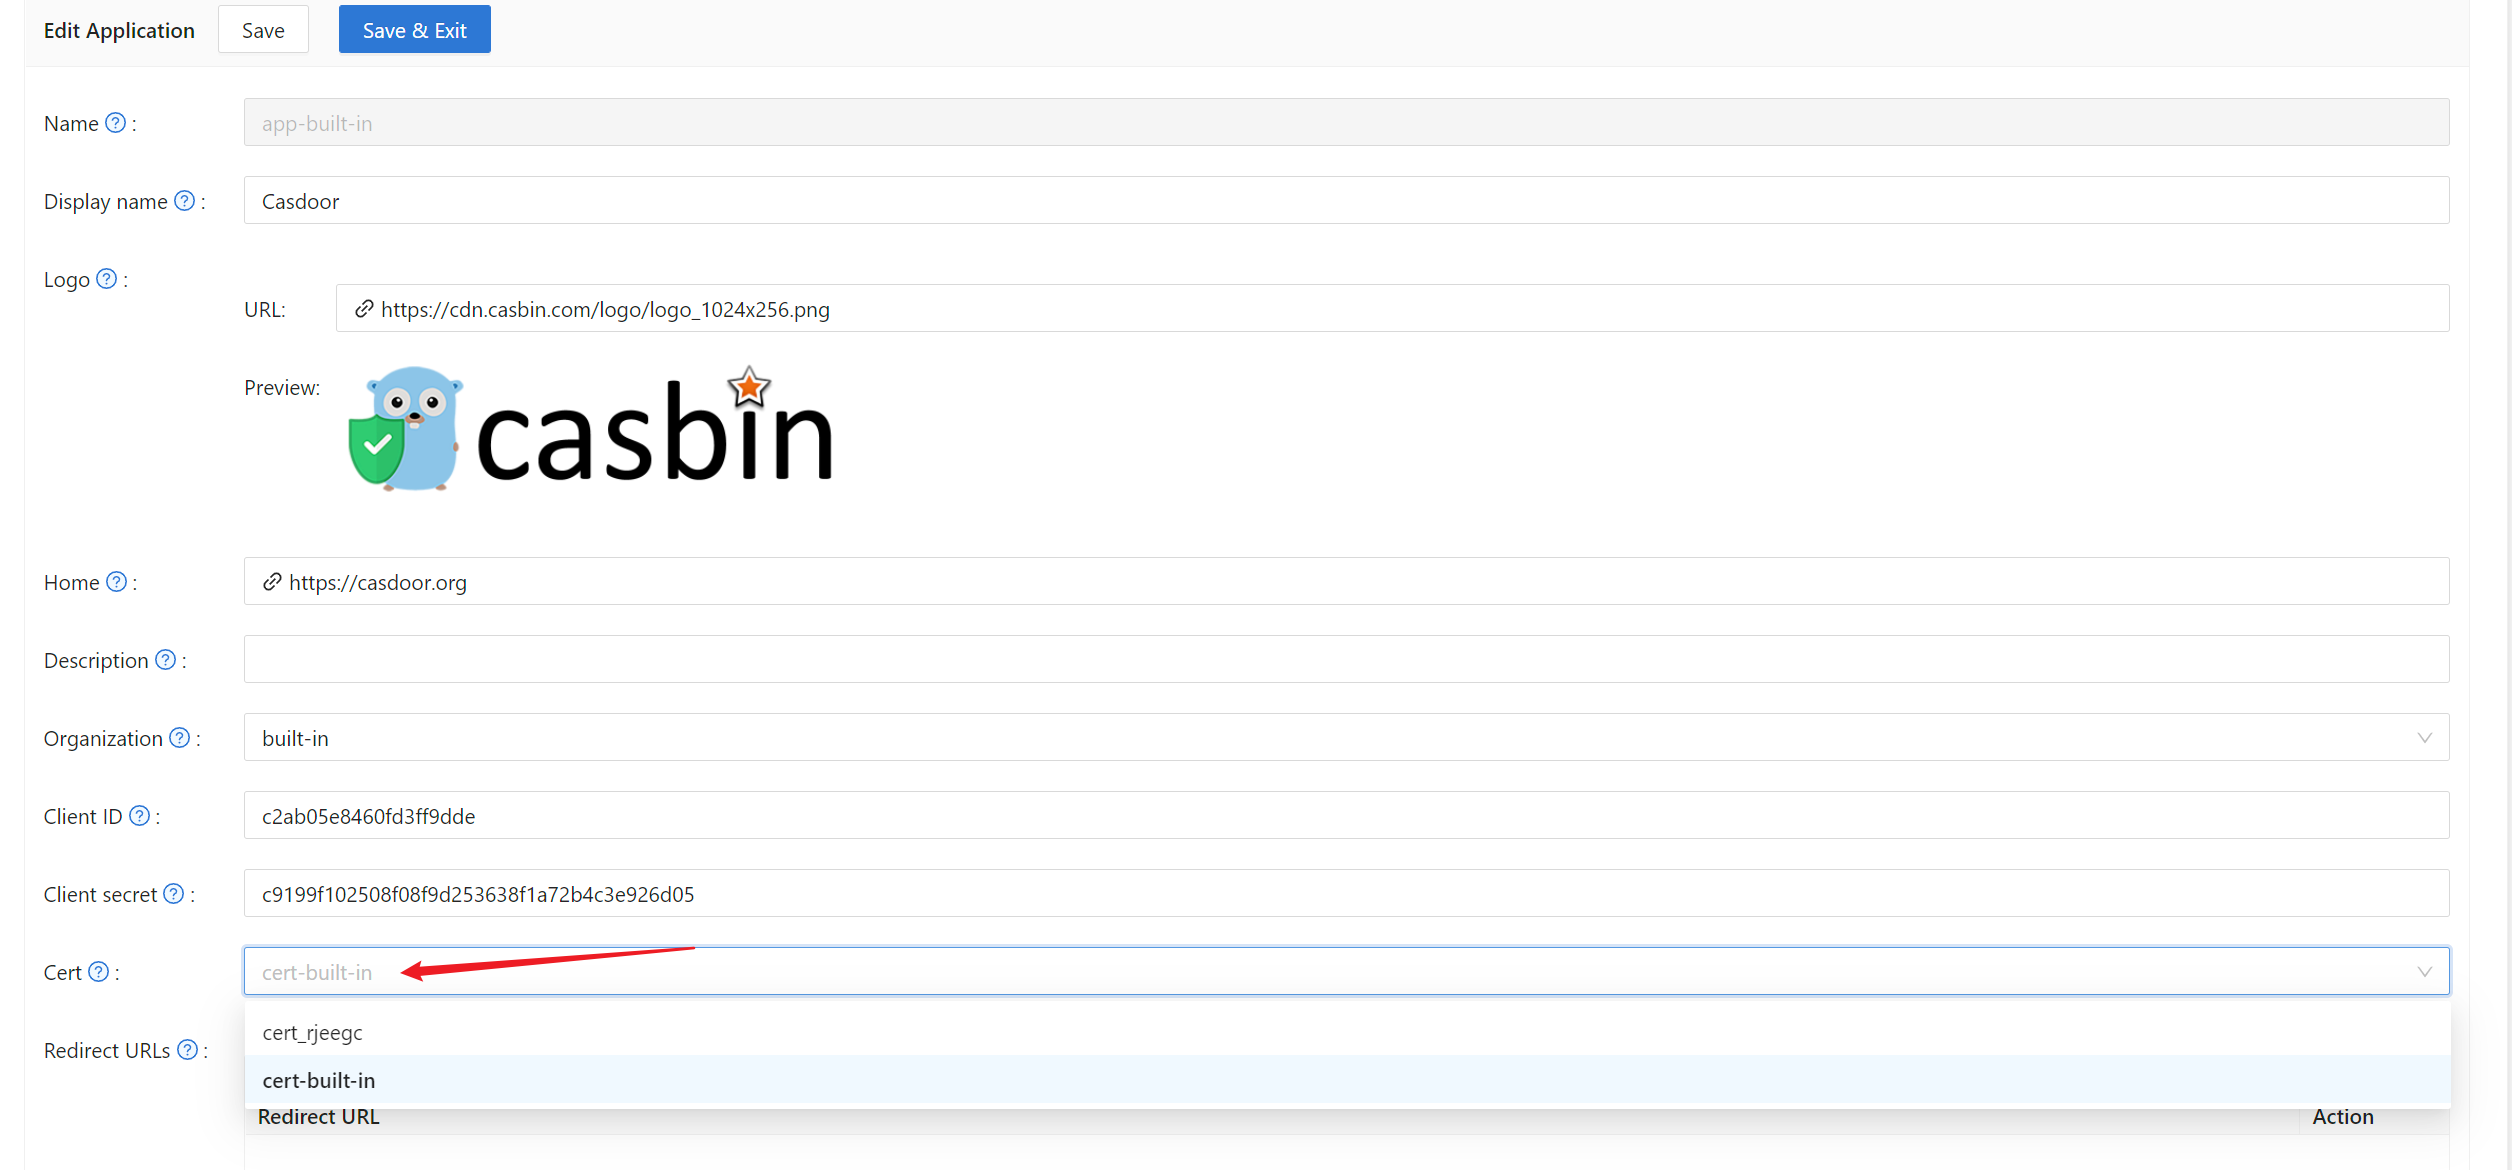
之后,您可以在应用编辑页面选择证书。
2. 前端配置
首先,通过 NPM 或 Yarn安装 casdoor-js-sdk
npm install casdoor-js-sdk
或者:
yarn add casdoor-js-sdk
然后定义以下实用功能(在全局JS文件中更好,比如 Setting.js):
import Sdk from "casdoor-js-sdk";

export function initCasdoorSdk(config) {
  CasdoorSdk = new Sdk(config);
}

export function getSignupUrl() {
  return CasdoorSdk.getSignupUrl();
}

export function getSigninUrl() {
  return CasdoorSdk.getSigninUrl();
}

export function getUserProfileUrl(userName, account) {
  return CasdoorSdk.getUserProfileUrl(userName, account);
}

export function getMyProfileUrl(account) {
  return CasdoorSdk.getMyProfileUrl(account);
}

export function getMyResourcesUrl(account) {
  return CasdoorSdk.getMyProfileUrl(account).replace("/account?", "/resources?");
}

export function signin() {
  return CasdoorSdk.signin(ServerUrl);
}

export function showMessage(type, text) {
  if (type === "") {
    return;
  } else if (type === "success") {
    message.success(text);
  } else if (type === "error") {
    message.error(text);
  }
}

export function goToLink(link) {
  window.location.href = link;
}
在您前端代码的入口文件 (如 index.js 或 app.js 在React中), 您需要通过调用 InitConfig() 函数来初始化 casdoor-js-sdk 前4个参数应该使用与 Casdoor 后端SDK 相同的值。 最后一个参数 重定向路径 是从Cassdoor的登录页面返回的重定向URL的相对路径。
const config = {
  serverUrl: "https://door.casdoor.com",
  clientId: "014ae4bd048734ca2dea",
  organizationName: "casbin",
  appName: "app-casnode",
  redirectPath: "/callback",
};

xxx.initCasdoorSdk(config);
(可选) 因为我们正在使用React作为示例,我们的 /callback 路径正在撞击React路由。 我们使用以下React组件接收 /回调 调用并发送到后端。 如果您直接重定向到后端(如JSP 或 PHP),您可以忽略此步骤。
import React from "react";
import {Button, Result, Spin} from "antd";
import {withRouter} from "react-router-dom";
import * as Setting from "./Setting";

class AuthCallback extends React.Component {
  constructor(props) {
    super(props);
    this.state = {
      classes: props,
      msg: null,
    };
  }

  componentWillMount() {
    this.login();
  }

  login() {
    Setting.signin().then((res) => {
      if (res.status === "ok") {
        Setting.showMessage("success", `Logged in successfully`);
        Setting.goToLink("/");
      } else {
        this.setState({
          msg: res.msg,
        });
      }
    });
  }

  render() {
    return (
      <div style={{textAlign: "center"}}>
        {this.state.msg === null ? (
          <Spin
            size="large"
            tip="Signing in..."
            style={{paddingTop: "10%"}}
          />
        ) : (
          <div style={{display: "inline"}}>
            <Result
              status="error"
              title="Login Error"
              subTitle={this.state.msg}
              extra={[
                <Button type="primary" key="details">
                  Details
                </Button>,
                <Button key="help">Help</Button>,
              ]}
            />
          </div>
        )}
      </div>
    );
  }
}

export default withRouter(AuthCallback);
3. 获取登录 URL
接下来,您可以显示“注册”和“登录”按钮或链接到您的用户。 可以在前端或后端检索URL。 详细信息见: /docs/basic/core-concepts#login-urls
4. 获取并验证token
步骤如下:
- 用户点击登录URL并重定向到Casdoor的登录页面,如
https://door.casbin.com/login/oauth/authorize?client_id=014ae4bd048734ca2dea&response_type=code&redirect_uri=https%3A%2F%2Fforum.casbin.com%2Fcallback&scope=read&state=app-casnode - 用户输入用户名和密码,并点击登录(或者选择第三方登录,例如通过GitHub进行登录)
- 该用户被重定向到您的应用,使用Casto发行的授权码(例如:
https://forum.casbin.com?code=xxx&state=yyy), 您的应用程序的后端需要将授权码与访问令牌交换,并验证访问令牌是否有效和由Casdoor签发。 函数GetOAuthToken()和ParseJwtToken()由Casdoor后端SDK提供。
以下代码显示如何获取并验证访问令牌。 要查看一个真实的Casnode示例(一个用Go编写的论坛网站),请参见:https://github.com/casbin/casnode/blob/6d4c55f5c9a3c4bd8c85f2493abad3553b9c7ac0/controllers/account.go#L51-L64
// 从重定向 URL 的 GET 参数中获取代码和状态
code := c.Input().Get("code")
state := c.Input().Get("state")

// 用代码和状态交换token
token, err := auth.GetOAuthToken(code, state)
if err != nil {
    panic(err)
}

// 验证访问令牌
claims, err := auth.ParseJwtToken(token.AccessToken)
if err != nil {
    panic(err)
}
如果 ParseJwtToken() 结束时没有错误,那么用户已成功登录到应用程序。 返回的 claims 可以稍后用来识别用户。
4. 用token识别用户
这一部分实际上是您的应用程序本身的业务逻辑,而不是OIDC、OAuth 或Cassdoor的一部分。 我们只是提供正确做法,因为许多人不知道该怎么做。
在Cassdoor中,访问令牌通常与ID令牌相同。 他们是一样的。 因此,访问令牌包含登录用户的所有信息。
由 ParseJwtToken() 返回的变量 claims 被定义为:
Type Claims struct
    User
    AccessToken string `json:"accessToken"
    jwt.RegisteredClaims
}
User: User 对象,包含登录用户的所有信息,请参见定义:/docs/basic/core-concepts#userAccessToken: token信息jwt.RegisteredClaim: JWT需要一些其他值。
这时,应用程序通常有两种方法记住用户会话: session and JWT。
Session
设置Session的方法因语言和框架而大不相同。 例如,Casnode 使用 Beego web 框架 并通过调用设置会话: c.SetSessionUser()。
token, err := auth.GetOAuthToken(code, state)
if err != nil {
    panic(err)
}

claims, err := auth.ParseJwtToken(token.AccessToken)
if err != nil {
    panic(err)
}

claims.AccessToken = token.AccessToken
c.SetSessionUser(claims) // 设置会话
JWT
从 Casdoor 返回的 accessToken 实际上是一个 JWT。 因此,如果您的应用程序使用 JWT 来保持用户session,只需直接为它使用访问令牌:
- 将访问令牌发送到前端,在本地存储浏览器等地方保存。
- 让浏览器为每一个请求发送访问令牌到后端。
- 调用
ParseJwtToken()或使用您自己的函数来验证token ,通过后端提供的已登录用户信息。
5. (可选) 与用户表的互动
这一部分是由 Castor Public API 提供的,而不是OIDC 或 OAuth 的一部分。
Casdoor Backend SDK 提供了许多辅助功能,不仅限于:
GetUser(name string): 通过用户名获取用户。GetUsers(): 获取所有用户。AddUser(): 添加一个用户。UpdateUser(): 更新一个用户。DeleteUser(): 删除一个用户。CheckUserPassword(auth.User): 检查用户的密码。
这些函数是通过对 Castor Public API 调用 RESTful API 实现的。 如果 Casdoor Backend SDK 中没有提供功能,您可以自己调用 RESTful API。