Tencent Cloud
Casdoor as a SAML IdP in Tencent Cloud
This guide will show you how to configure Casdoor and Tencent Cloud to add Casdoor as a SAML IdP in Tencent Cloud.
Copy Saml MetaData
In Casdoor, add a certificate of type X.509 with RSA crypto algorithm.
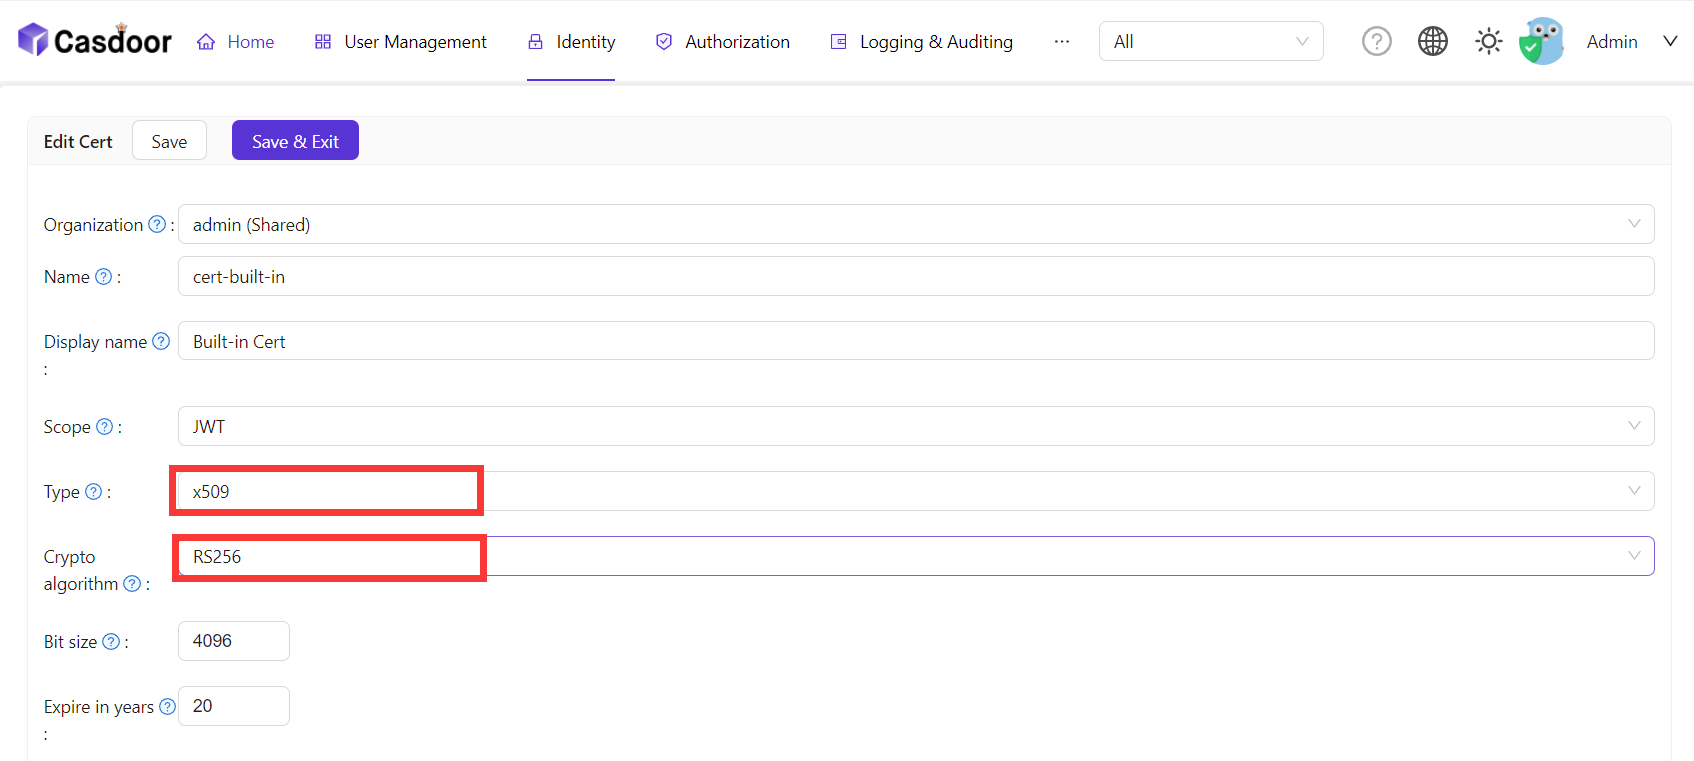
Then copy the SamlMetadata in Casdoor.

Adding SAML IdP in Tencent Cloud
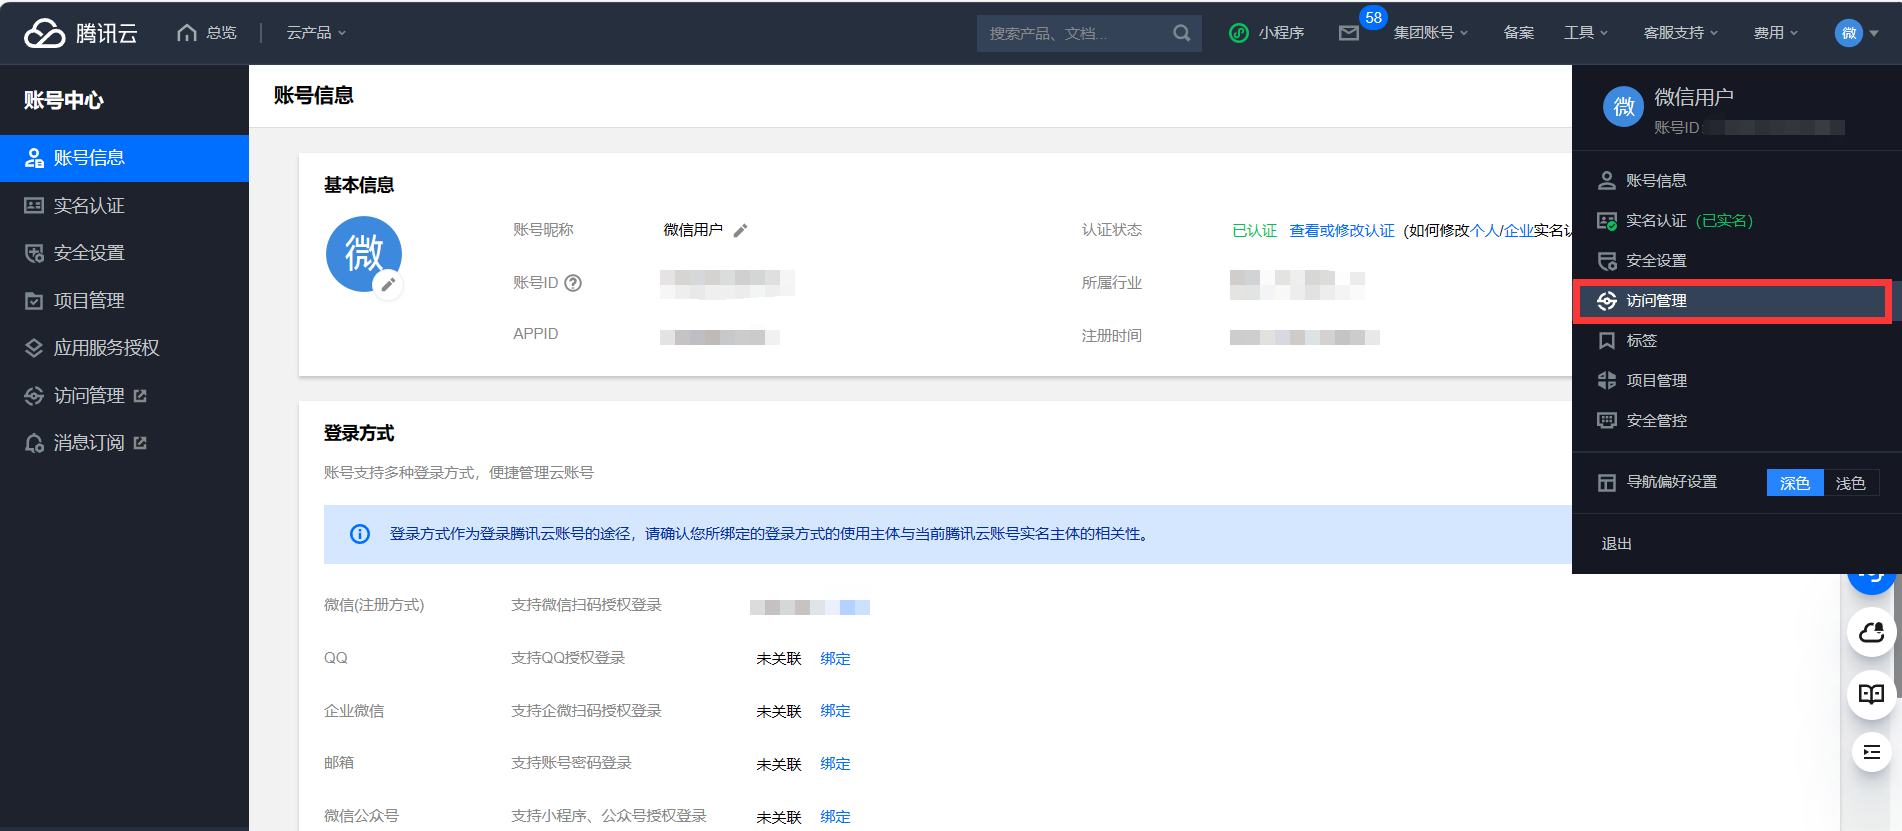
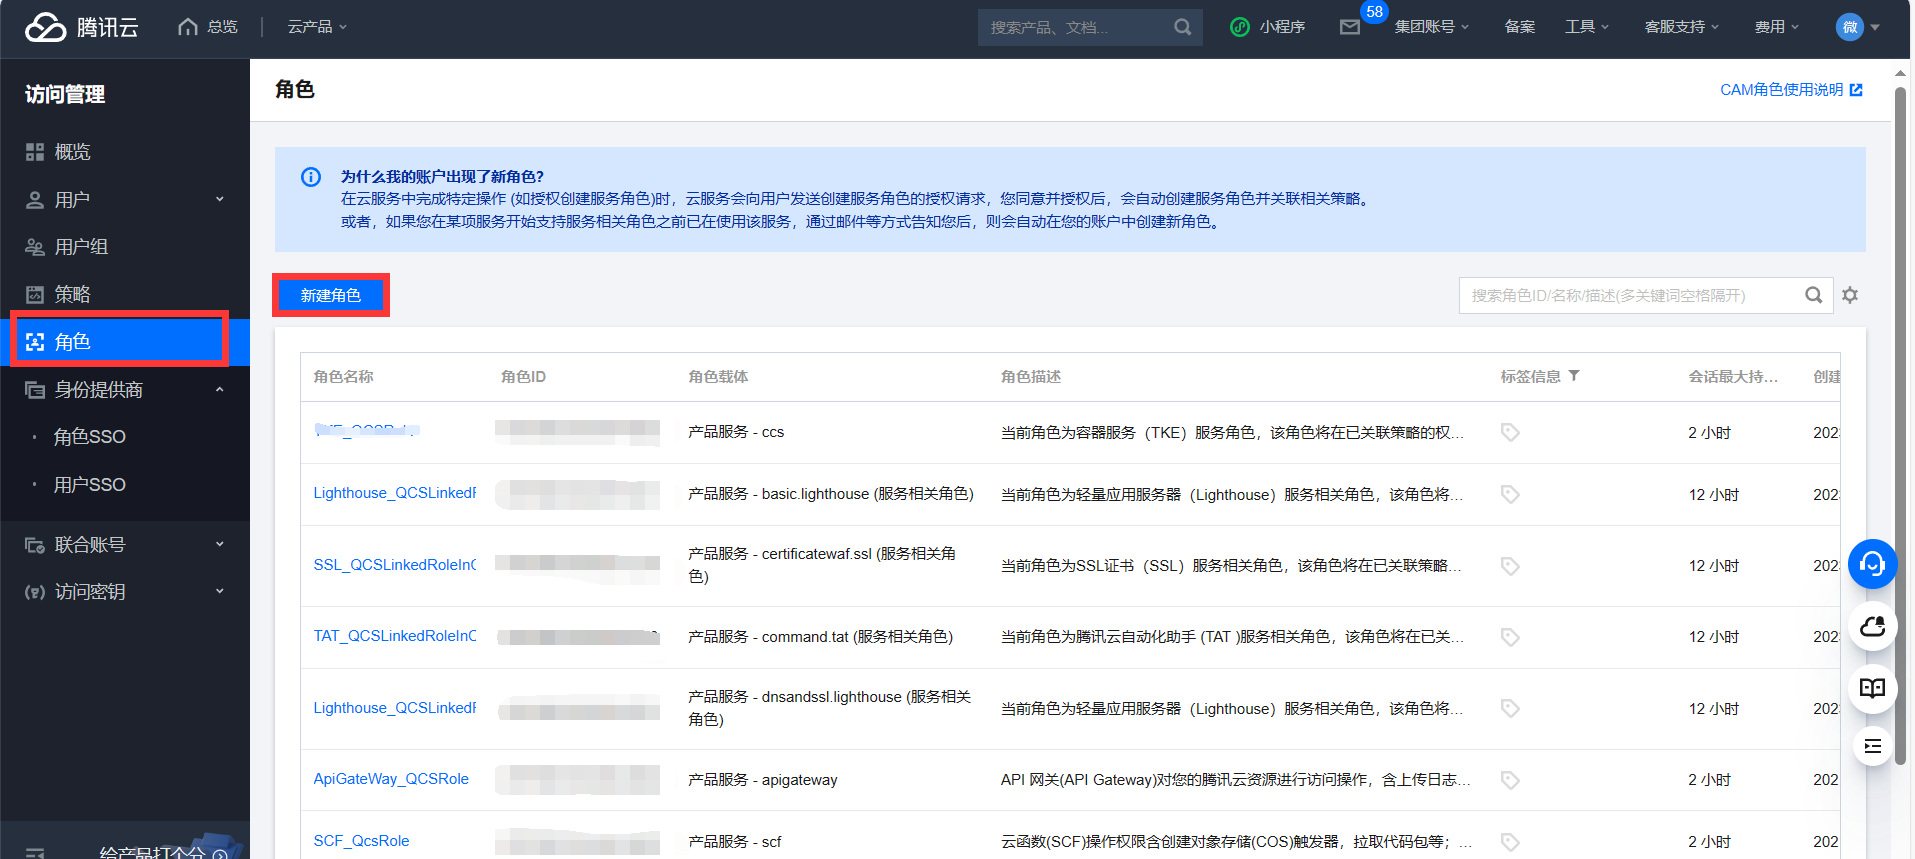
Log in to Tencent Cloud and enter the access management interface.
Create a new Identity Providers and upload the previously copied saml metadata to Tencent Cloud.
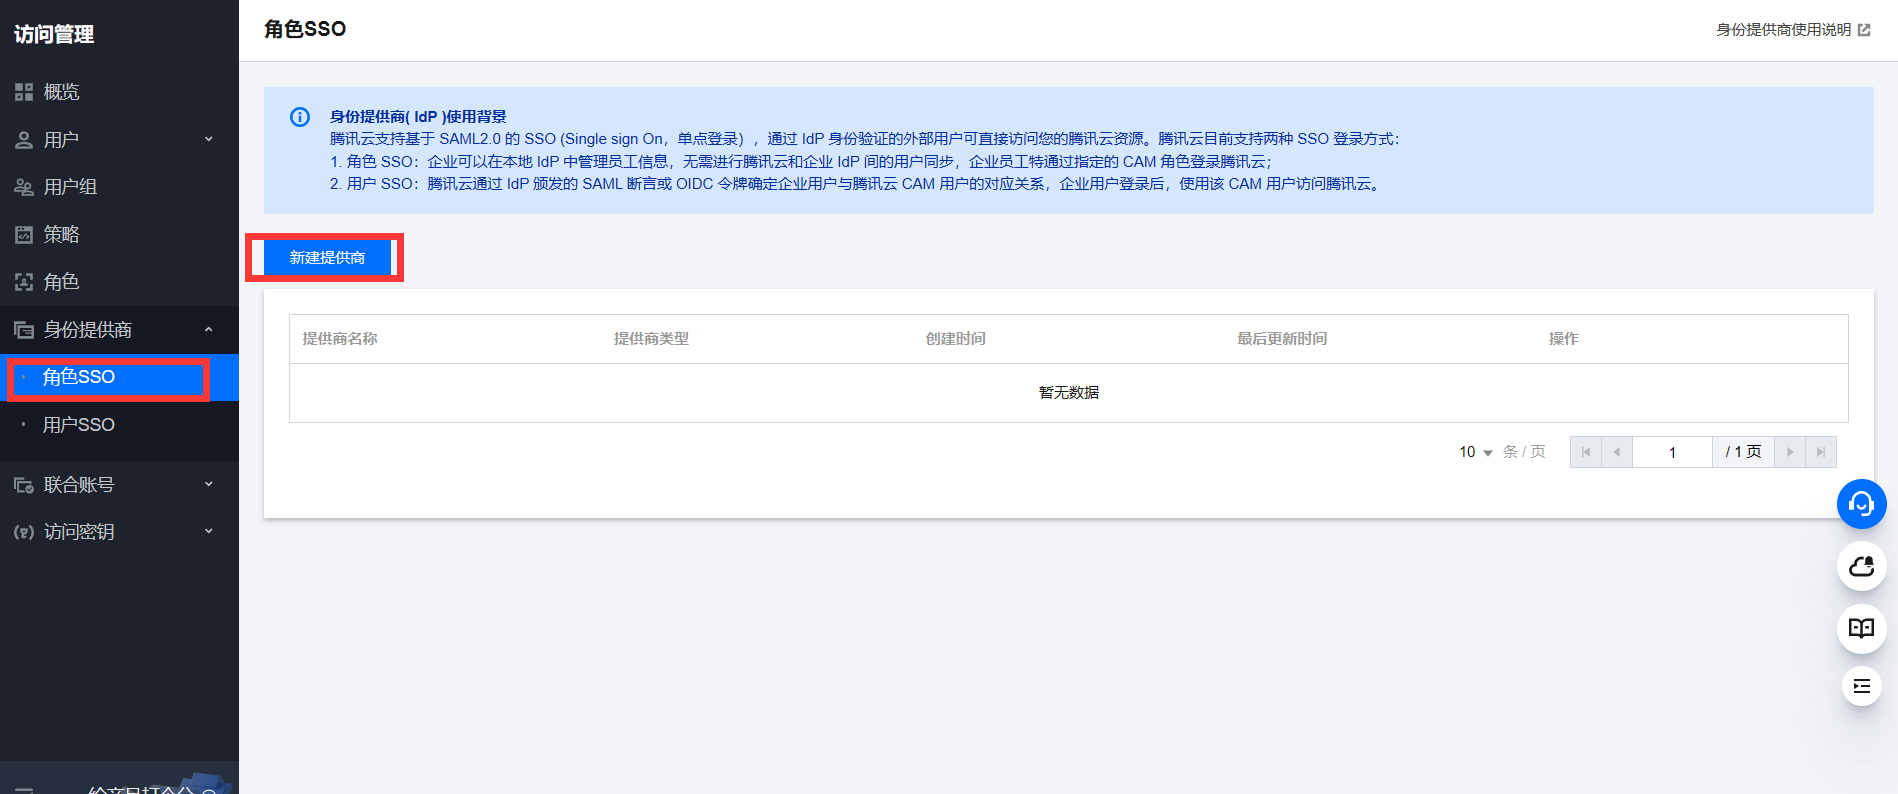
Then Create a new ROLE and select the previously Identity Providers as idp provider.
Configuring the SAML application in Casdoor
On the application edit page, select the certificate you just created. Add the domain name of the Tencent Cloud application you will use in the Redirect URLs.

In the application edit page, enter the ACS URL and configure the Saml Attribute.

The configuration information for Saml Attribute is as follows:
| Name | Name Format | Value |
|---|---|---|
https://cloud.tencent.com/SAML/Attributes/Role | Unspecified | qcs::cam::uin/{AccountID}:roleName/{RoleName1};qcs::cam::uin/{AccountID}:roleName/{RoleName2},qcs::cam::uin/{AccountID}:saml-provider/{ProviderName} |
https://cloud.tencent.com/SAML/Attributes/RoleSessionName | Unspecified | casdoor |
- In the Role source attribute, replace {AccountID}, {RoleName}, and {ProviderName} with the following content:
- Replace {AccountID} with your Tencent Cloud account ID, which can be viewed in the Account Information - Console.
- Replace {RoleName} with the role name you created in Tencent Cloud, which can be viewed in the Roles - Console.
- Replace {ProviderName} with the name of the SAML identity provider you created in Tencent Cloud, which can be viewed in the Identity Providers - Console.
You can visit the Tencent Cloud SAML Identity Providers documentation to get more detailed information.
Logging in using Casdoor SAML
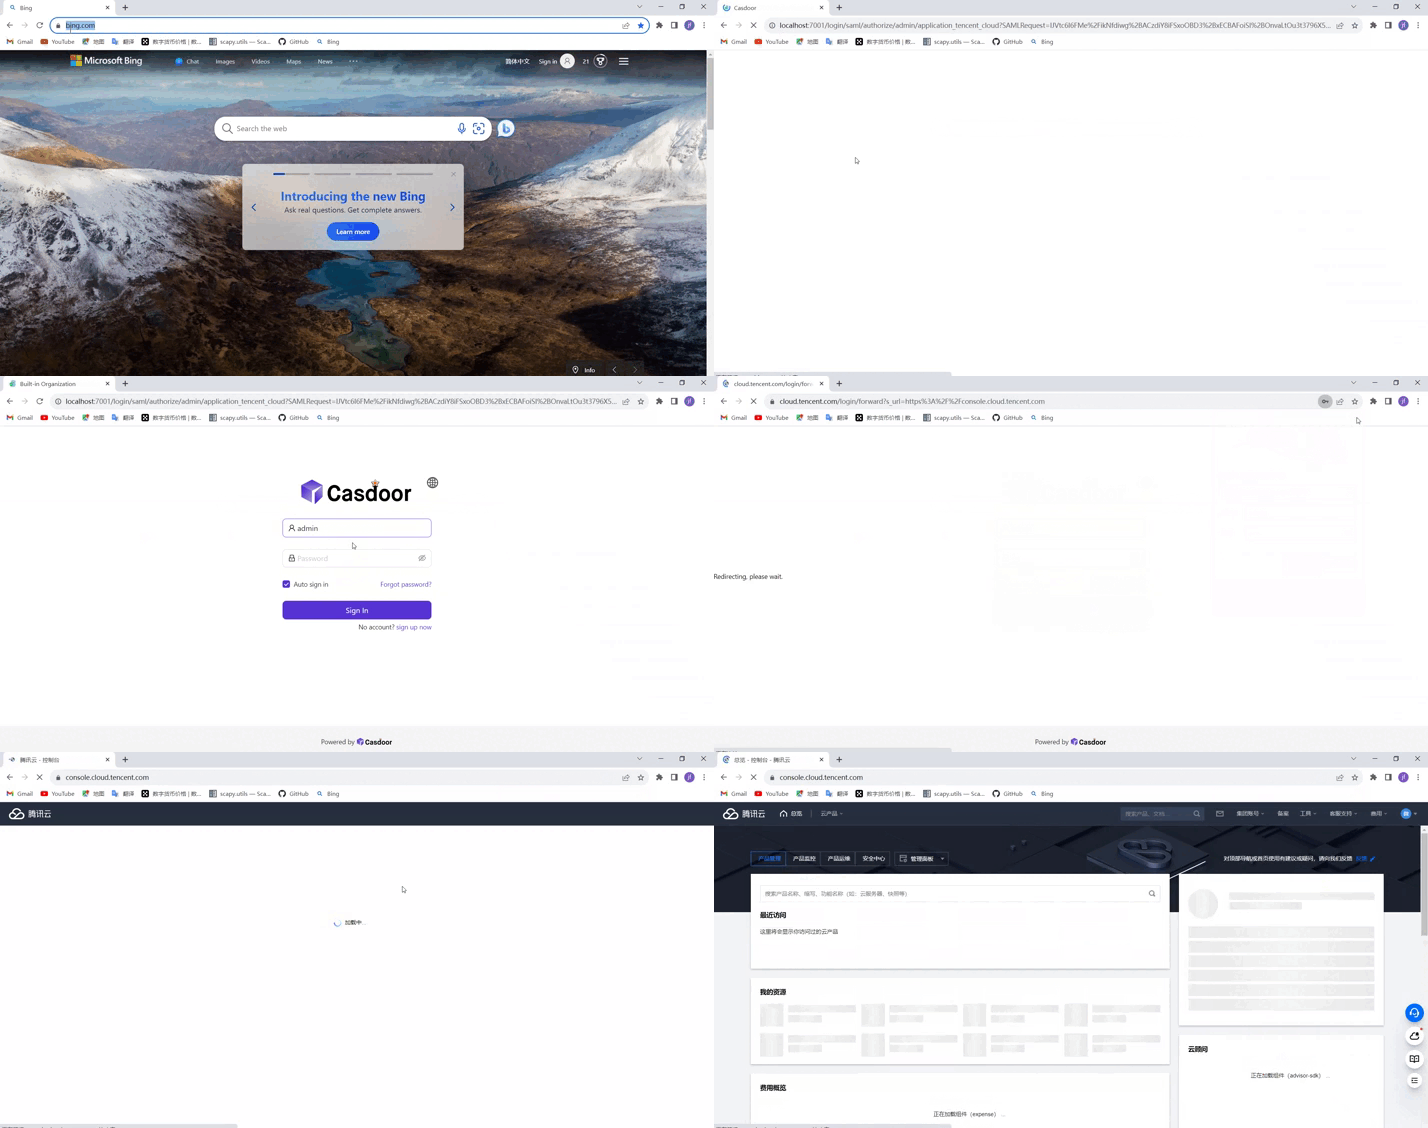
The general login steps for SAML are as follows: User -> Tencent Cloud (not logged in) -> Redirect to Casdoor for login -> Tencent Cloud (logged in). Now, use code externally to simulate the first two steps and generate a URL that redirects to Casdoor. Sample code:
func main() {
    res, err := http.Get("your casdoor application saml metadata url")
    if err != nil {
        panic(err)
    }

    rawMetadata, err := ioutil.ReadAll(res.Body)
    if err != nil {
        panic(err)
    }

    metadata := &types.EntityDescriptor{}
    err = xml.Unmarshal(rawMetadata, metadata)
    if err != nil {
        panic(err)
    }

    certStore := dsig.MemoryX509CertificateStore{
        Roots: []*x509.Certificate{},
    }

    for _, kd := range metadata.IDPSSODescriptor.KeyDescriptors {
        for idx, xcert := range kd.KeyInfo.X509Data.X509Certificates {
            if xcert.Data == "" {
                panic(fmt.Errorf("metadata certificate(%d) must not be empty", idx))
            }
            certData, err := base64.StdEncoding.DecodeString(xcert.Data)
            if err != nil {
                panic(err)
            }

            idpCert, err := x509.ParseCertificate(certData)
            if err != nil {
                panic(err)
            }

            certStore.Roots = append(certStore.Roots, idpCert)
        }
    }

    randomKeyStore := dsig.RandomKeyStoreForTest()

    sp := &saml2.SAMLServiceProvider{
        IdentityProviderSSOURL:      metadata.IDPSSODescriptor.SingleSignOnServices[0].Location,
        IdentityProviderIssuer:      metadata.EntityID,
        ServiceProviderIssuer:       "https://cloud.tencent.com",
        AssertionConsumerServiceURL: "https://cloud.tencent.com/login/saml",
        SignAuthnRequests:           true,
        AudienceURI:                 "https://cloud.tencent.com",
        IDPCertificateStore:         &certStore,
        SPKeyStore:                  randomKeyStore,
    }

    println("Visit this URL To Authenticate:")
    authURL, err := sp.BuildAuthURL("")
    if err != nil {
        panic(err)
    }

    println(authURL)
}
Once we run the code and obtain the auth URL, clicking on the URL will allow us to test the login. we provide a demo this process.
