Unity
Step 1: Deploy Casdoor
Deploy Casdoor in production mode. See Server installation. Ensure the server is reachable and you can sign in (e.g. admin / 123). For a quick start, use the Casdoor demo.
Step 2: Import Casdoor.Client
Import Casdoor.Client for .NET in the Casdoor-dotnet-sdk.
One optional method is as follows:
git@github.com:casdoor/casdoor-dotnet-sdk.git- Run ConsoleApp in the Sample folder.
- Get the
/casdoor-dotnet-sdk/src/Casdoor.Client/bin/Debug/net462folder.
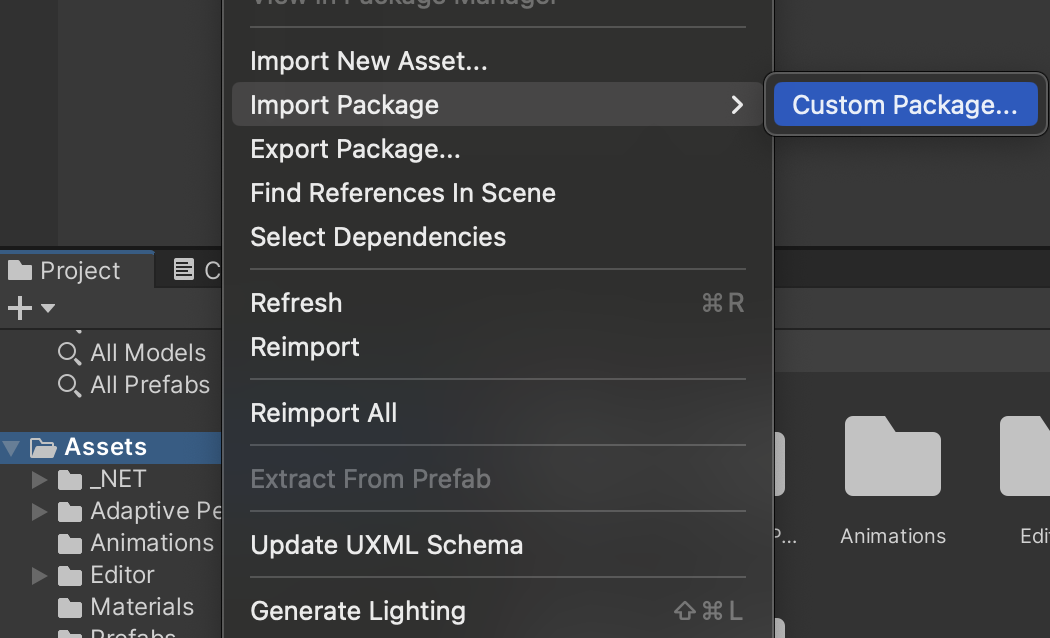
Import the net462 folder (or another target framework folder) into your Unity project as shown below.
Step 3: Usage
Learn how to use the Casdoor.Client SDK for Unity 3D mobile development by looking at casdoor-unity-example.
After running the casdoor-unity-example, the following interfaces appear:
- Login with username and password:
| iOS | Android |
|---|---|
 |  |
- Login with the Casdoor web page:
| iOS | Android |
|---|---|
 |  |